
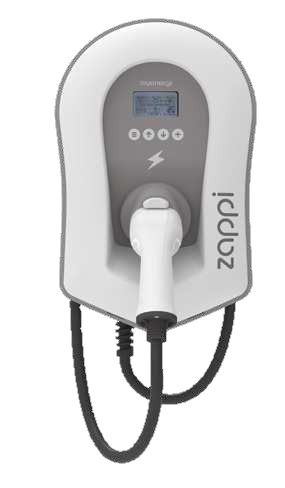
myenergi Zappi project page
As some customers have already noticed, I now also sell a car charging device, also called a wallbox, in my shop. I chose the myenergi solution because it offers a smart and ecological solution for the use of photovoltaic energy.
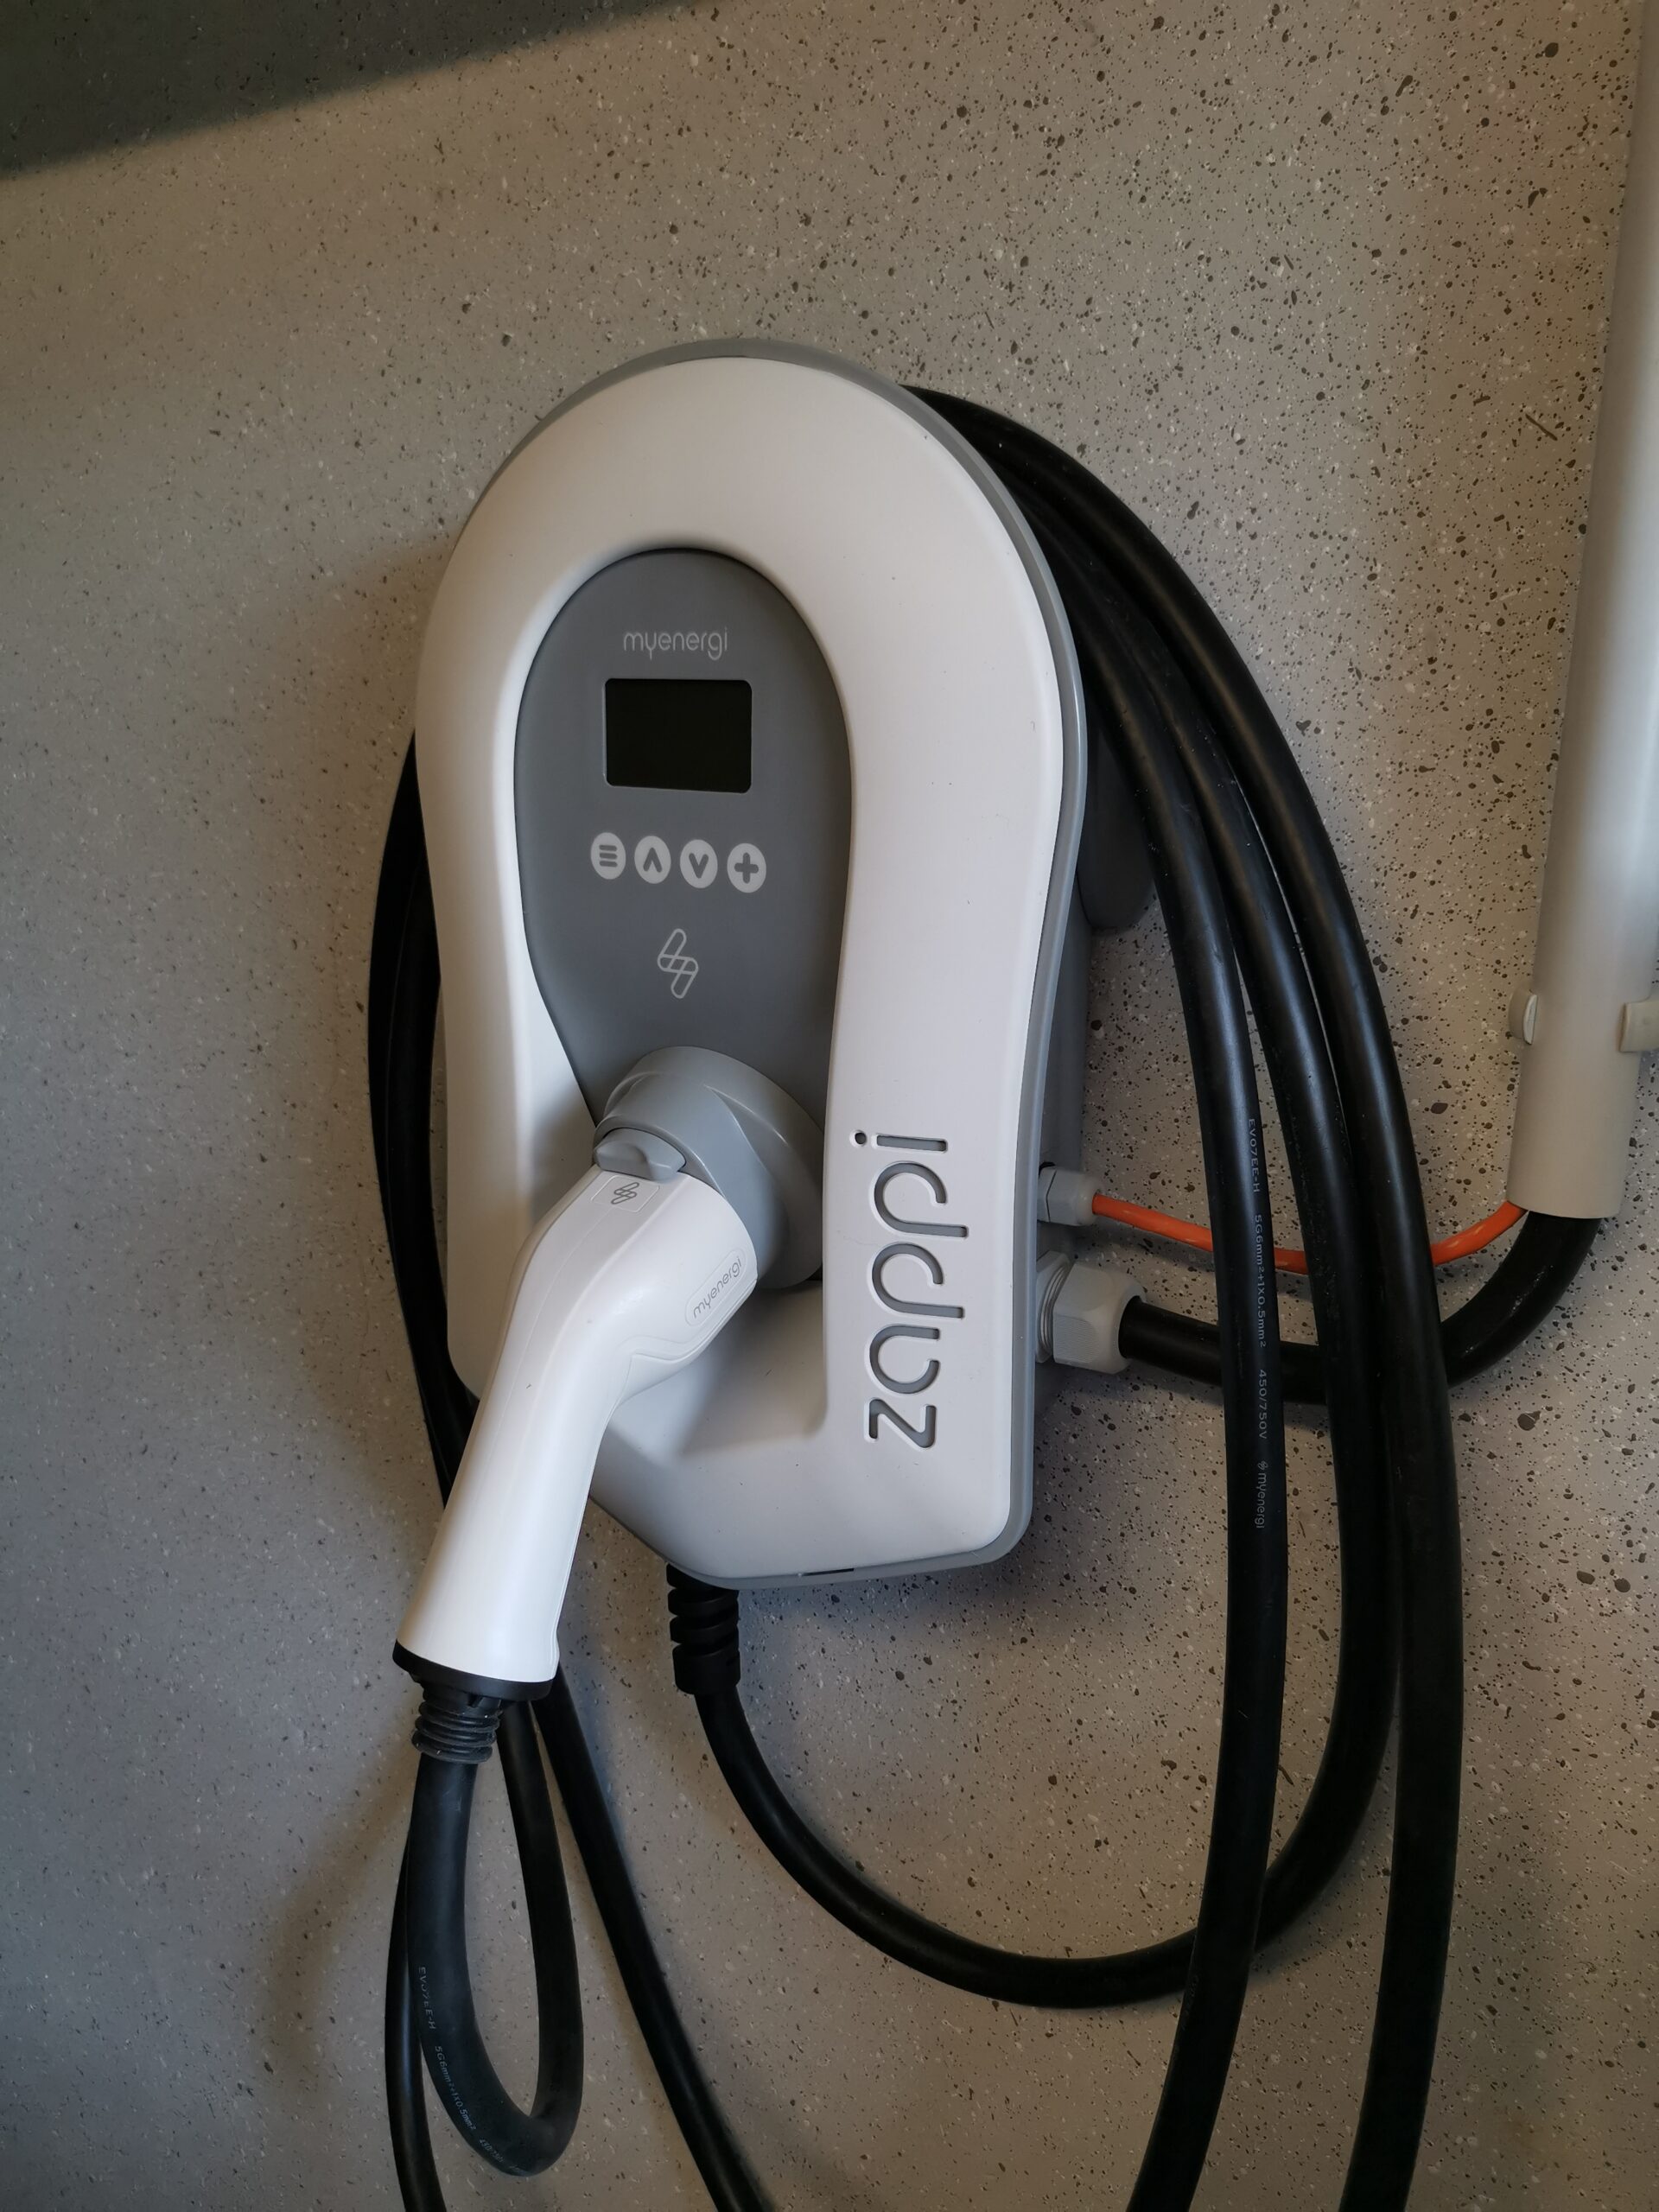
I also use this wallbox myself for my vehicle, which I received in June 2021 after an 8-month wait.
Part 1: Planning
First you have to think about where to put the wallbox. Since it is IP65 and is also suitable for outdoor use, there are several options. I decided to install it in the garage because that is where the vehicle will be parked most of the time.
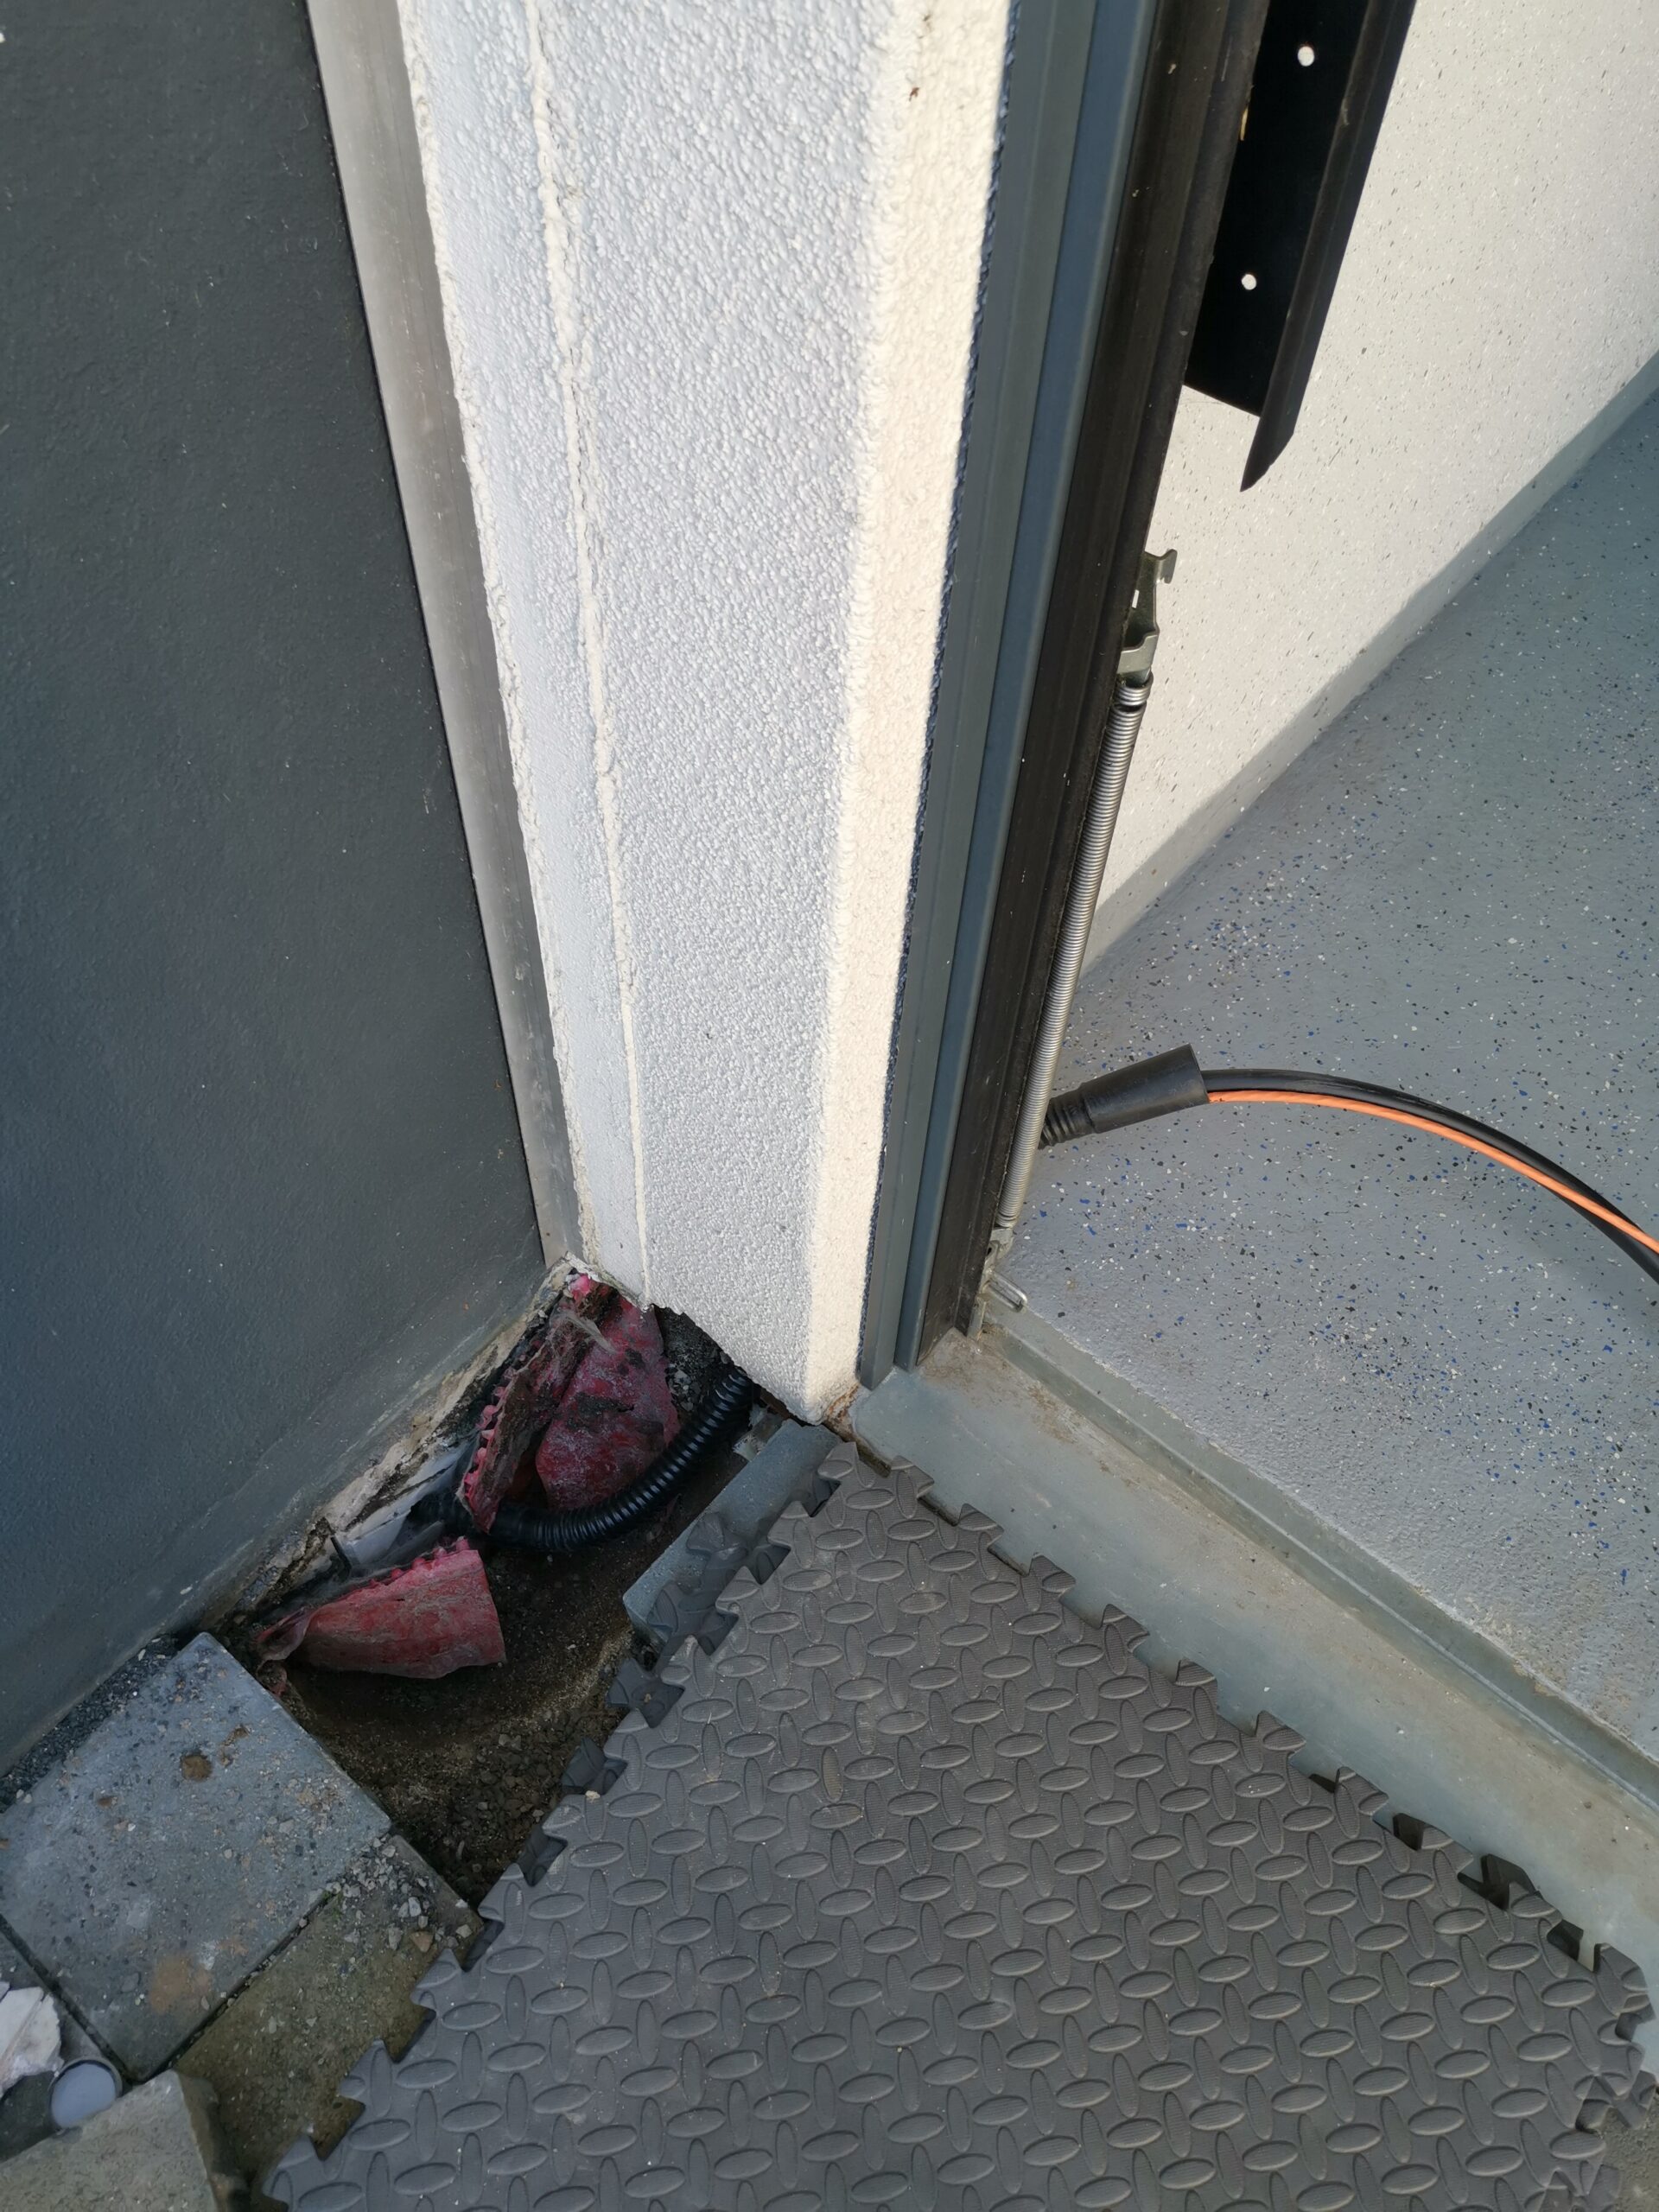
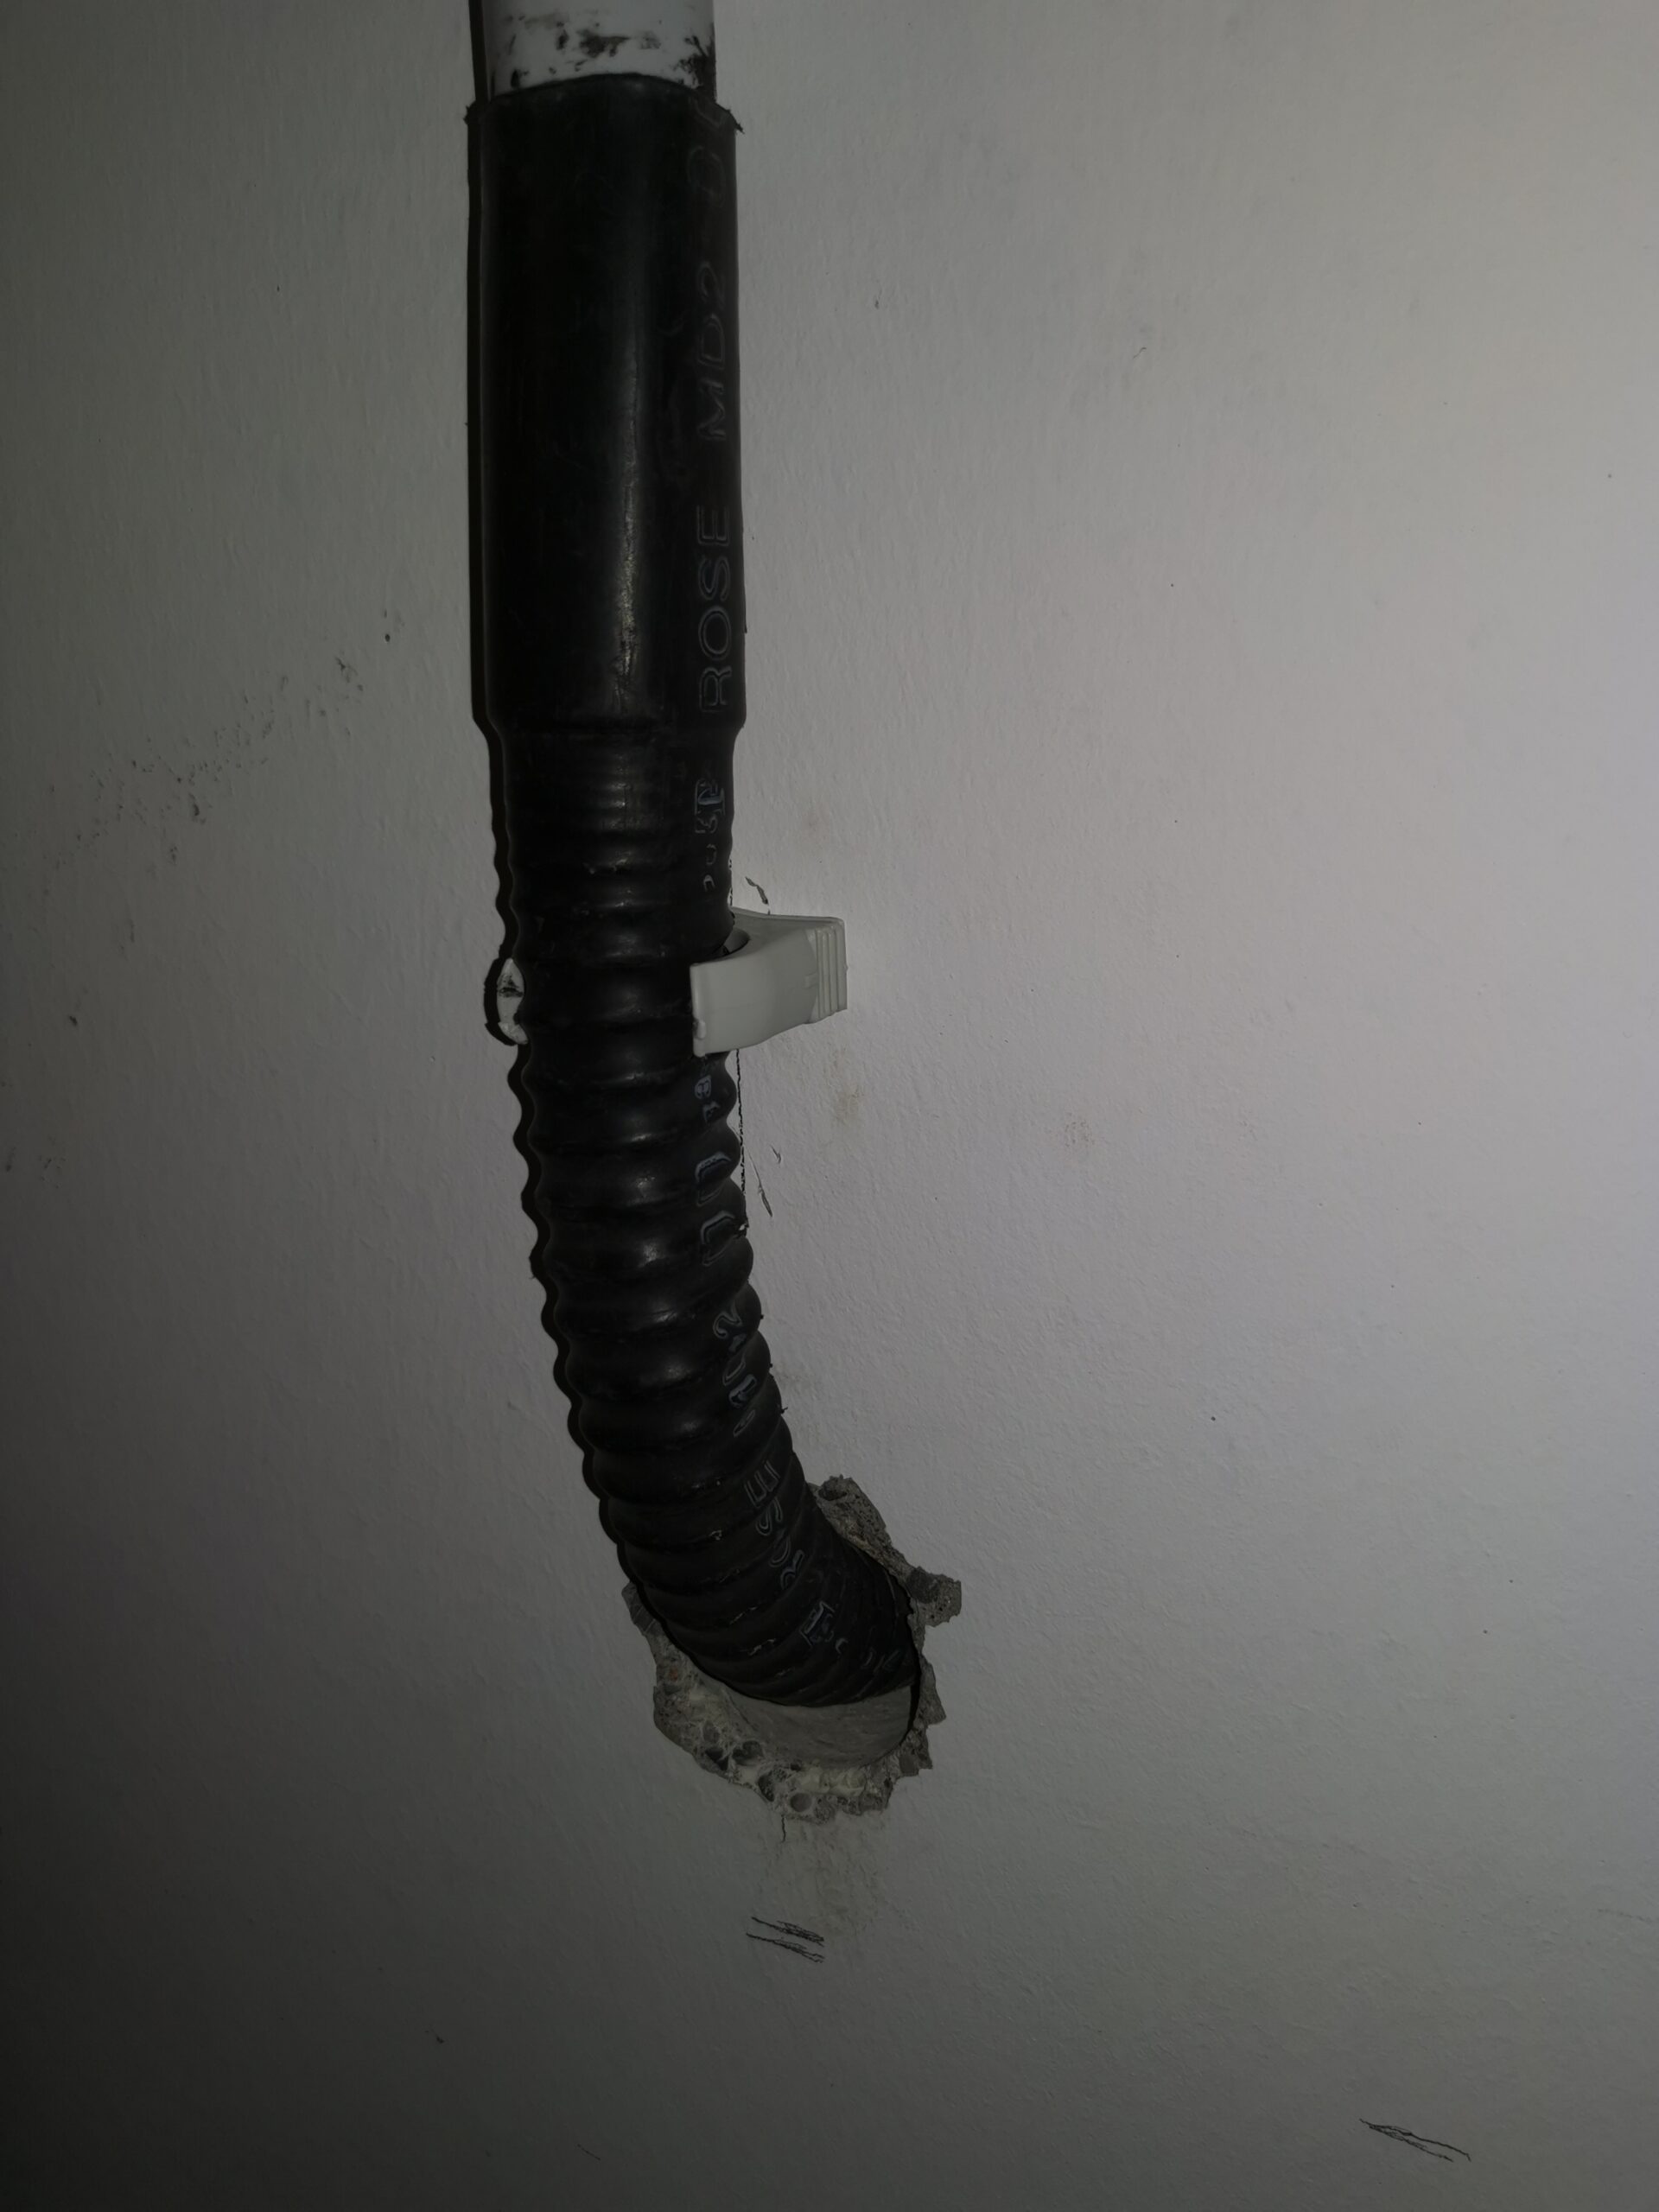
Then the problem: cable routing. We need to run the power and data cable from the meter cabinet to the garage. So it's clear: You have to drill, and a big hole. And once the lines have been routed through, this must also be sealed watertight again. We decided on a house connection entry, so you can insert the cables and close them directly thanks to the shrink tube ends. We close the actual hole with well foam (waterproof).
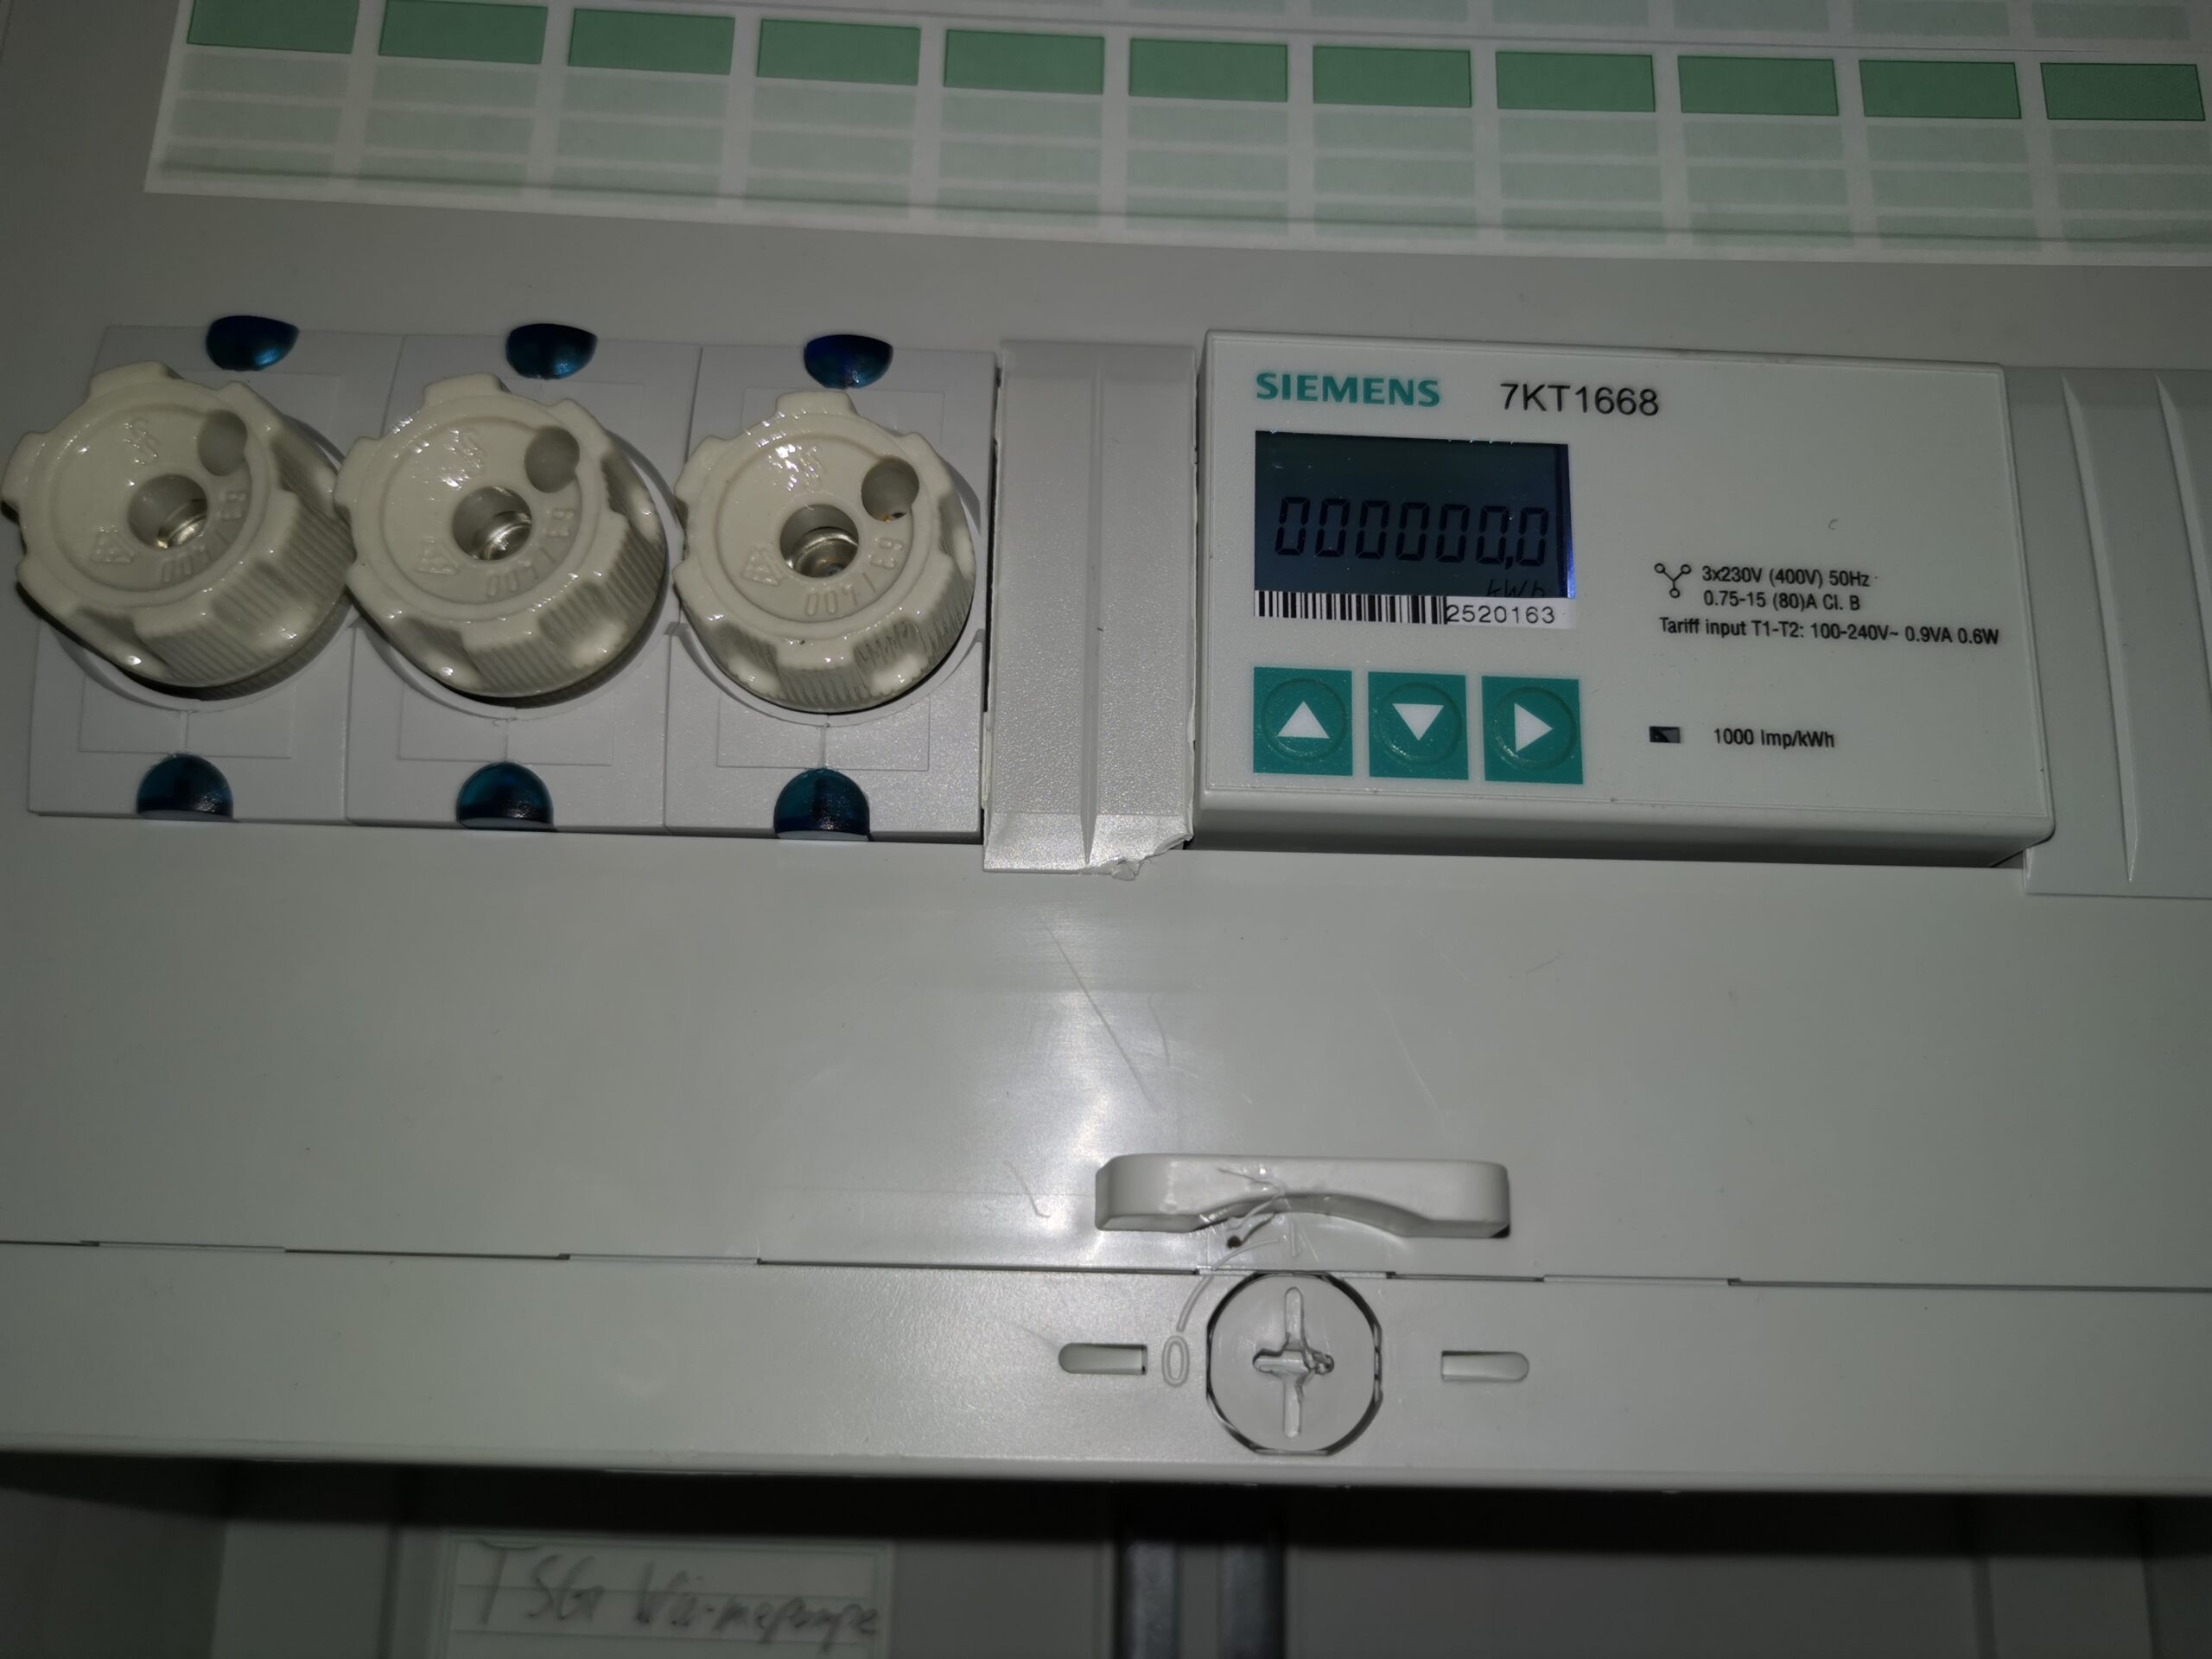
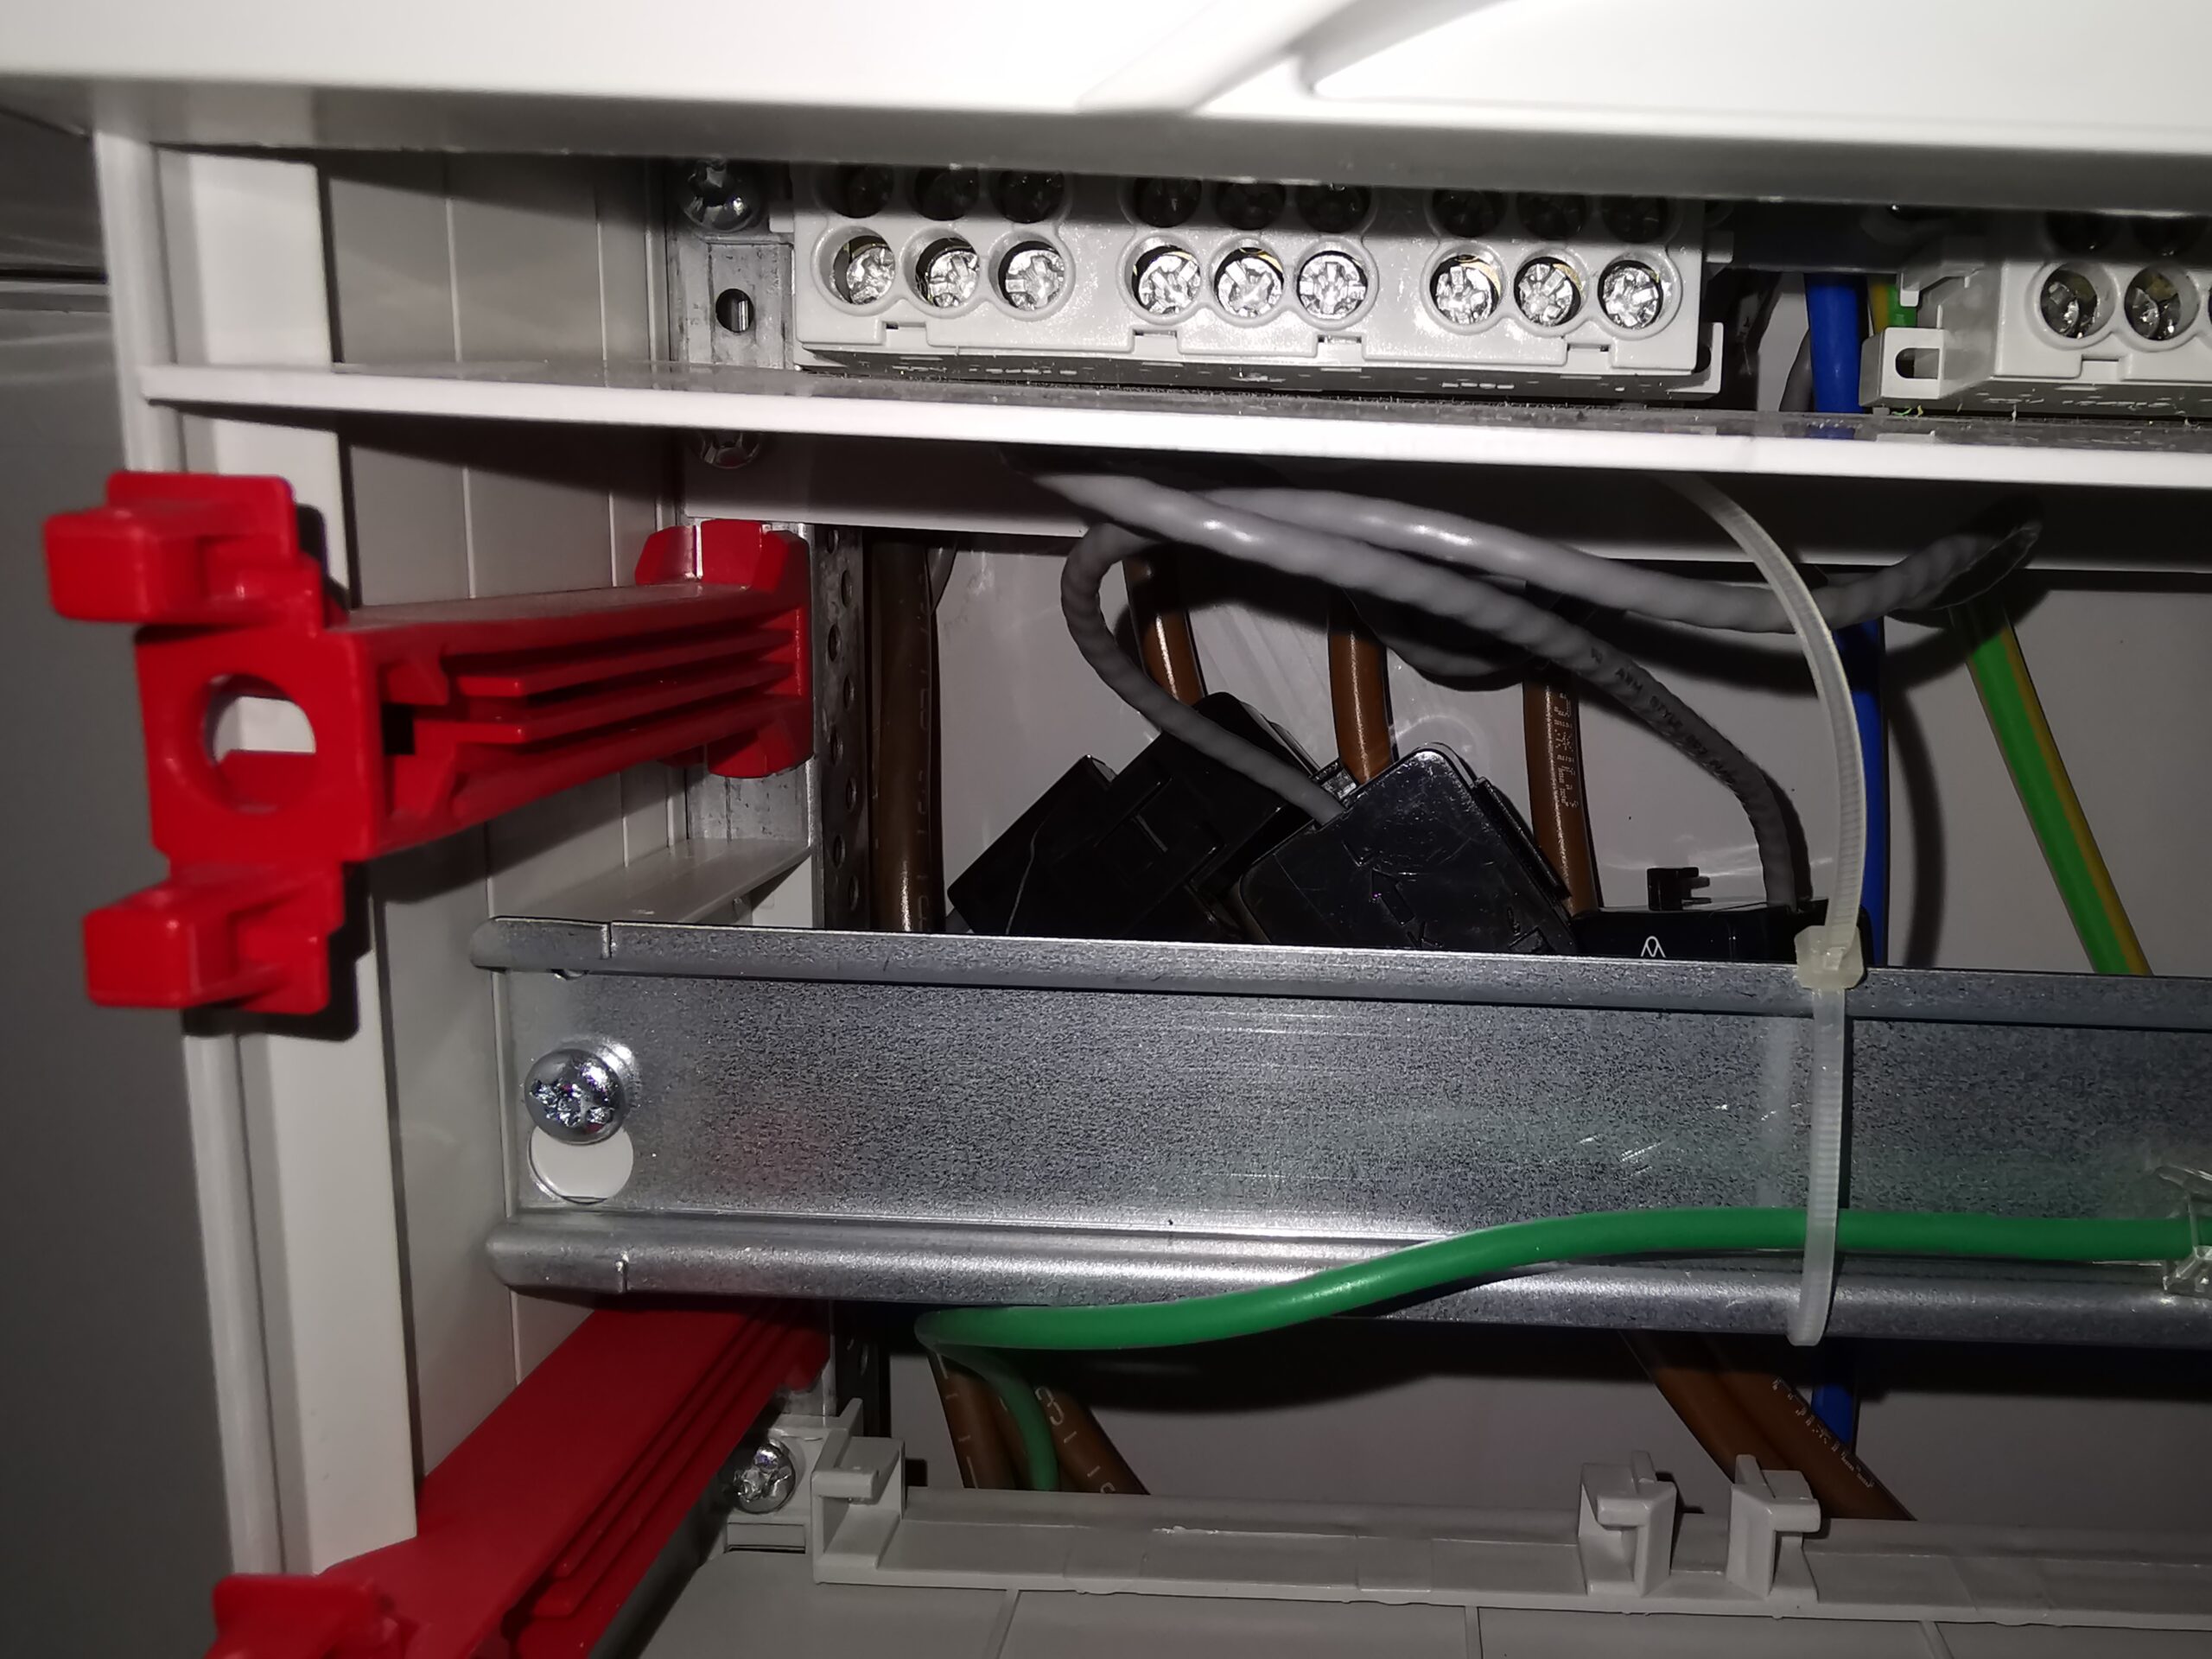
The meter cabinet must be checked to see whether there is enough space for the new components. It's a good thing I have a big closet, everything still fits in here.
And very important: Before installation, EnBW (or the responsible electricity network operator) must have given permission (if 22KW power, for 11KW only notification is required)
However, there is a problem if you want to receive government funding for connecting the wallbox: the charging station must then be limited to 11KW.
Part 2: Installation
First of all: You should under no circumstances do the installation yourself; it must be carried out by an electrician or specialist company.
For my installation I chose the 22KW variant because as an entrepreneur you do not receive any government funding for the installation - only private individuals receive this.
However, my electrician immediately informed me that the existing 10 mm² cables on the meter panel are NOT permitted for 22KW, they must be replaced with 16 mm² cables. That would be a legal requirement that 22KW instead of 11KW can be tapped. The supply line to the Zappi can be 5 cores with 10 mm² cores. You also need your own fuse (3x fuses are the cheapest way) and a meter (that was my wish because I want to measure the charging current completely independently).
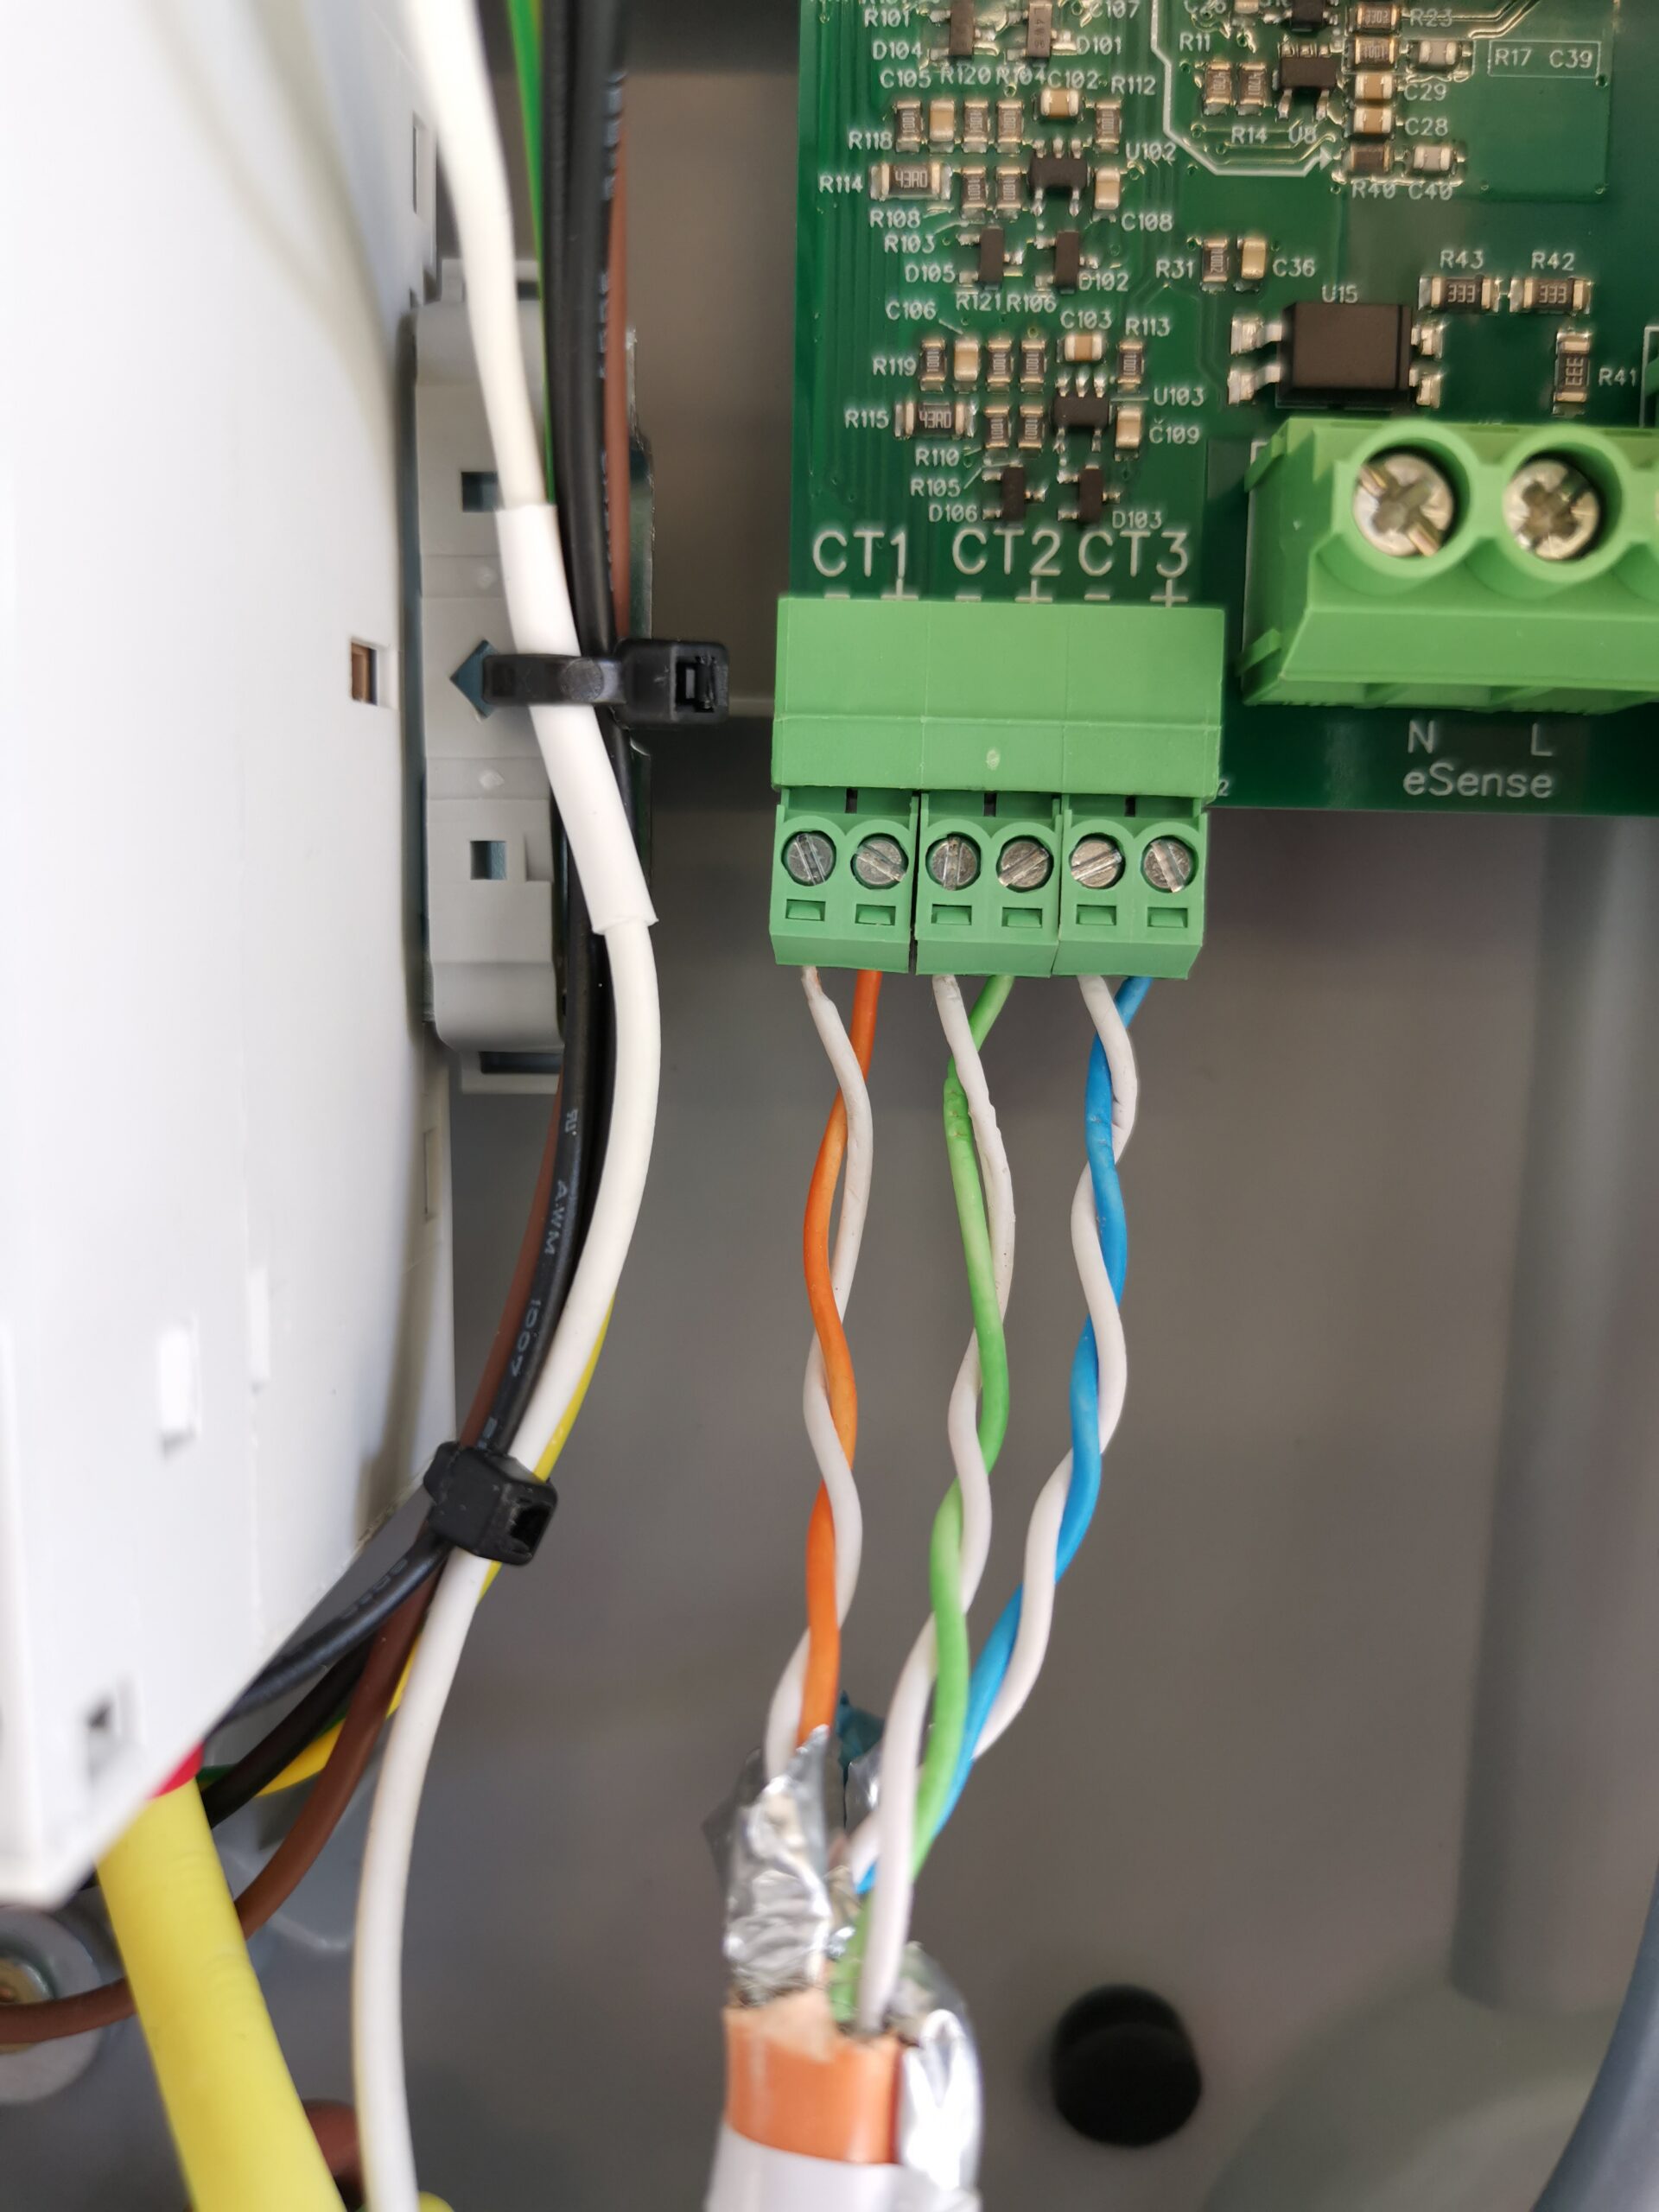
A cable must also be laid for the sensor terminals (3x CTs were included). The CT cables are quite long at 6 m, but for me the 15 m to the charging station is too short. According to the manual, you should use twisted pair cables so that the data is not falsified. So I simply used an 8-wire Cat5e network cable that I had left over (orange in the picture). By the way, cable glands were NOT included, but my electrician had some.

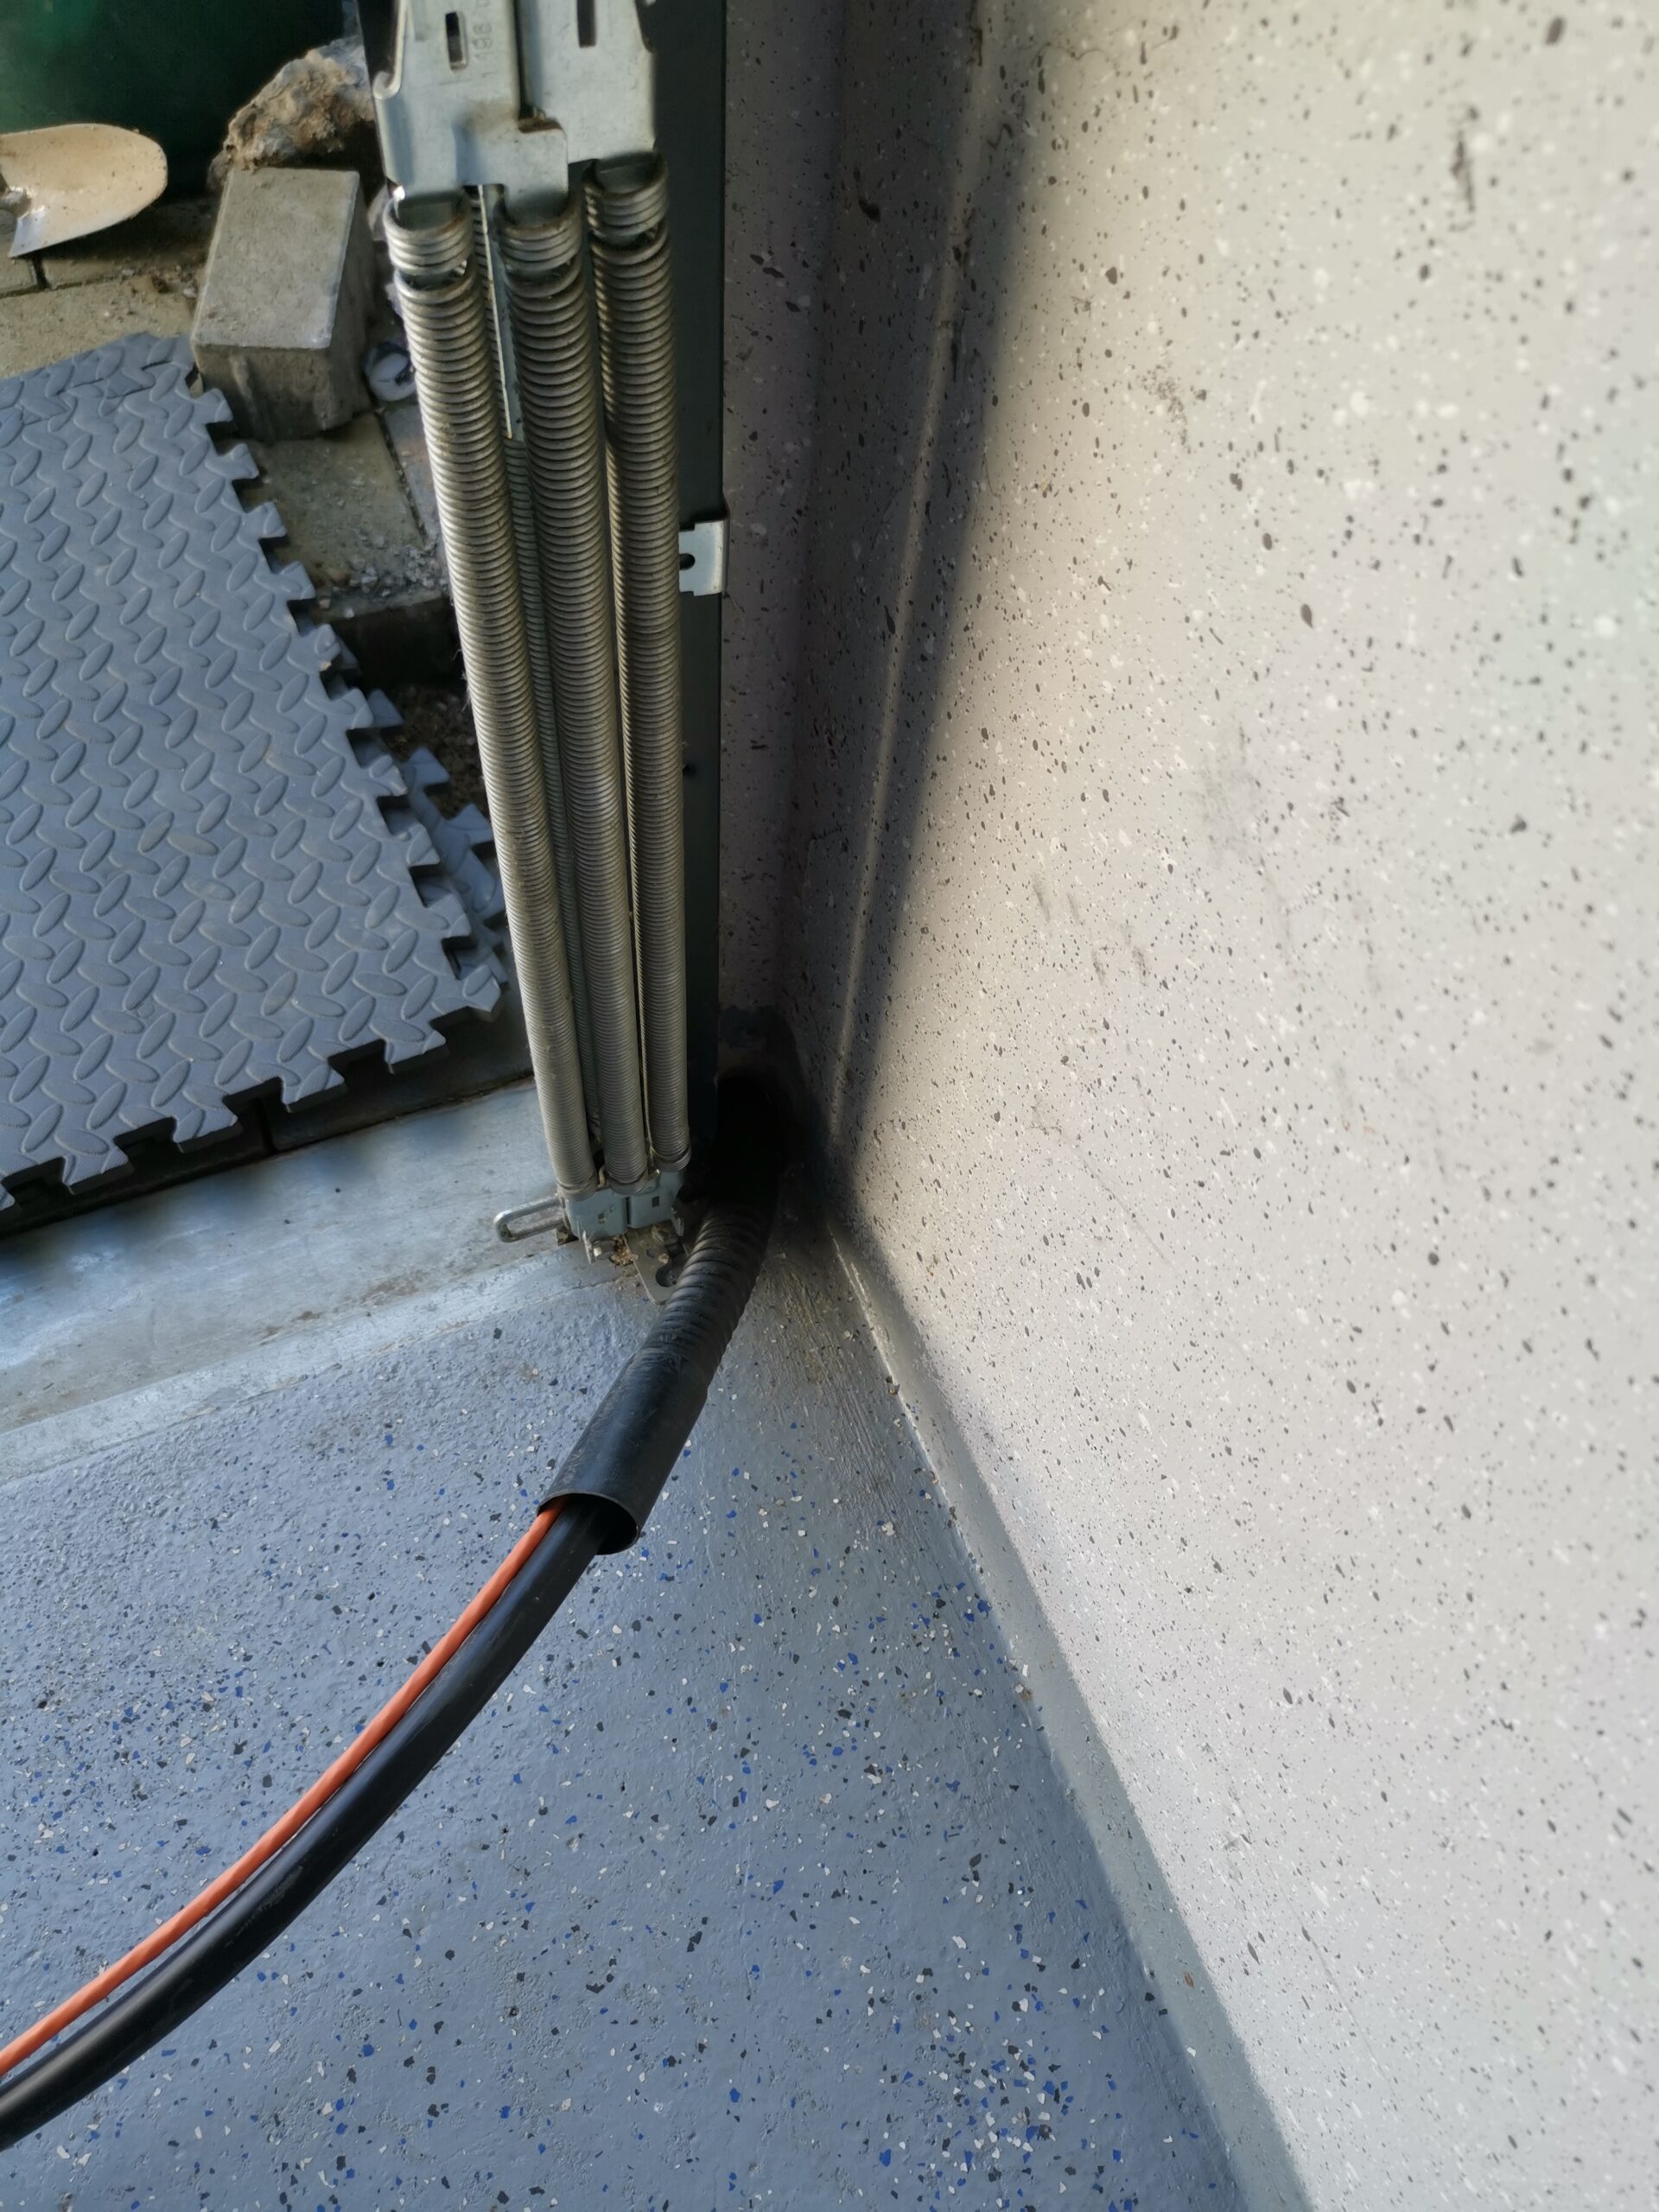
For the house and garage breakthrough, we chose a location that ends in the basement right next to the meter cabinet and leads easily out of the garage. The house connection is placed through the hole in the house and garage and closed there. To get the appropriate depth, we removed some stones and then dug about 20 cm deeper. Next sticking point: We are drilling from the inside out and have to find the exact position. Fortunately, this can be calculated by using another hole as a reference. So we came out exactly in the desired position.
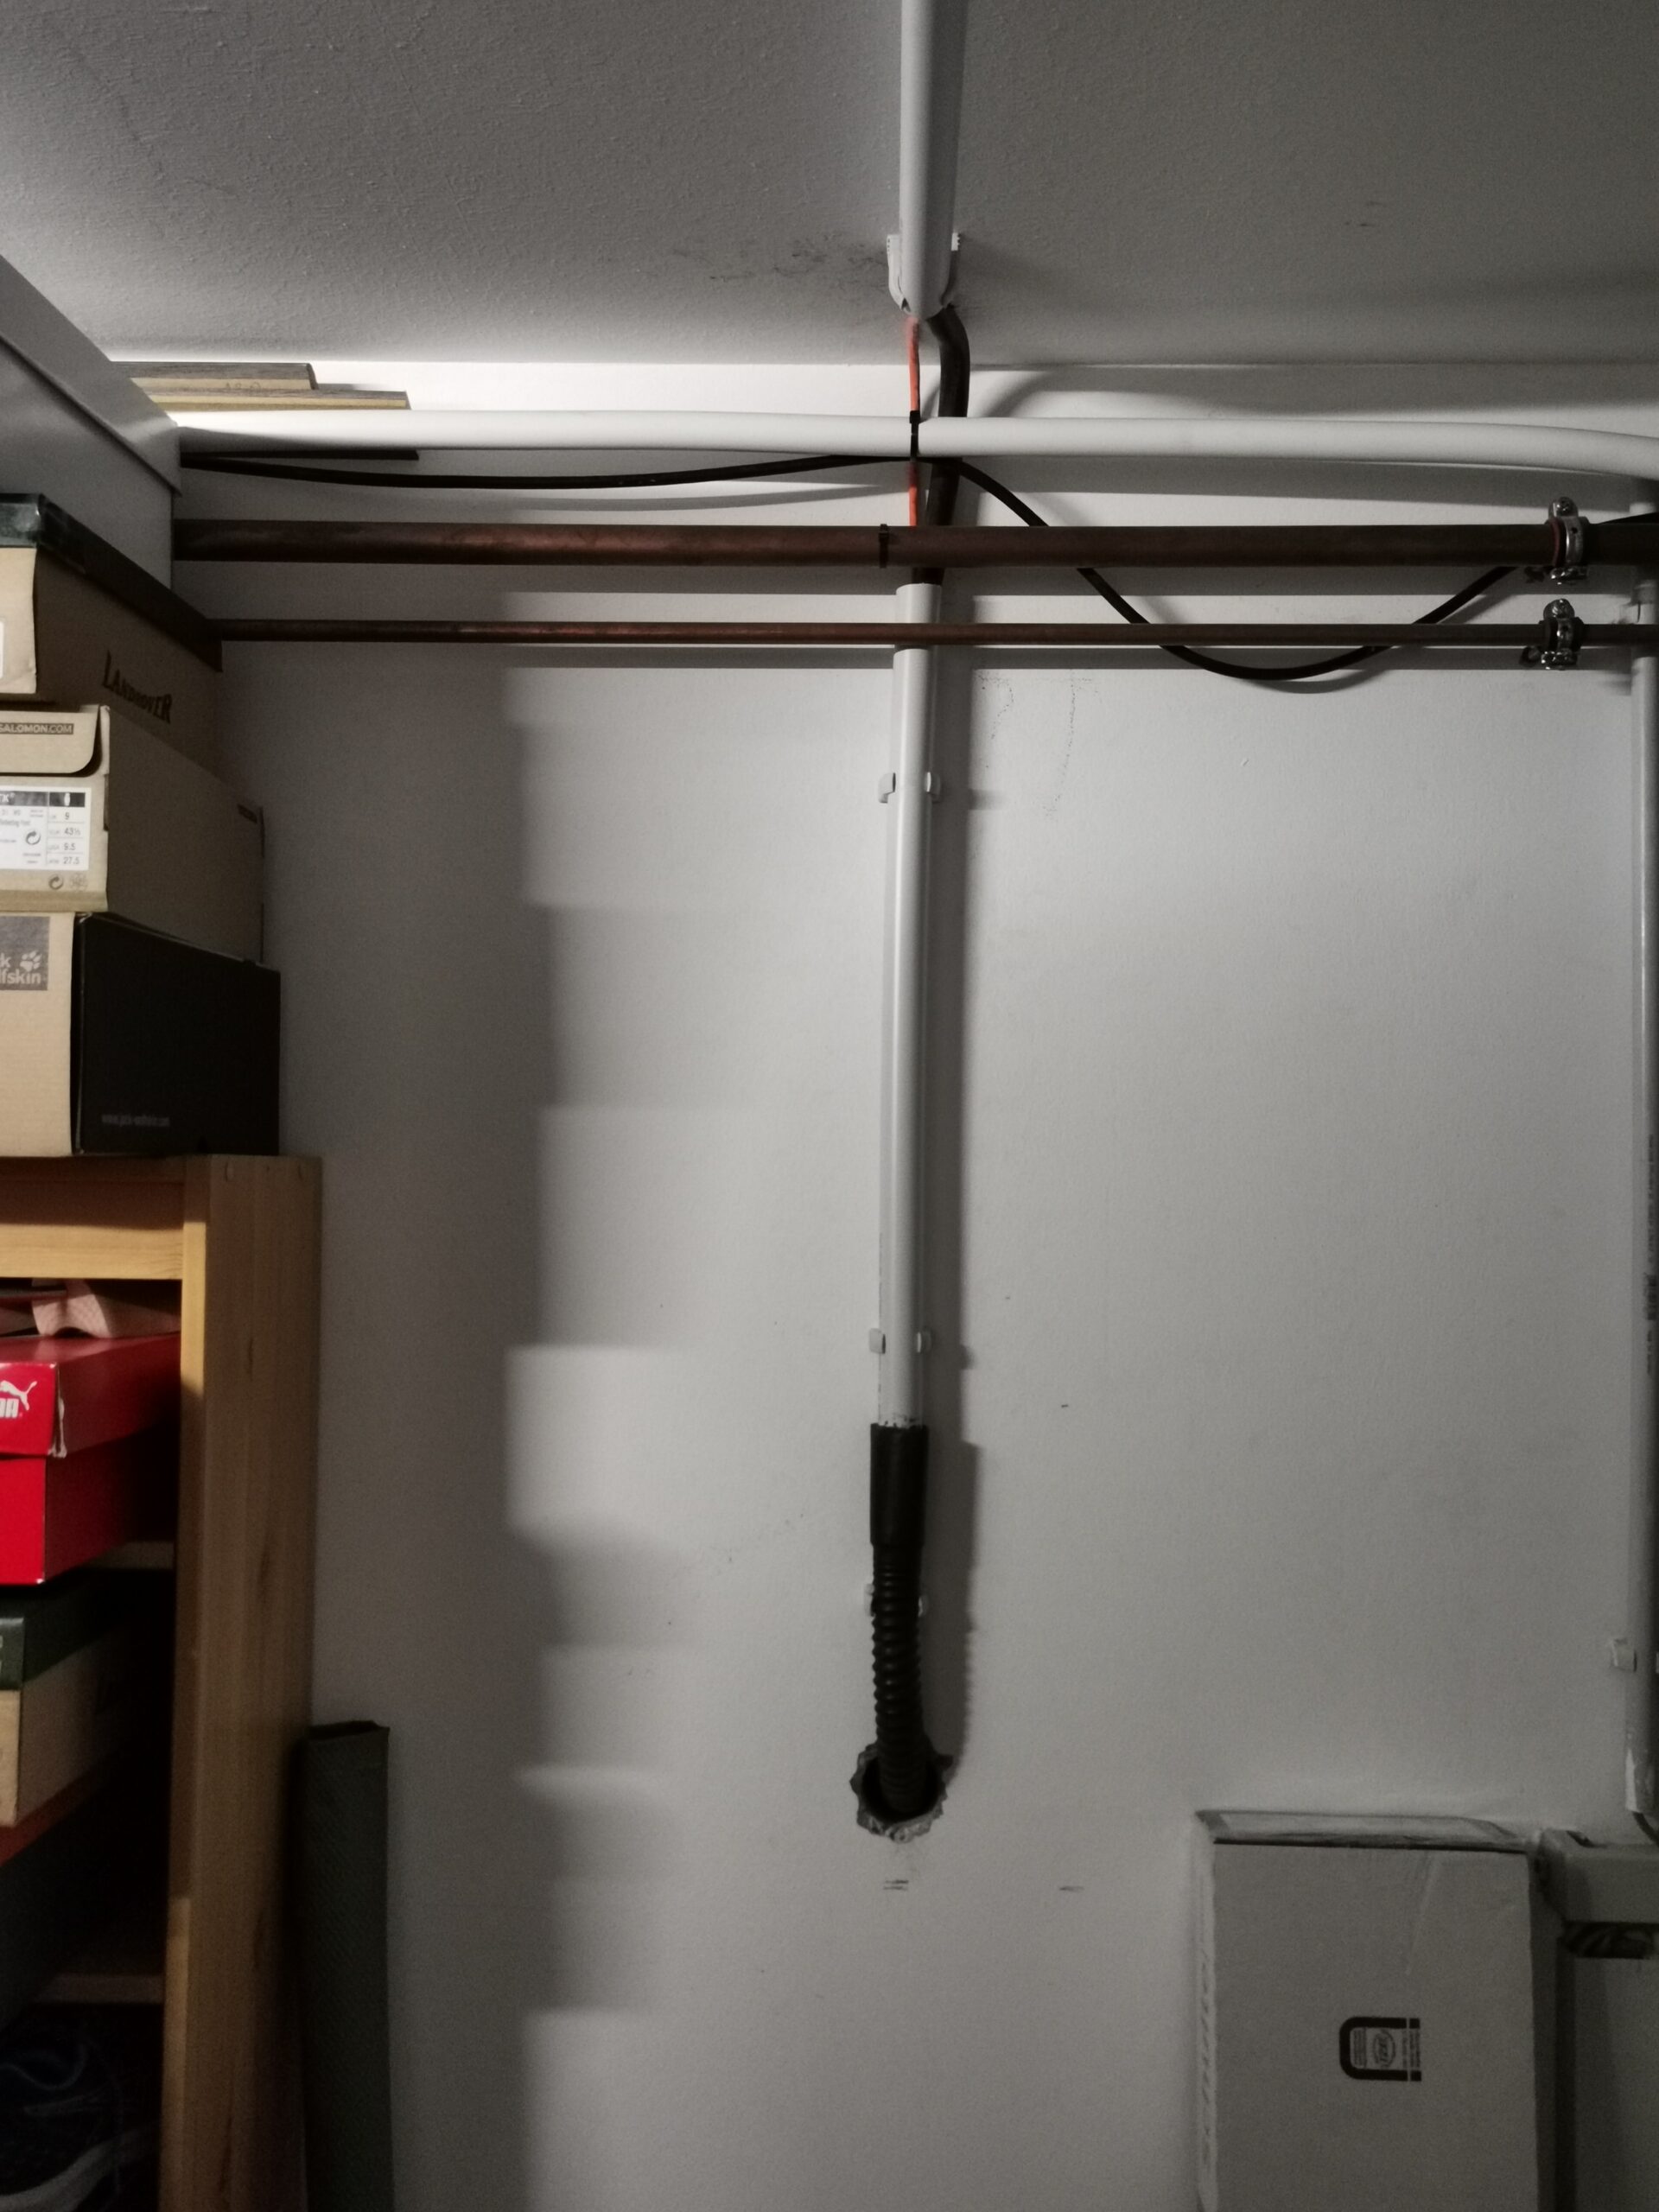
In the house you then have to find the best way. We decided on “long on the ceiling” (pictures are from before sealing with fountain foam):
And then click on counter+fuse
We clamped the CT terminals to the respective phases above the house connection meter (unfortunately it is difficult to see because the rail is in the way).
Oh yes: the terminals must sit on the cable at a right angle, ideally without any play. To do this, I cut off 3x3cm pieces of a 16mm pipe and placed them in the clamps. I had to find out first because the system gave strange error messages like “Installation limit exceeded” and incorrect display of current values.
If the menu now appears in the Zappi's display, then the most important steps have already been completed. There are also various information displays in the Zappi menu that should confirm that 230V is present on all 3 phases.
The electrician should then take and record the safety measurements in the Zappi and thus complete the installation.
3. HUB
The myenergi HUB connects the Zappi to the Internet. Zappi and hub communicate via radio and the hub forwards the data to the Internet via its Ethernet connection. With the myenergi app you can display the data.
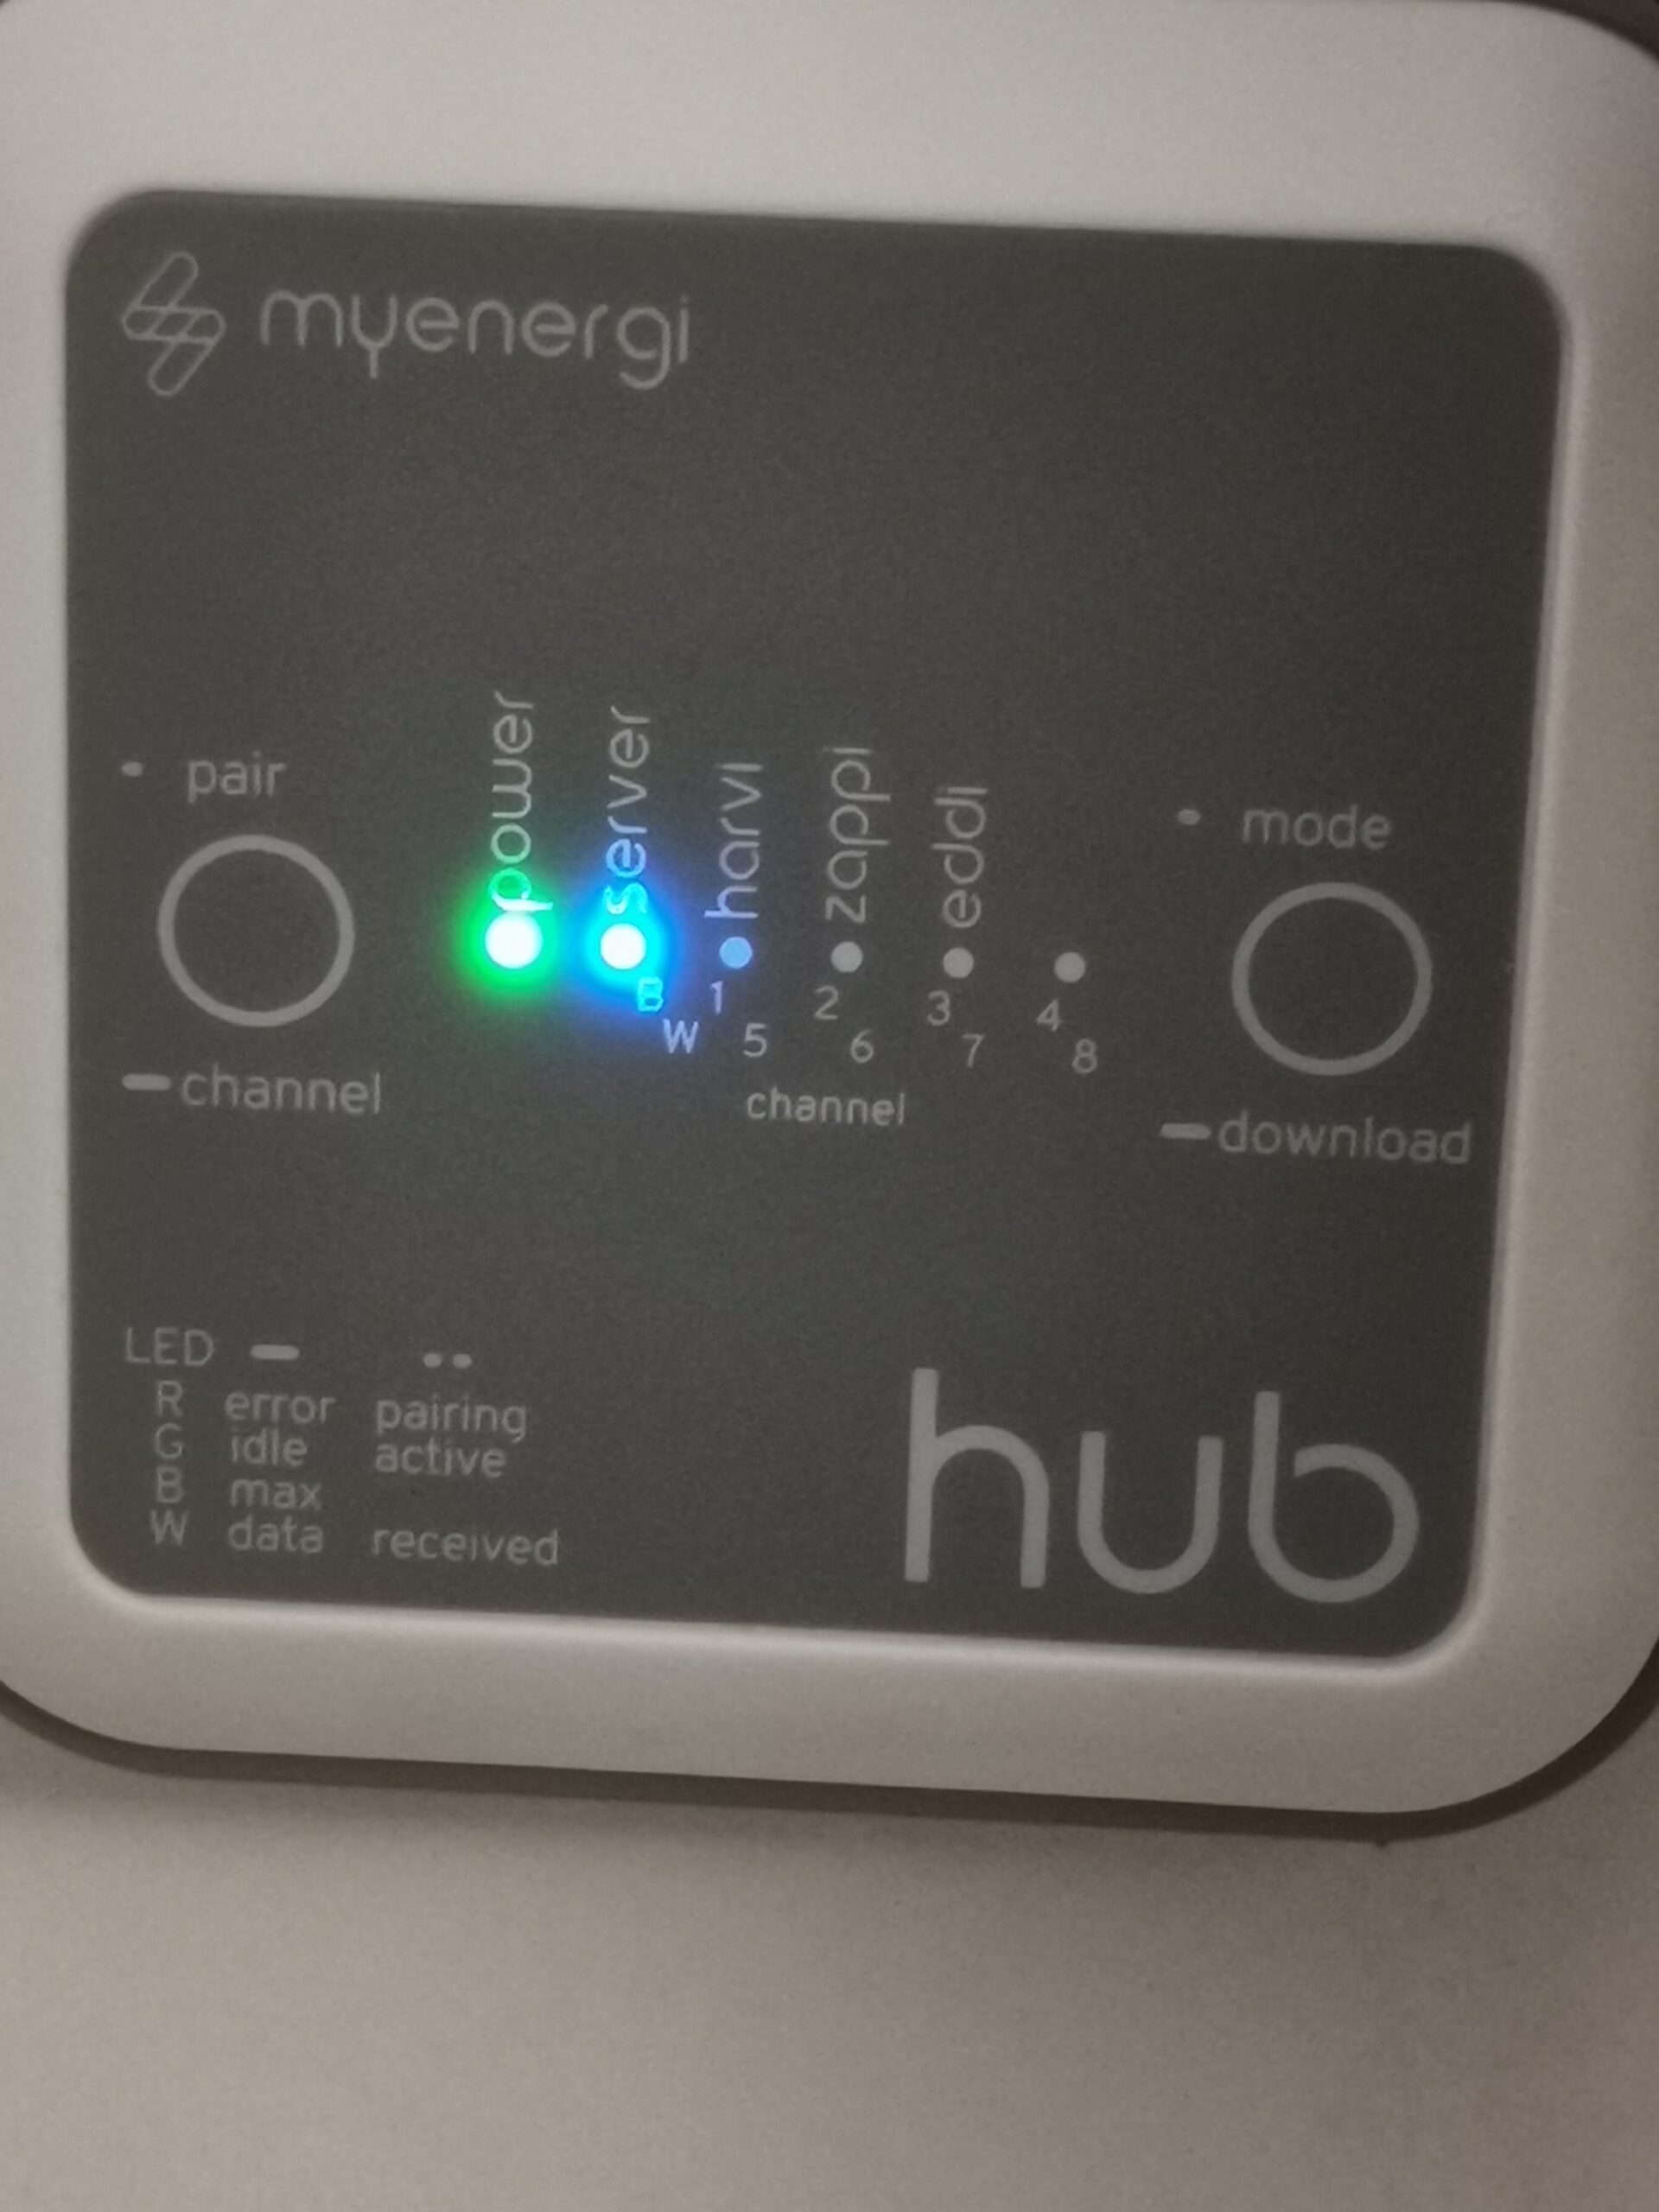
But before that you have to connect the hub to the Zappi: To do this, press the Pair button on the hub. You now have 120 seconds to select “search for devices” in the menu on the Zappi and connect the hub. This worked for me straight away. The hub will then appear with its registration ID under Information/Page 2.
To register the hub with the app, you must first enter the serial number (back of the hub) and then the registration ID. Then enter a password and the energy values appear in the APP!
4. Loading
Actually totally unspectacular and boring…just loads.
So there are 3 charging modes: Fast, Eco and Eco+.
- FAST: Fast loads without restrictions. As quickly and as much as the vehicle can charge or in which Zappi is configured as the maximum value.
- ECO: With Eco it always charges the minimum charge, i.e. approx. 1.4Kw or the value that the vehicle has defined as the lowest value. If excess energy comes from the PV system, for example, then the Zappi gradually increases the charge until the excess energy is balanced out. If there is no excess energy available, the minimum value is still charged.
- ECO+: This mode is like the ECO mode, except that there is no minimum charge value. So only excess energy is charged. However, this doesn't work with all cars. Mine complains after a while that it is not charging and stops charging when there is no excess energy. **UPDATE**: Since the Zappi firmware update 3.142, my Ford Mustang Mach-E has worked without any errors!
So I always switch between ECO and FAST: If I have an appointment first thing in the morning and the car isn't charged yet in the evening, then I also switch to FAST. But if I'm in the home office and the car stays in the garage, then I switch to ECO. ECO+ actually only works when the car is stationary for a long time.