
 Shop
Shop Configurator
Generally
The experiment: OpenSprinkler on the tap
Due to its design, the OpenSprinkler can only be used to switch solenoid valves. This means you can’t actually operate a “normal” faucet with it.
Or is it?
Idea: A solenoid valve has a standard 1″ screw connection, which is the same size as the “large” water connections. Adapters are also available in every hardware store.
So the idea: Let's connect a solenoid valve to the tap!
PART 1: At the faucet
To do this you need:
– suitable 3/4″ to 1″ adapter
– Solenoid valves IG or AG
– Double nipple 1″ male/male
IG means “internal thread” and AG means “external thread”,
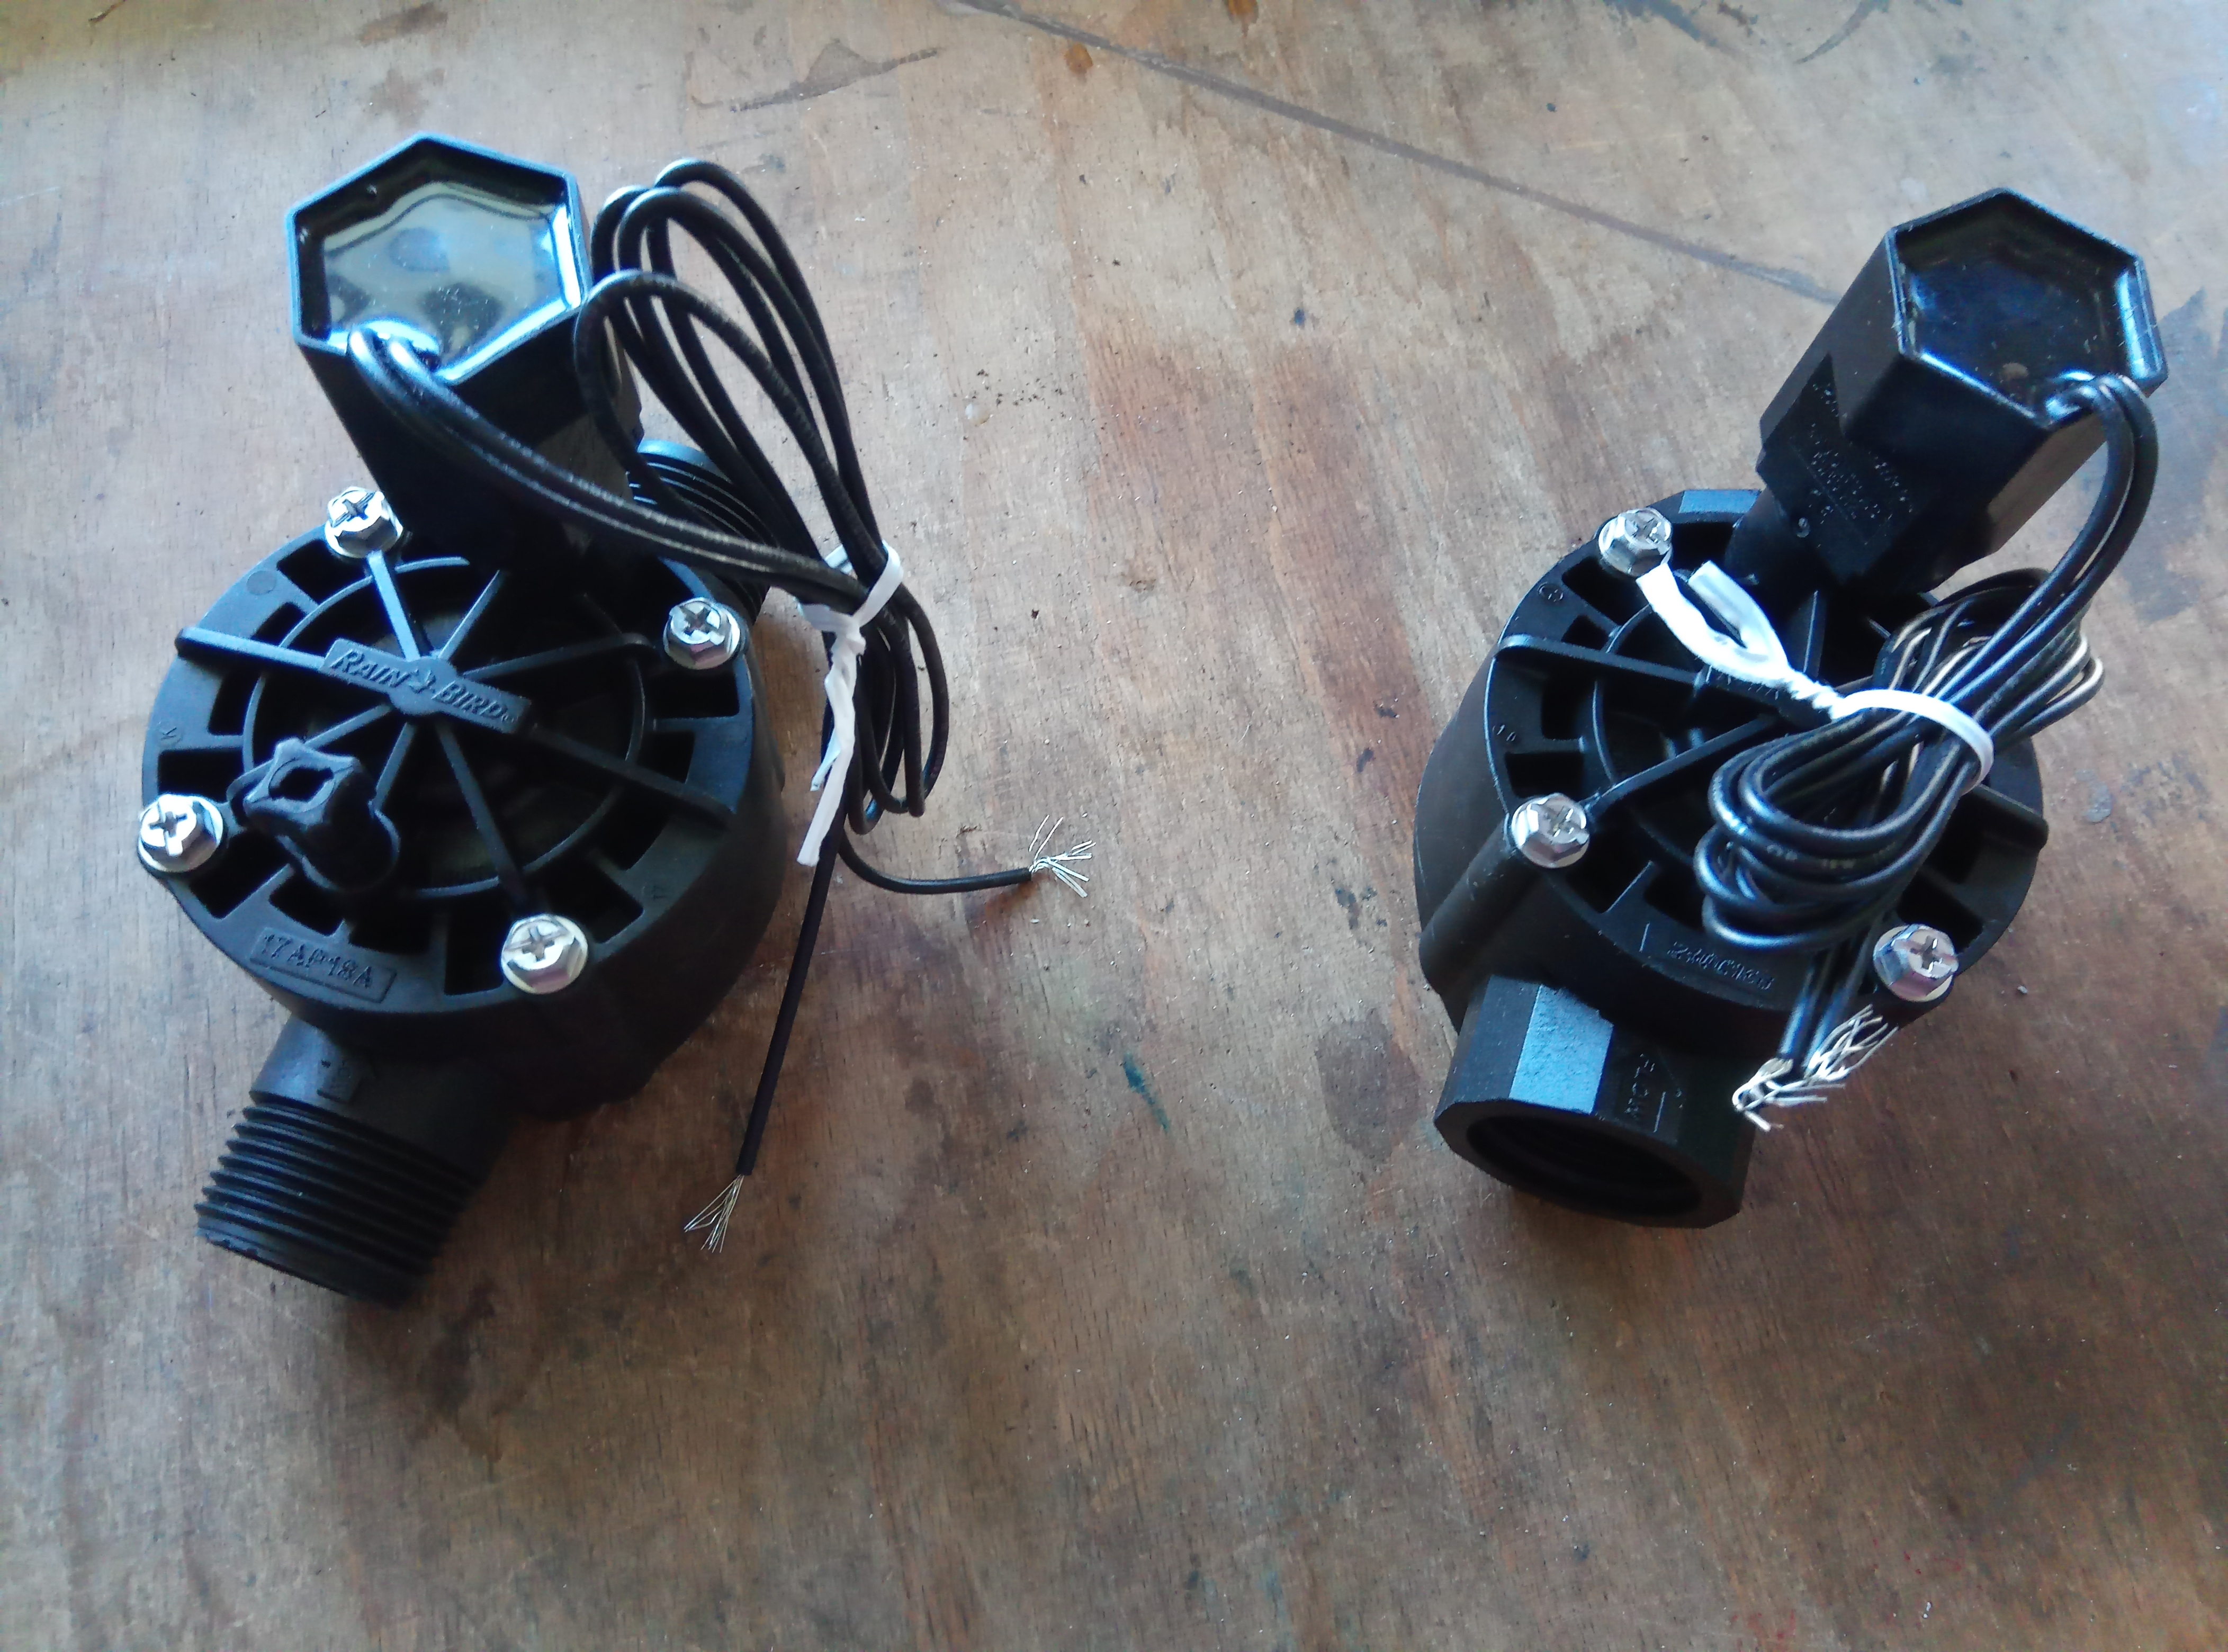
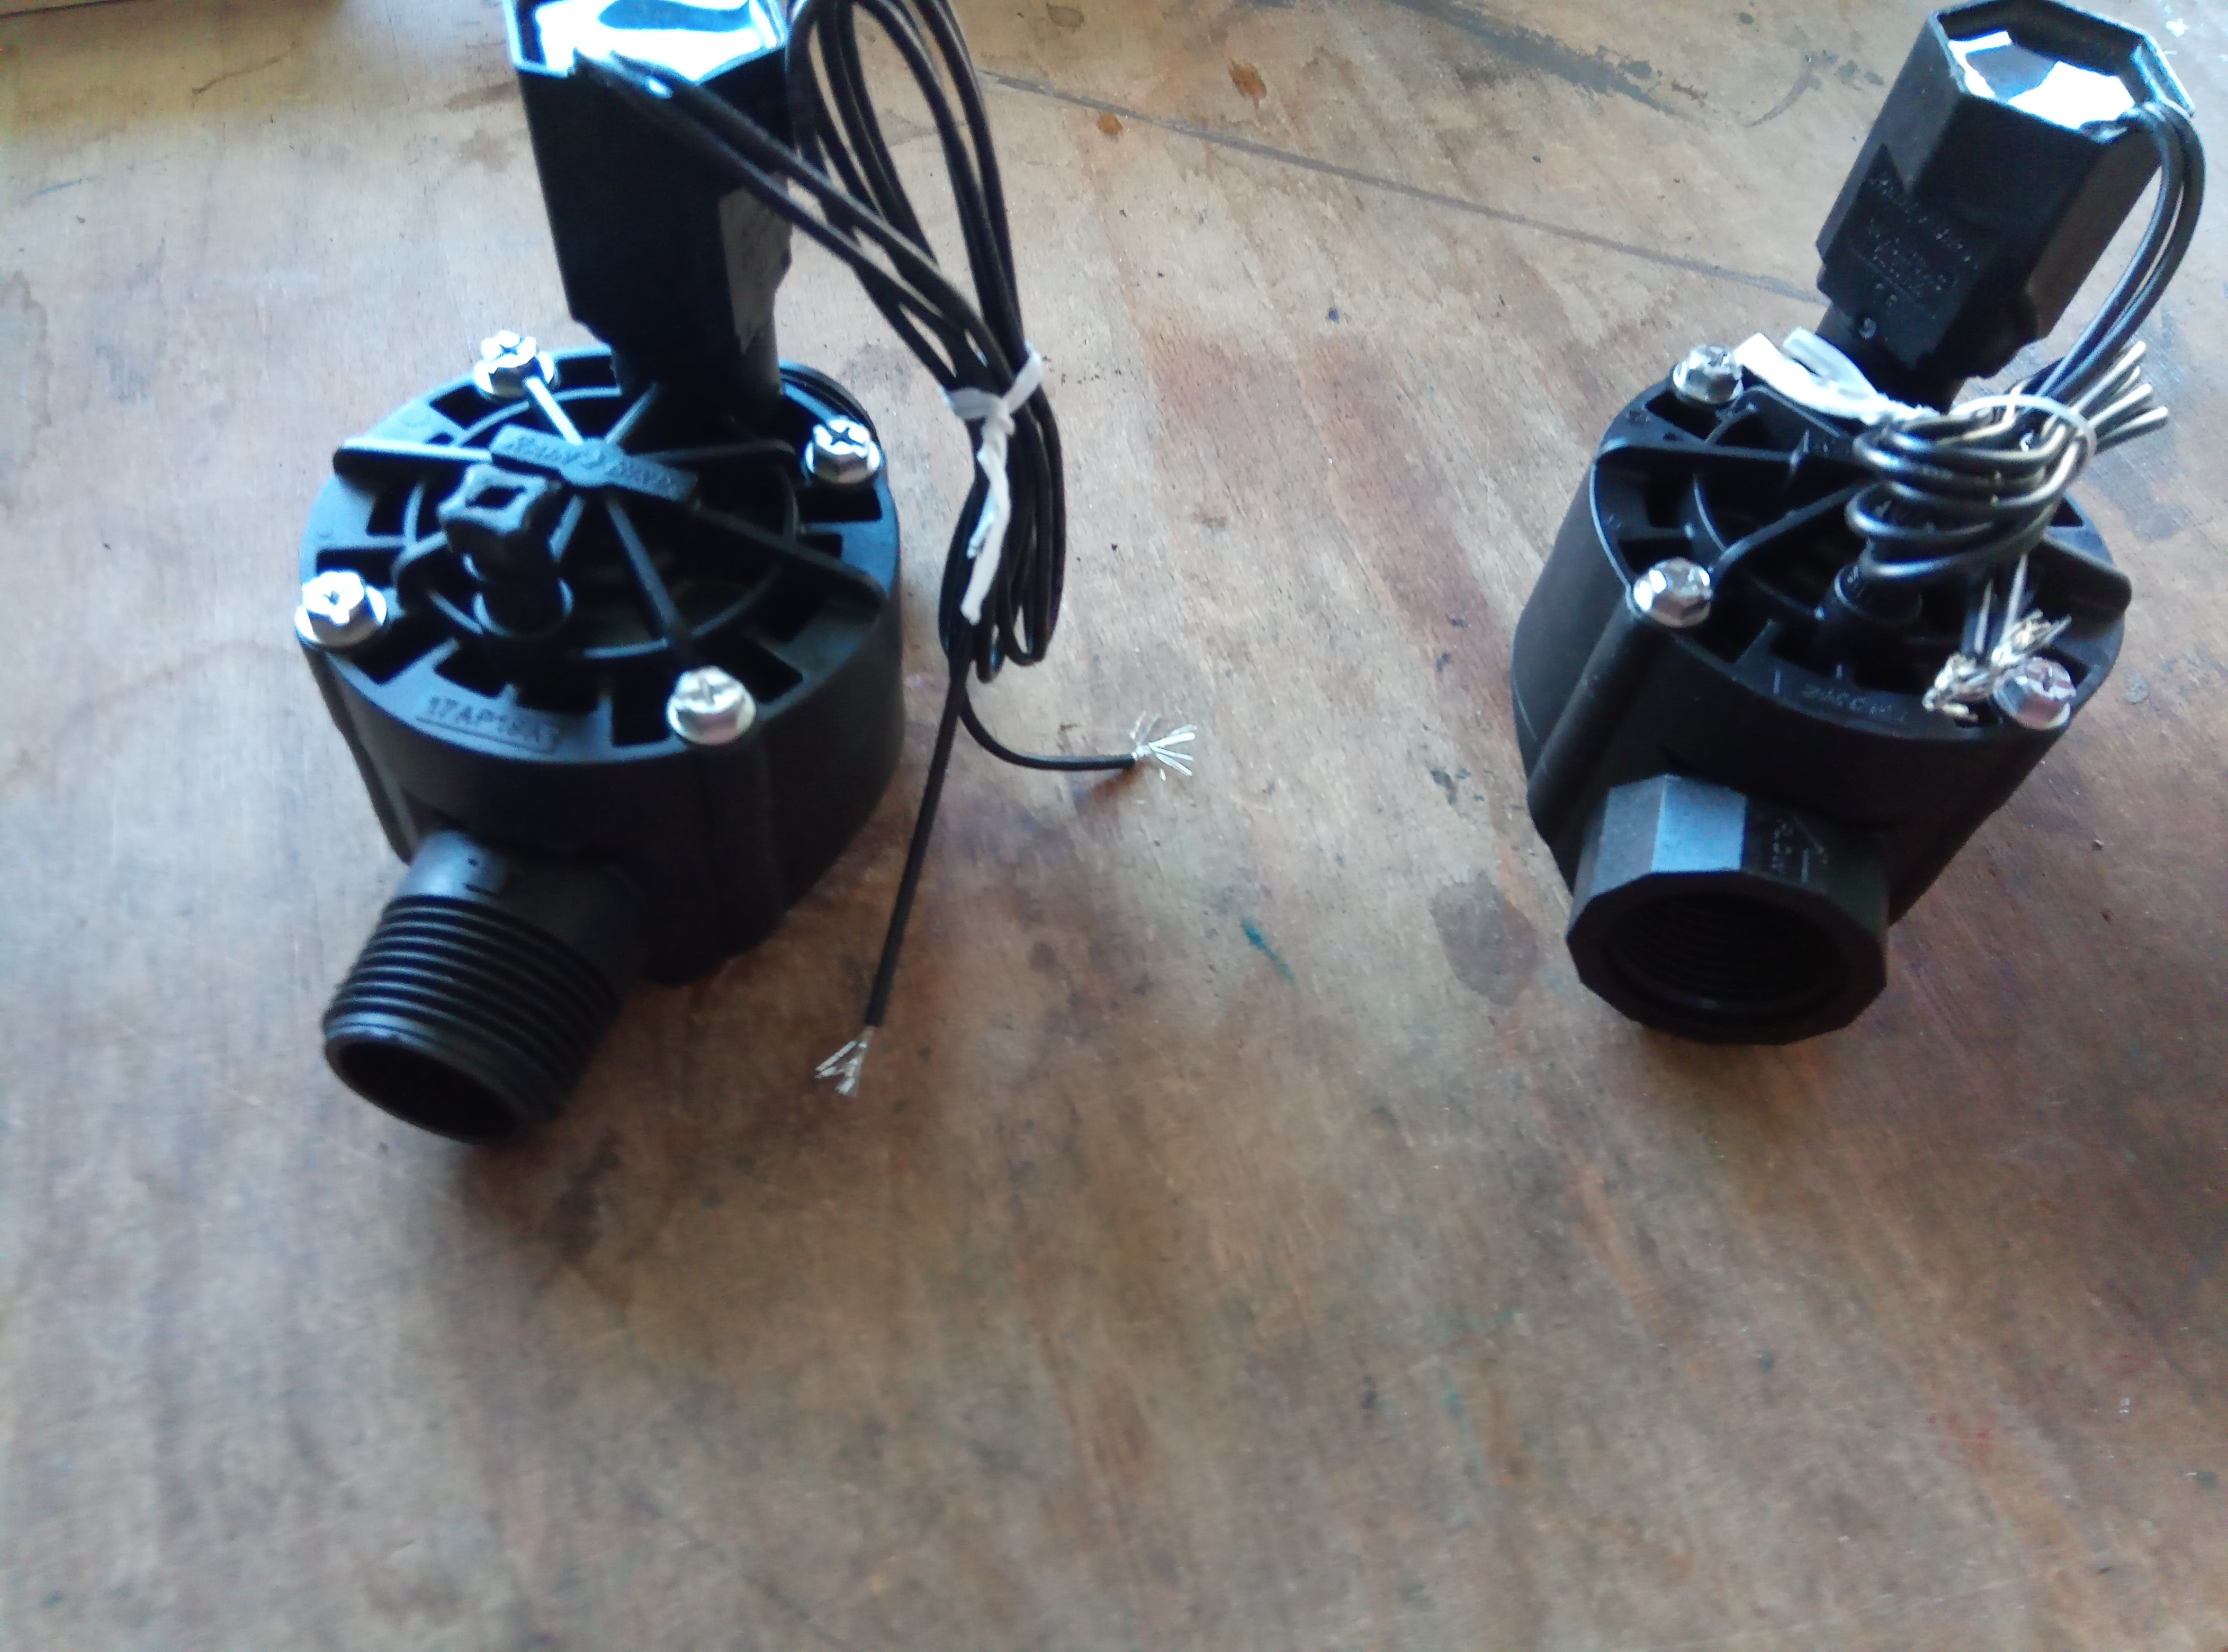
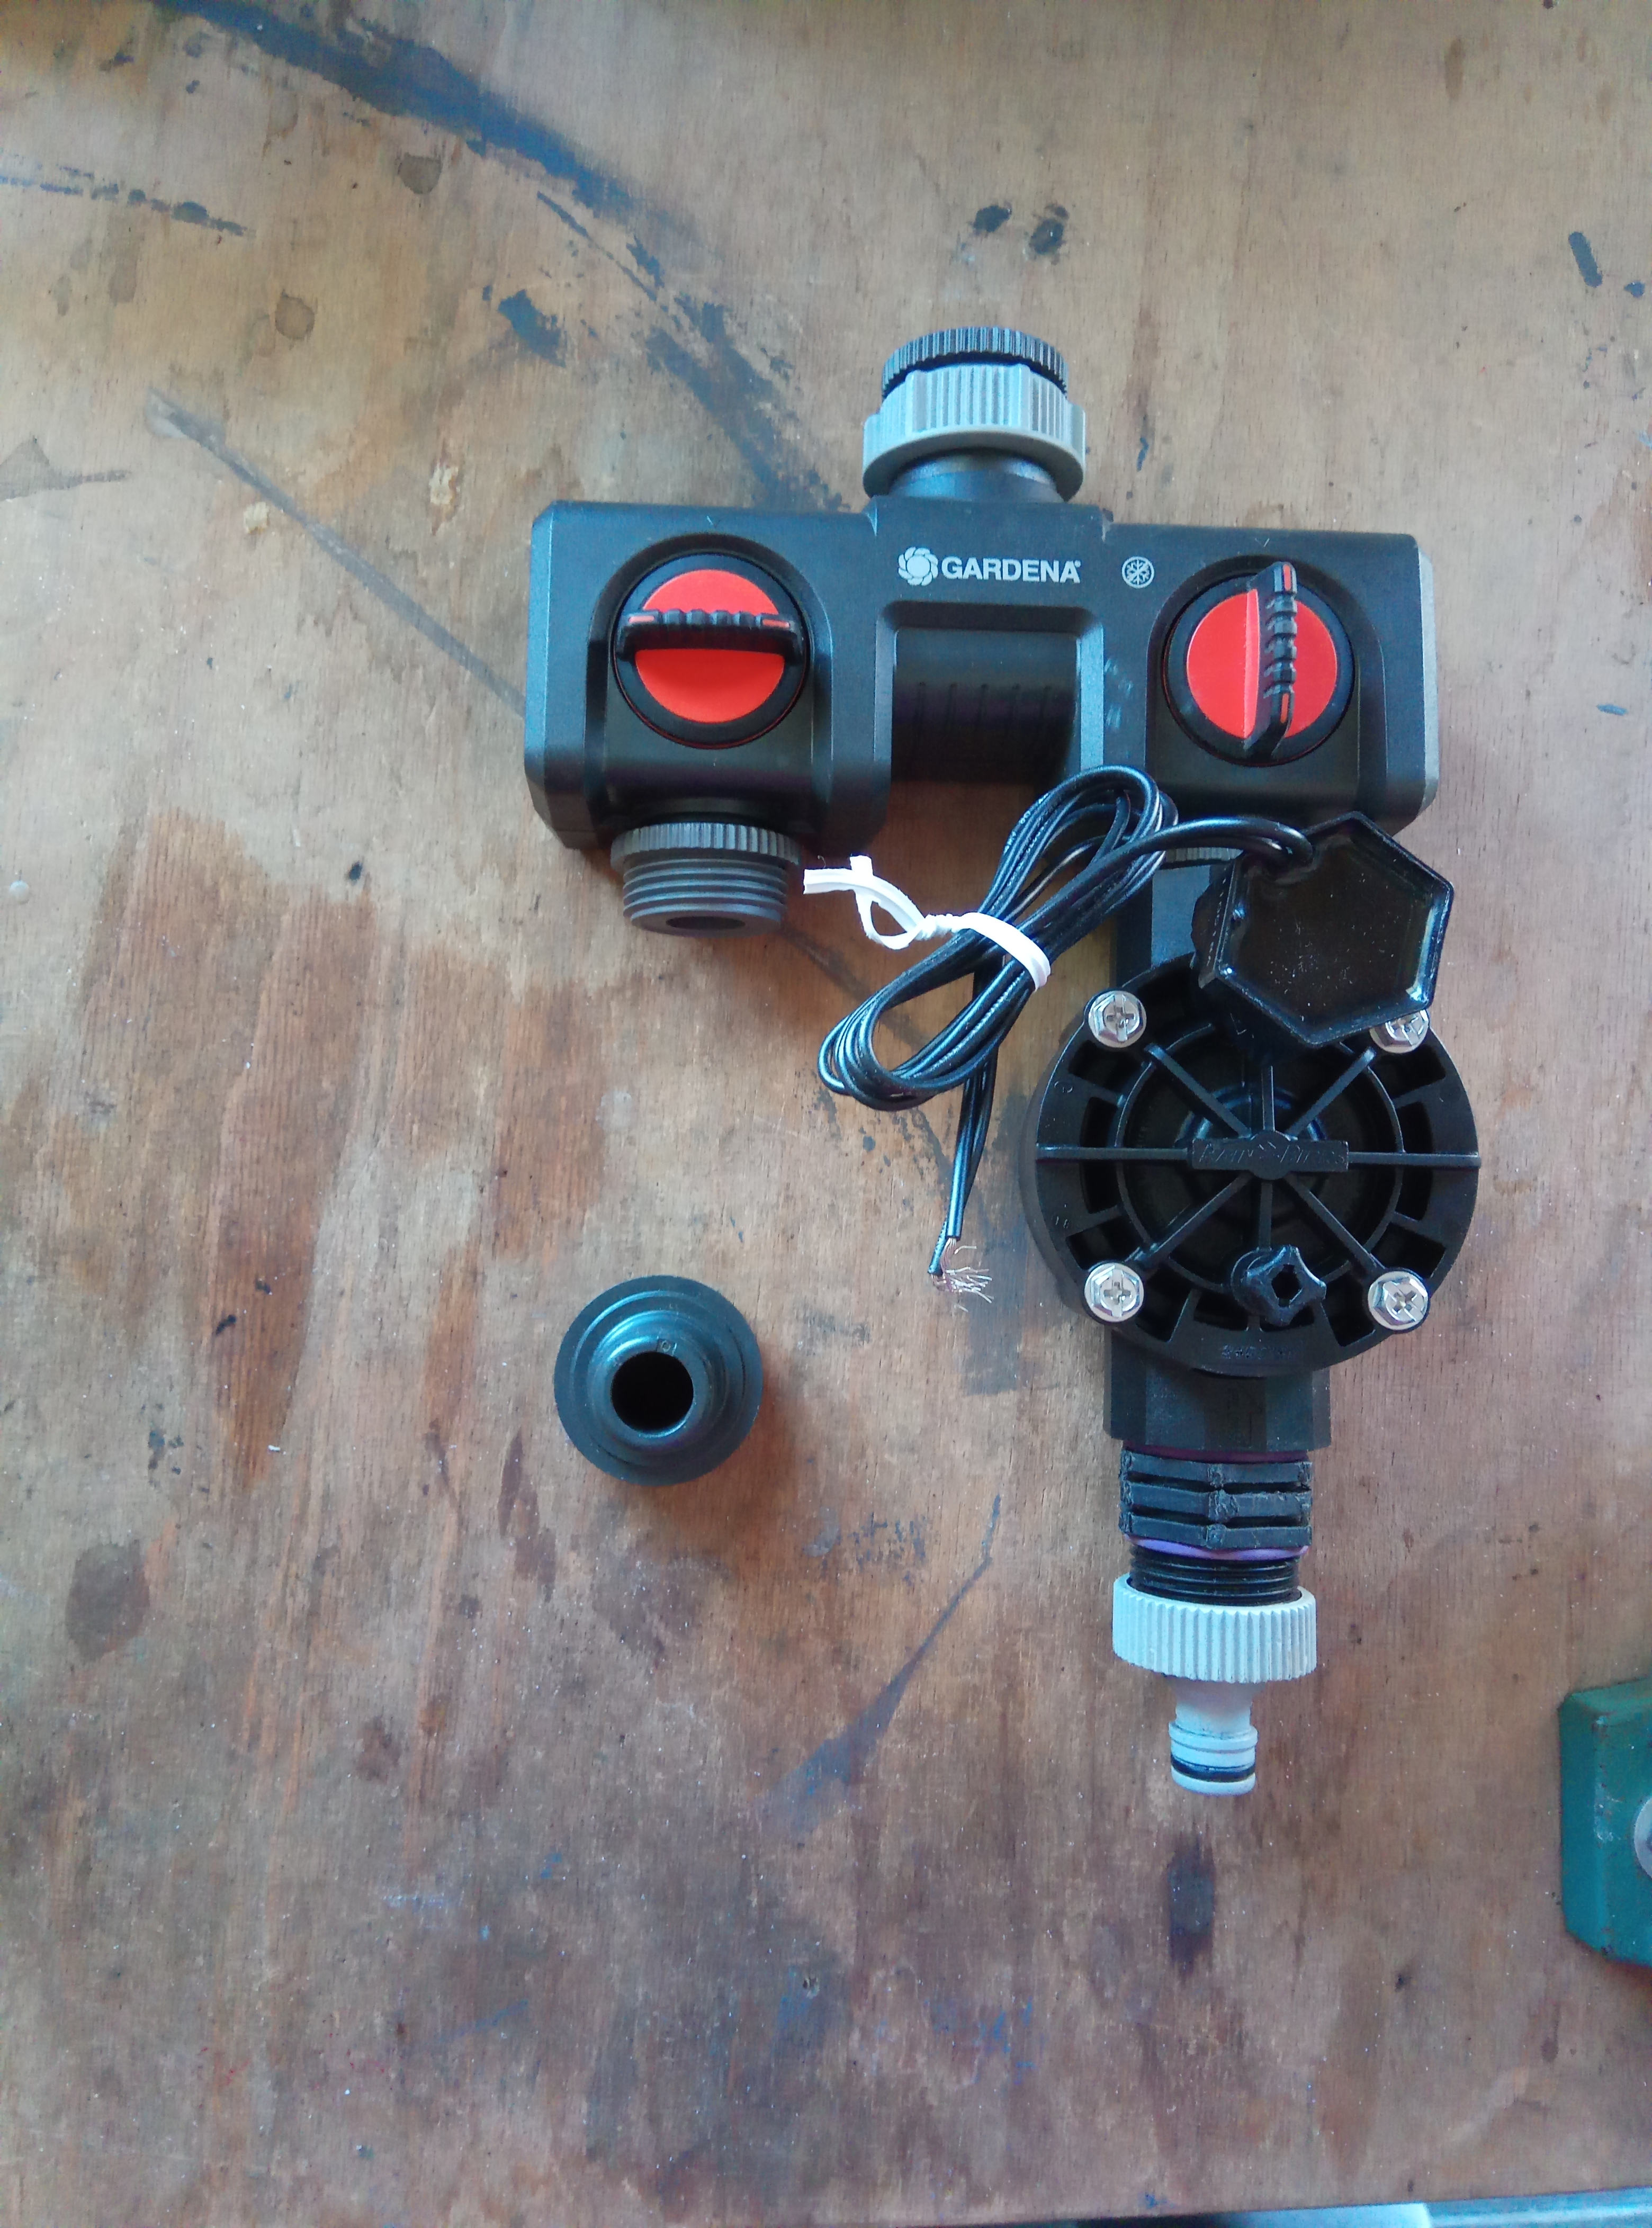
So that we don't completely block the tap, I use a 1:2 adapter from Gardena. Now you just need to screw on the adapters (the gray rings in the picture) and the solenoid valve (IG). So that you can now connect the hose below the solenoid valve, you need the double nipple 1″ male/male
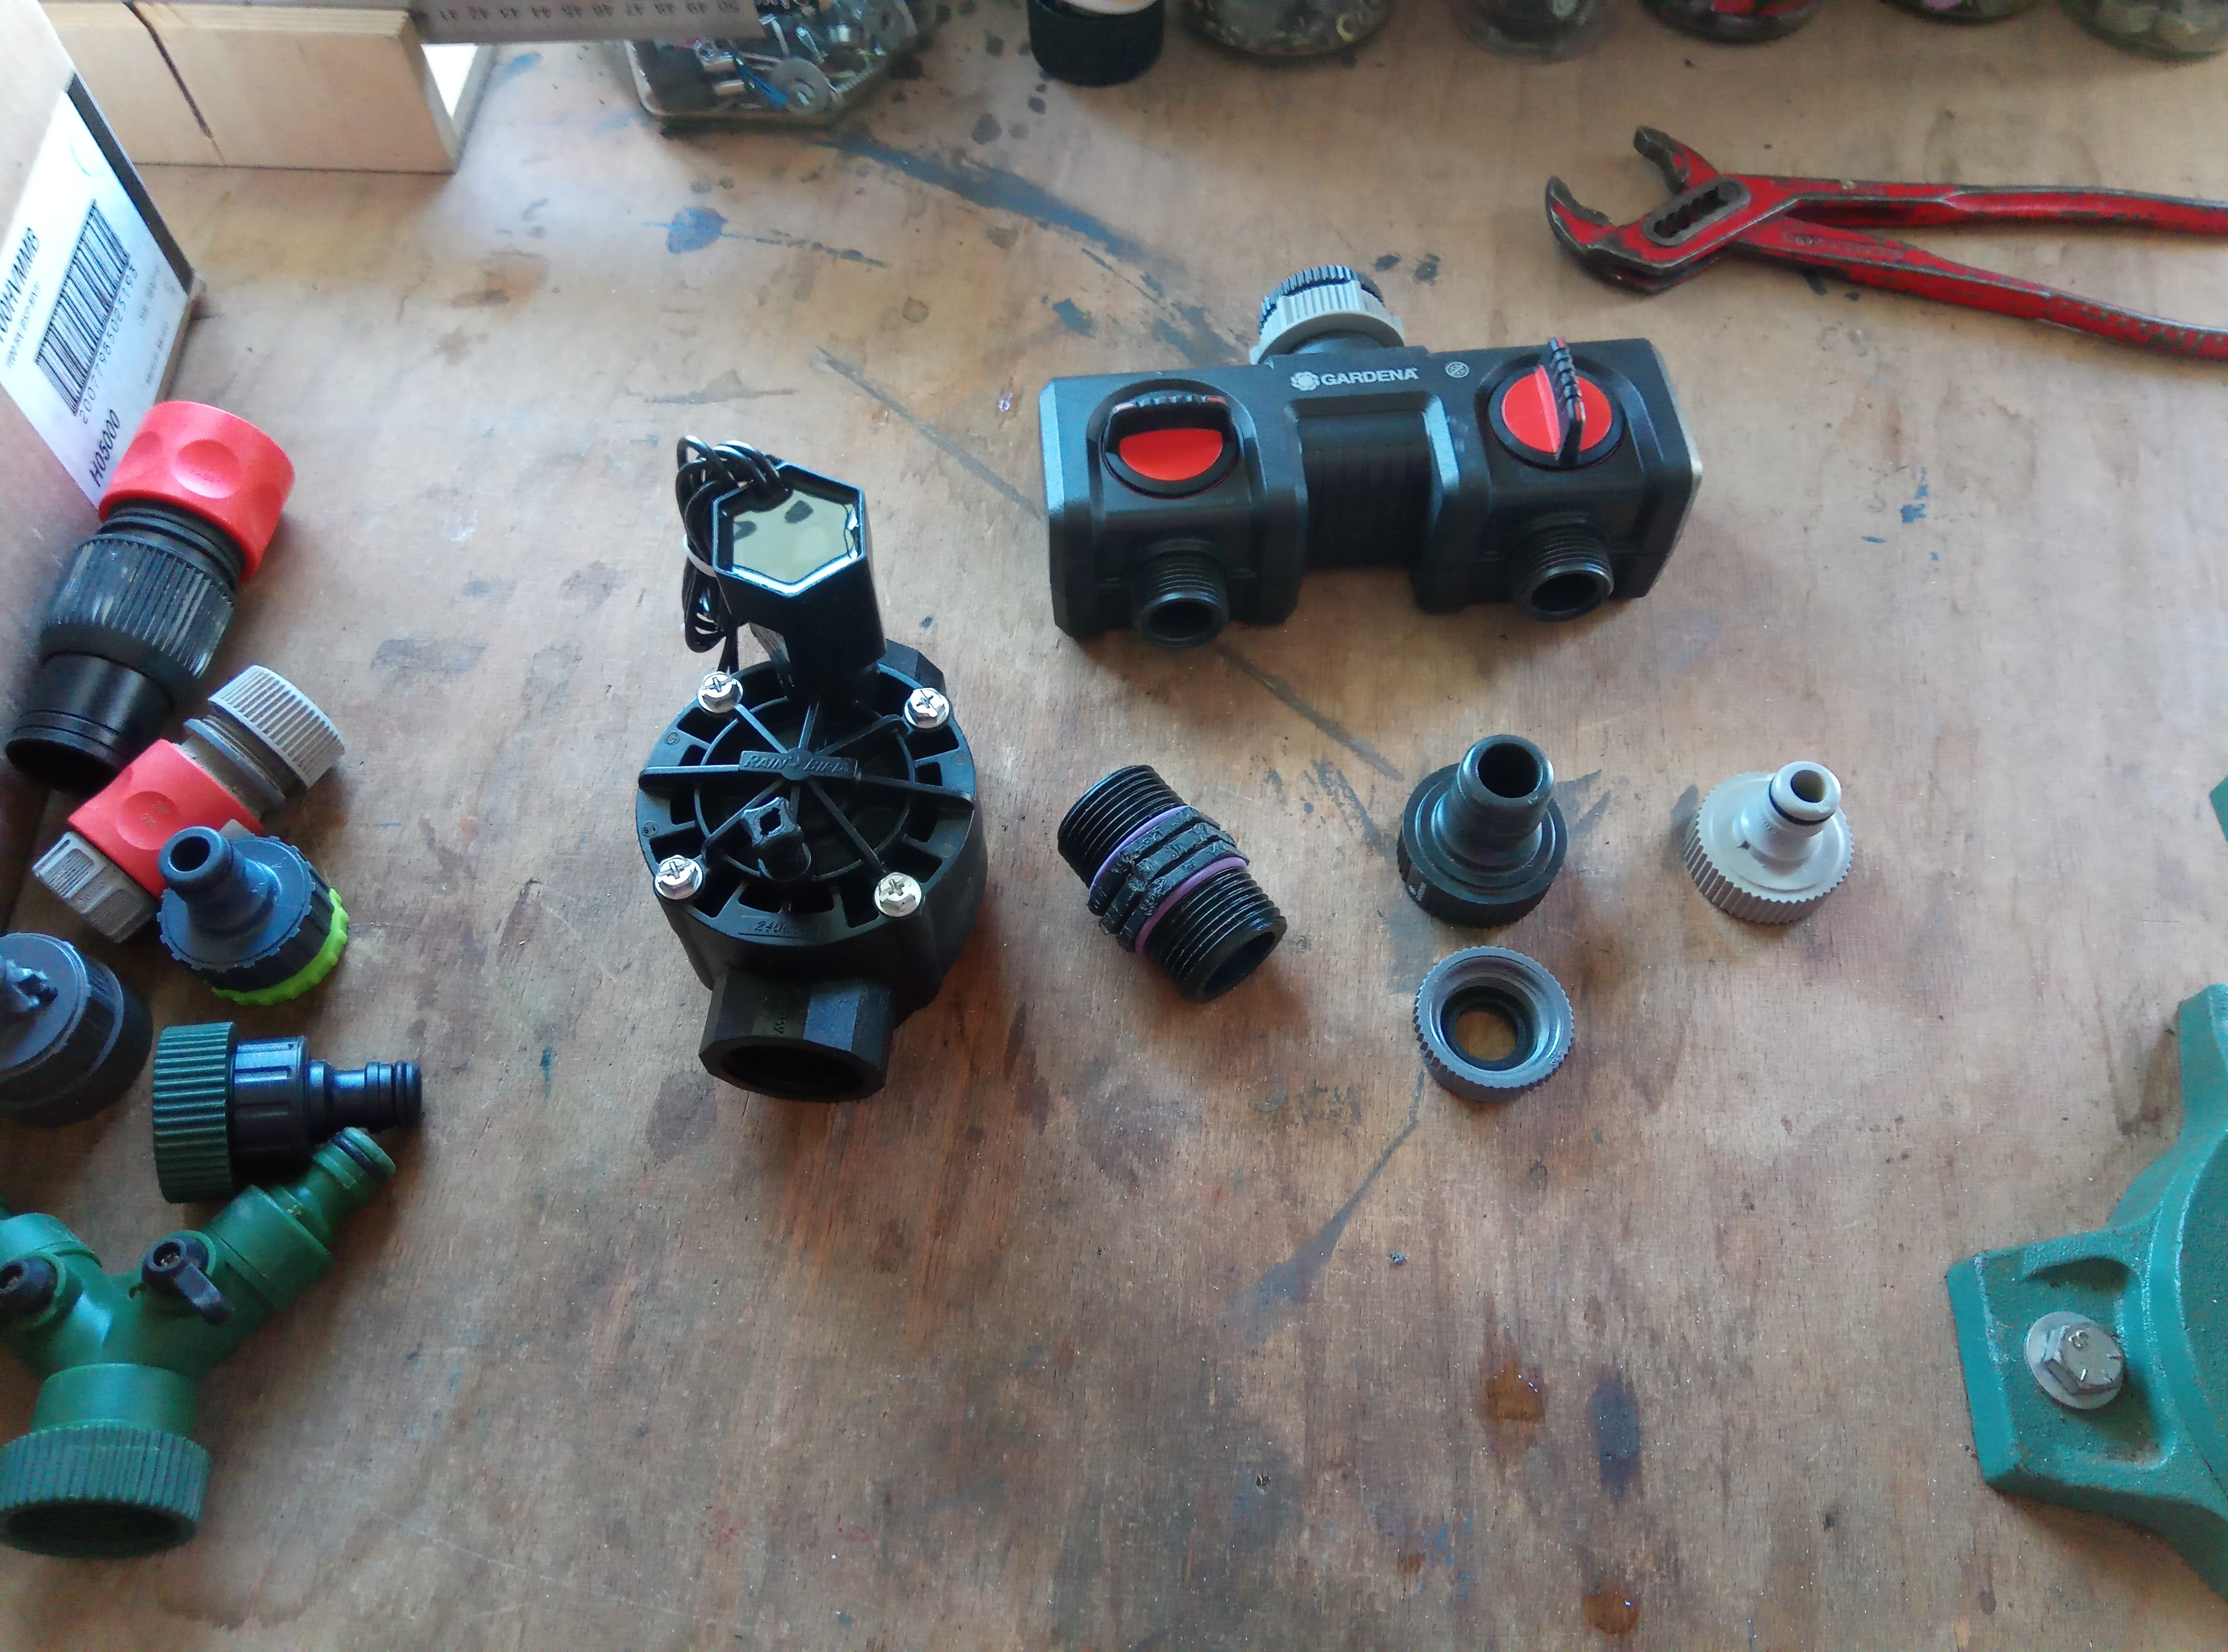

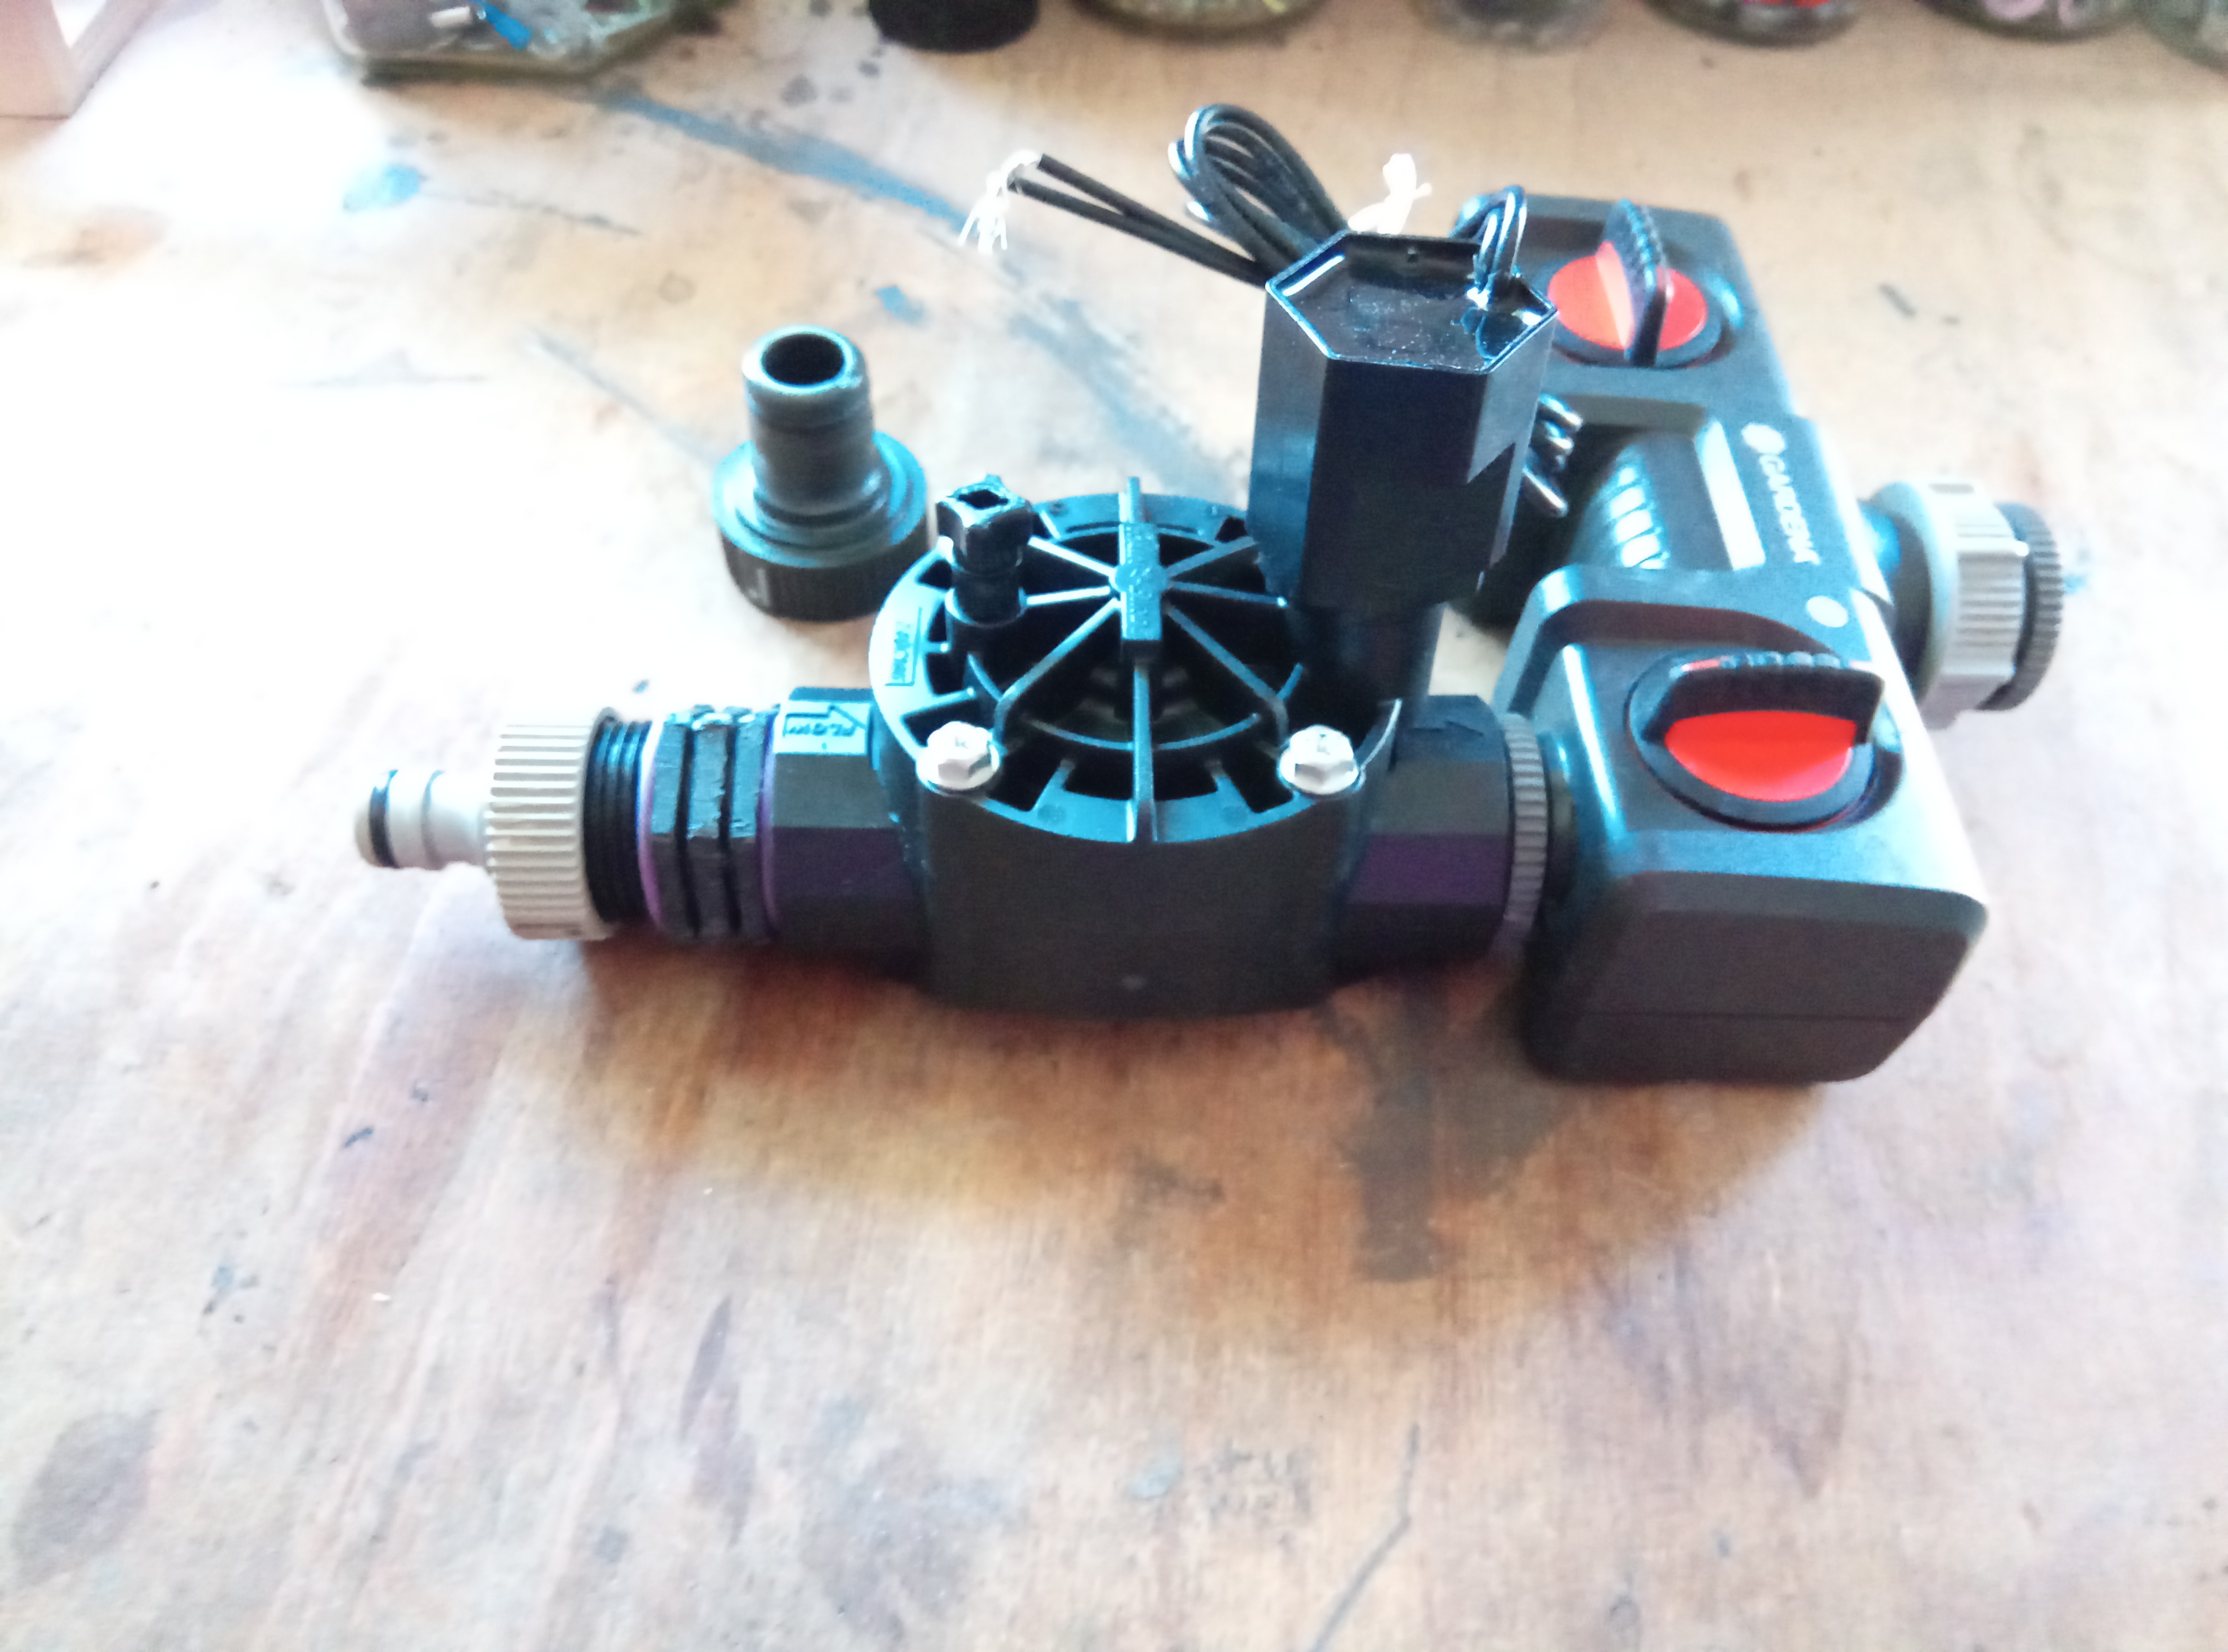
Now just screw on the hose connection adapter and the solenoid valve is installed:
Alternatively, you can do the whole thing with a solenoid valve AG. But then you have to install another connector between the water connection and the solenoid valve, e.g. a hose. I used a short piece of Gardena professional hose here. The whole thing then looks like this (left connection).

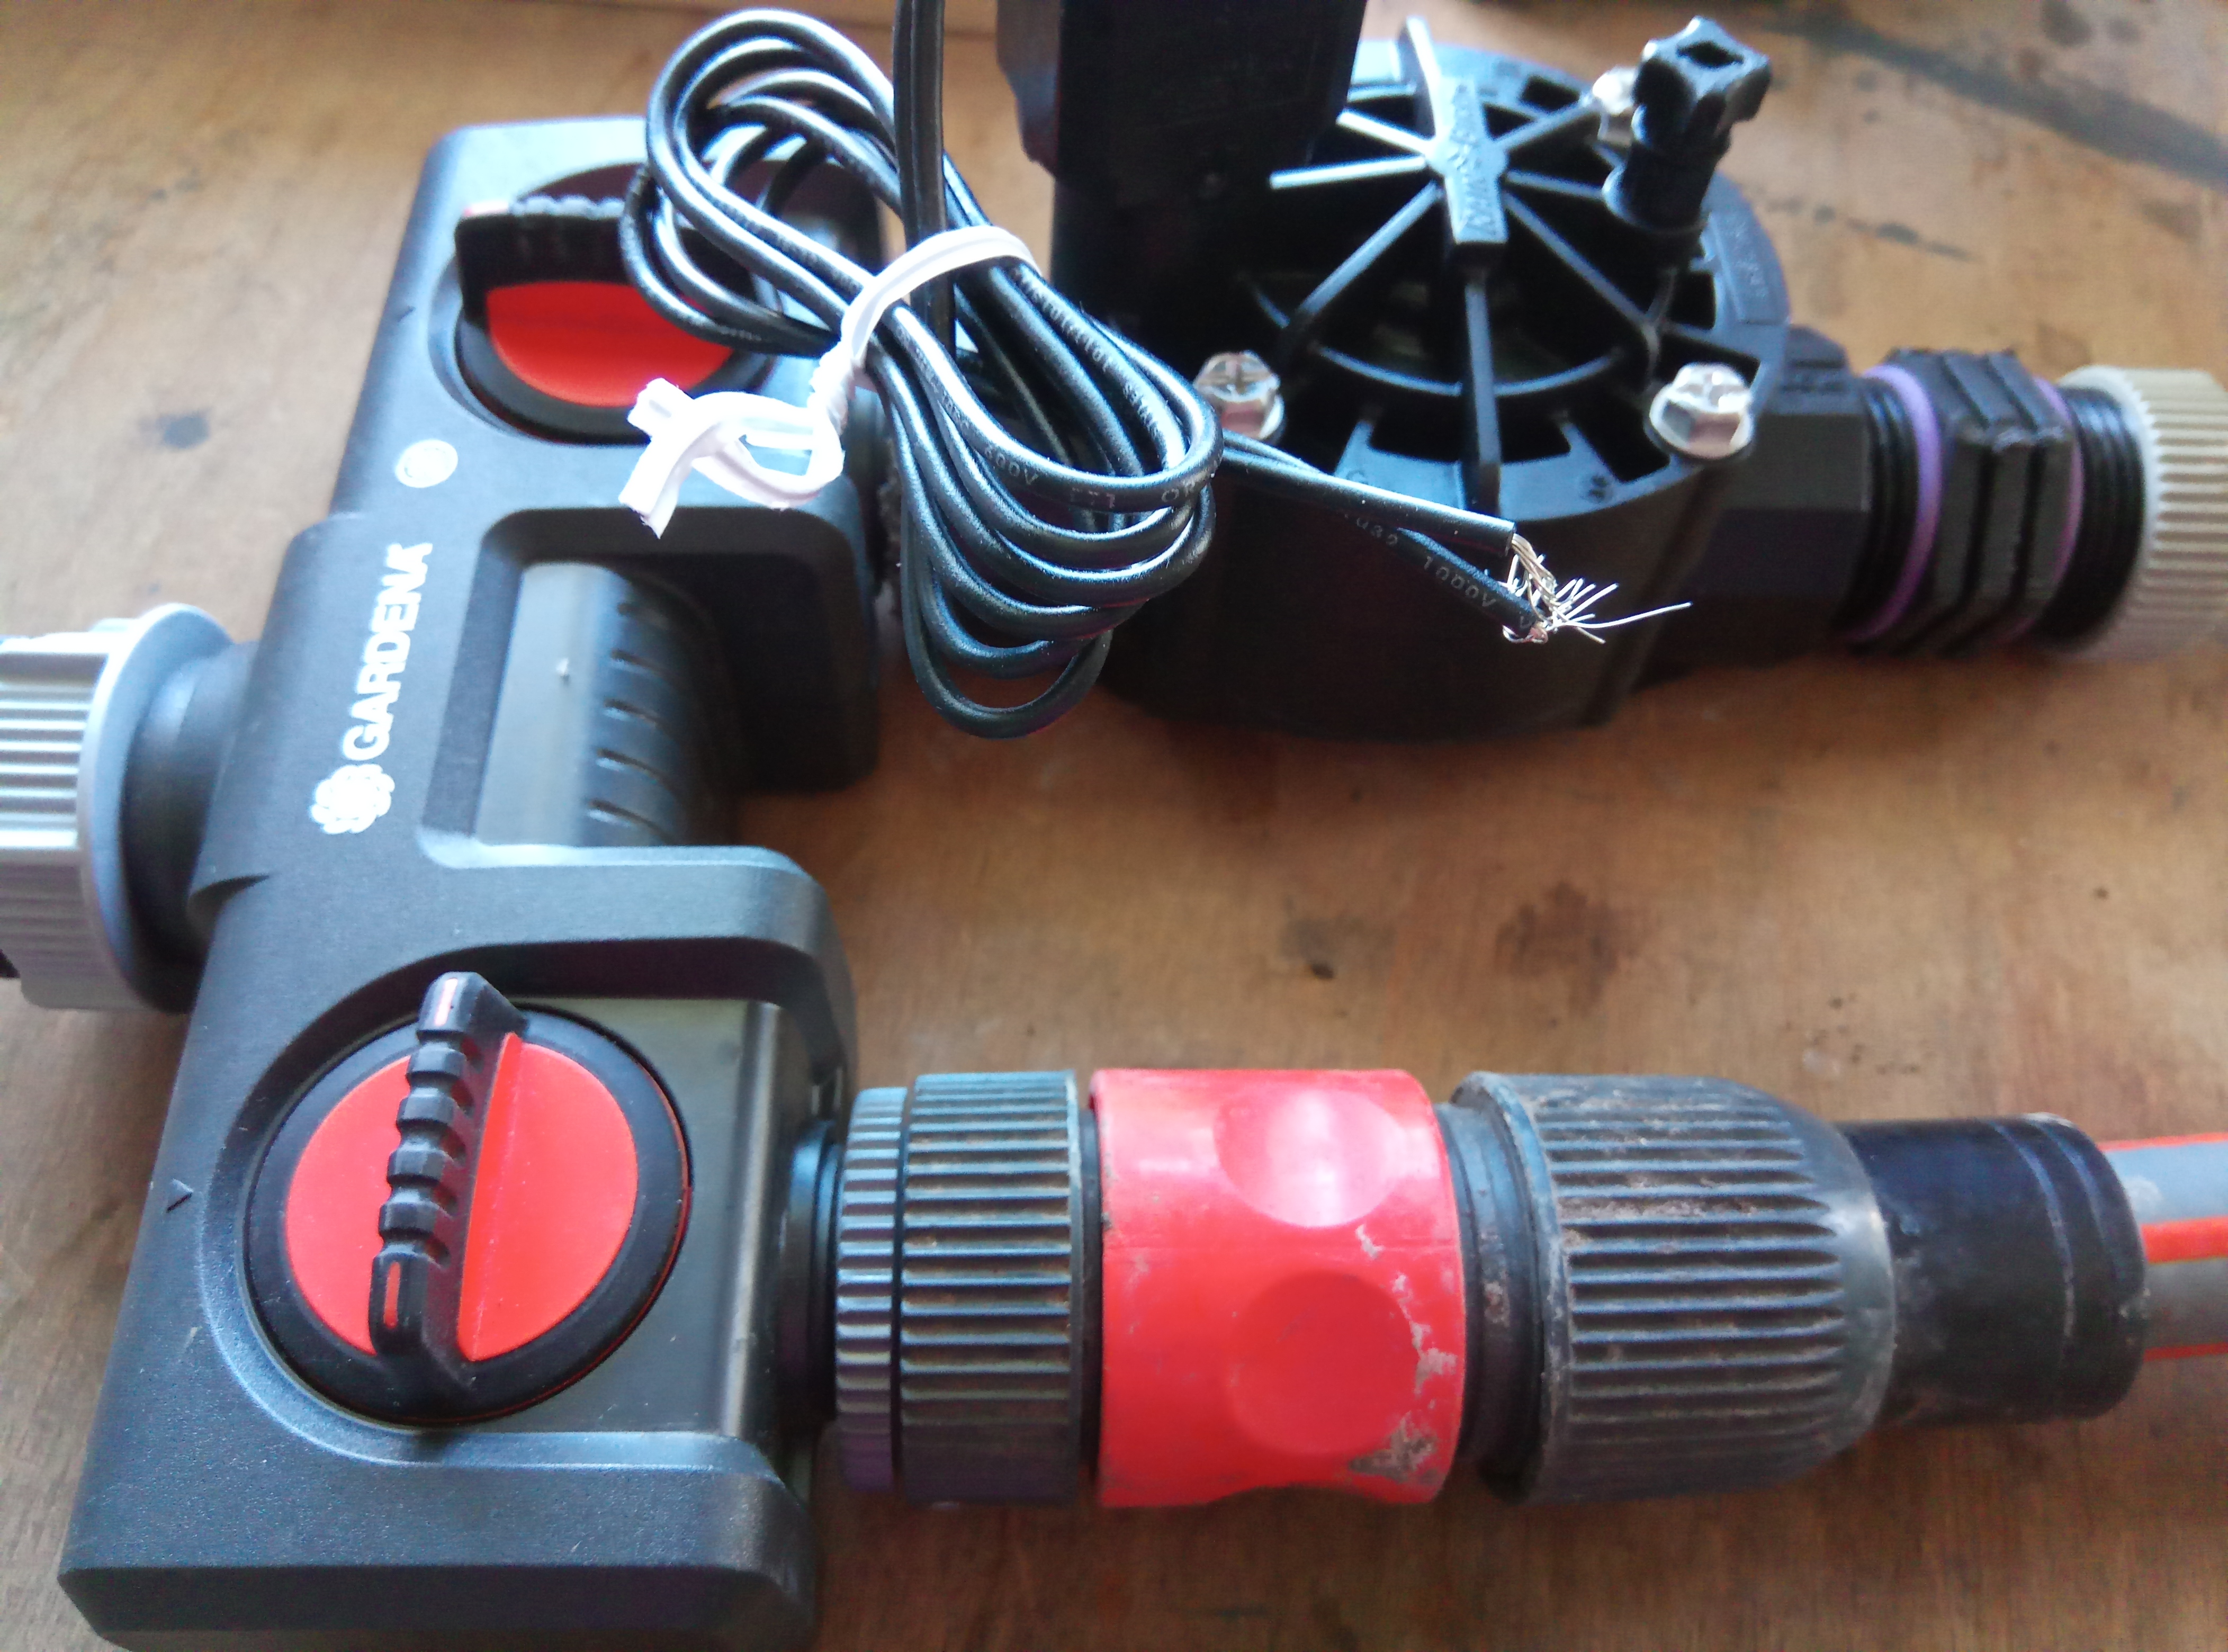
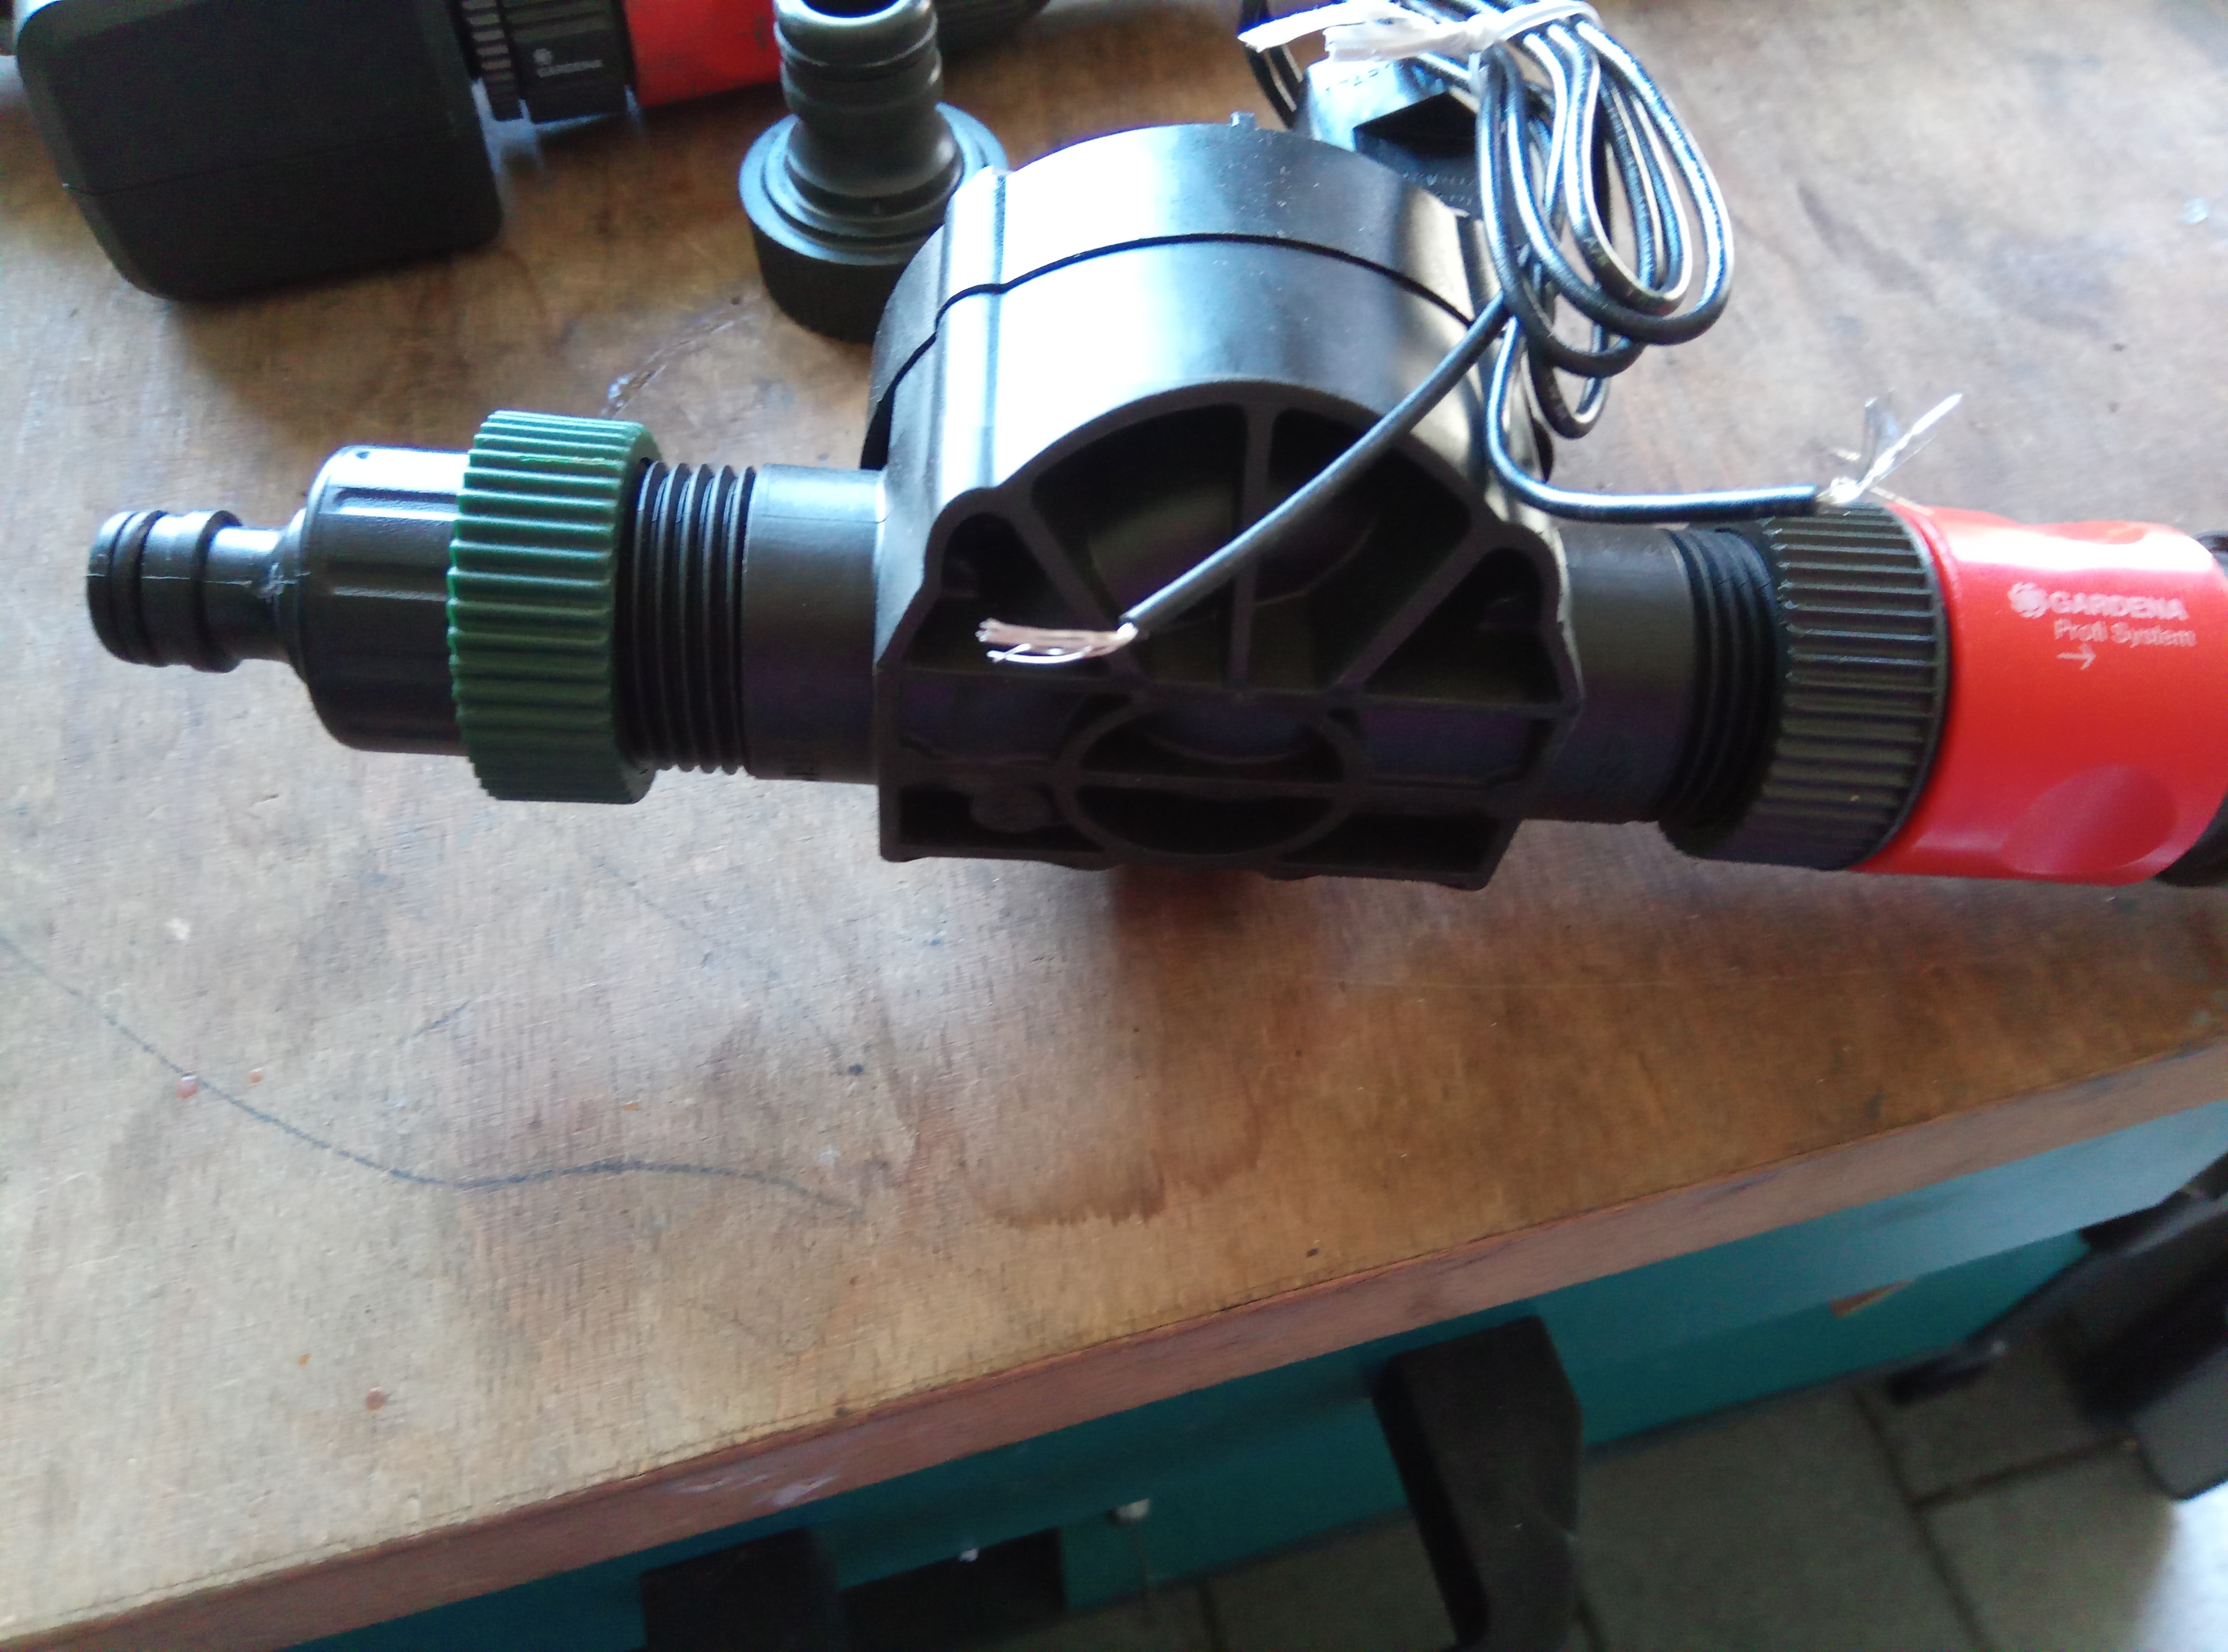
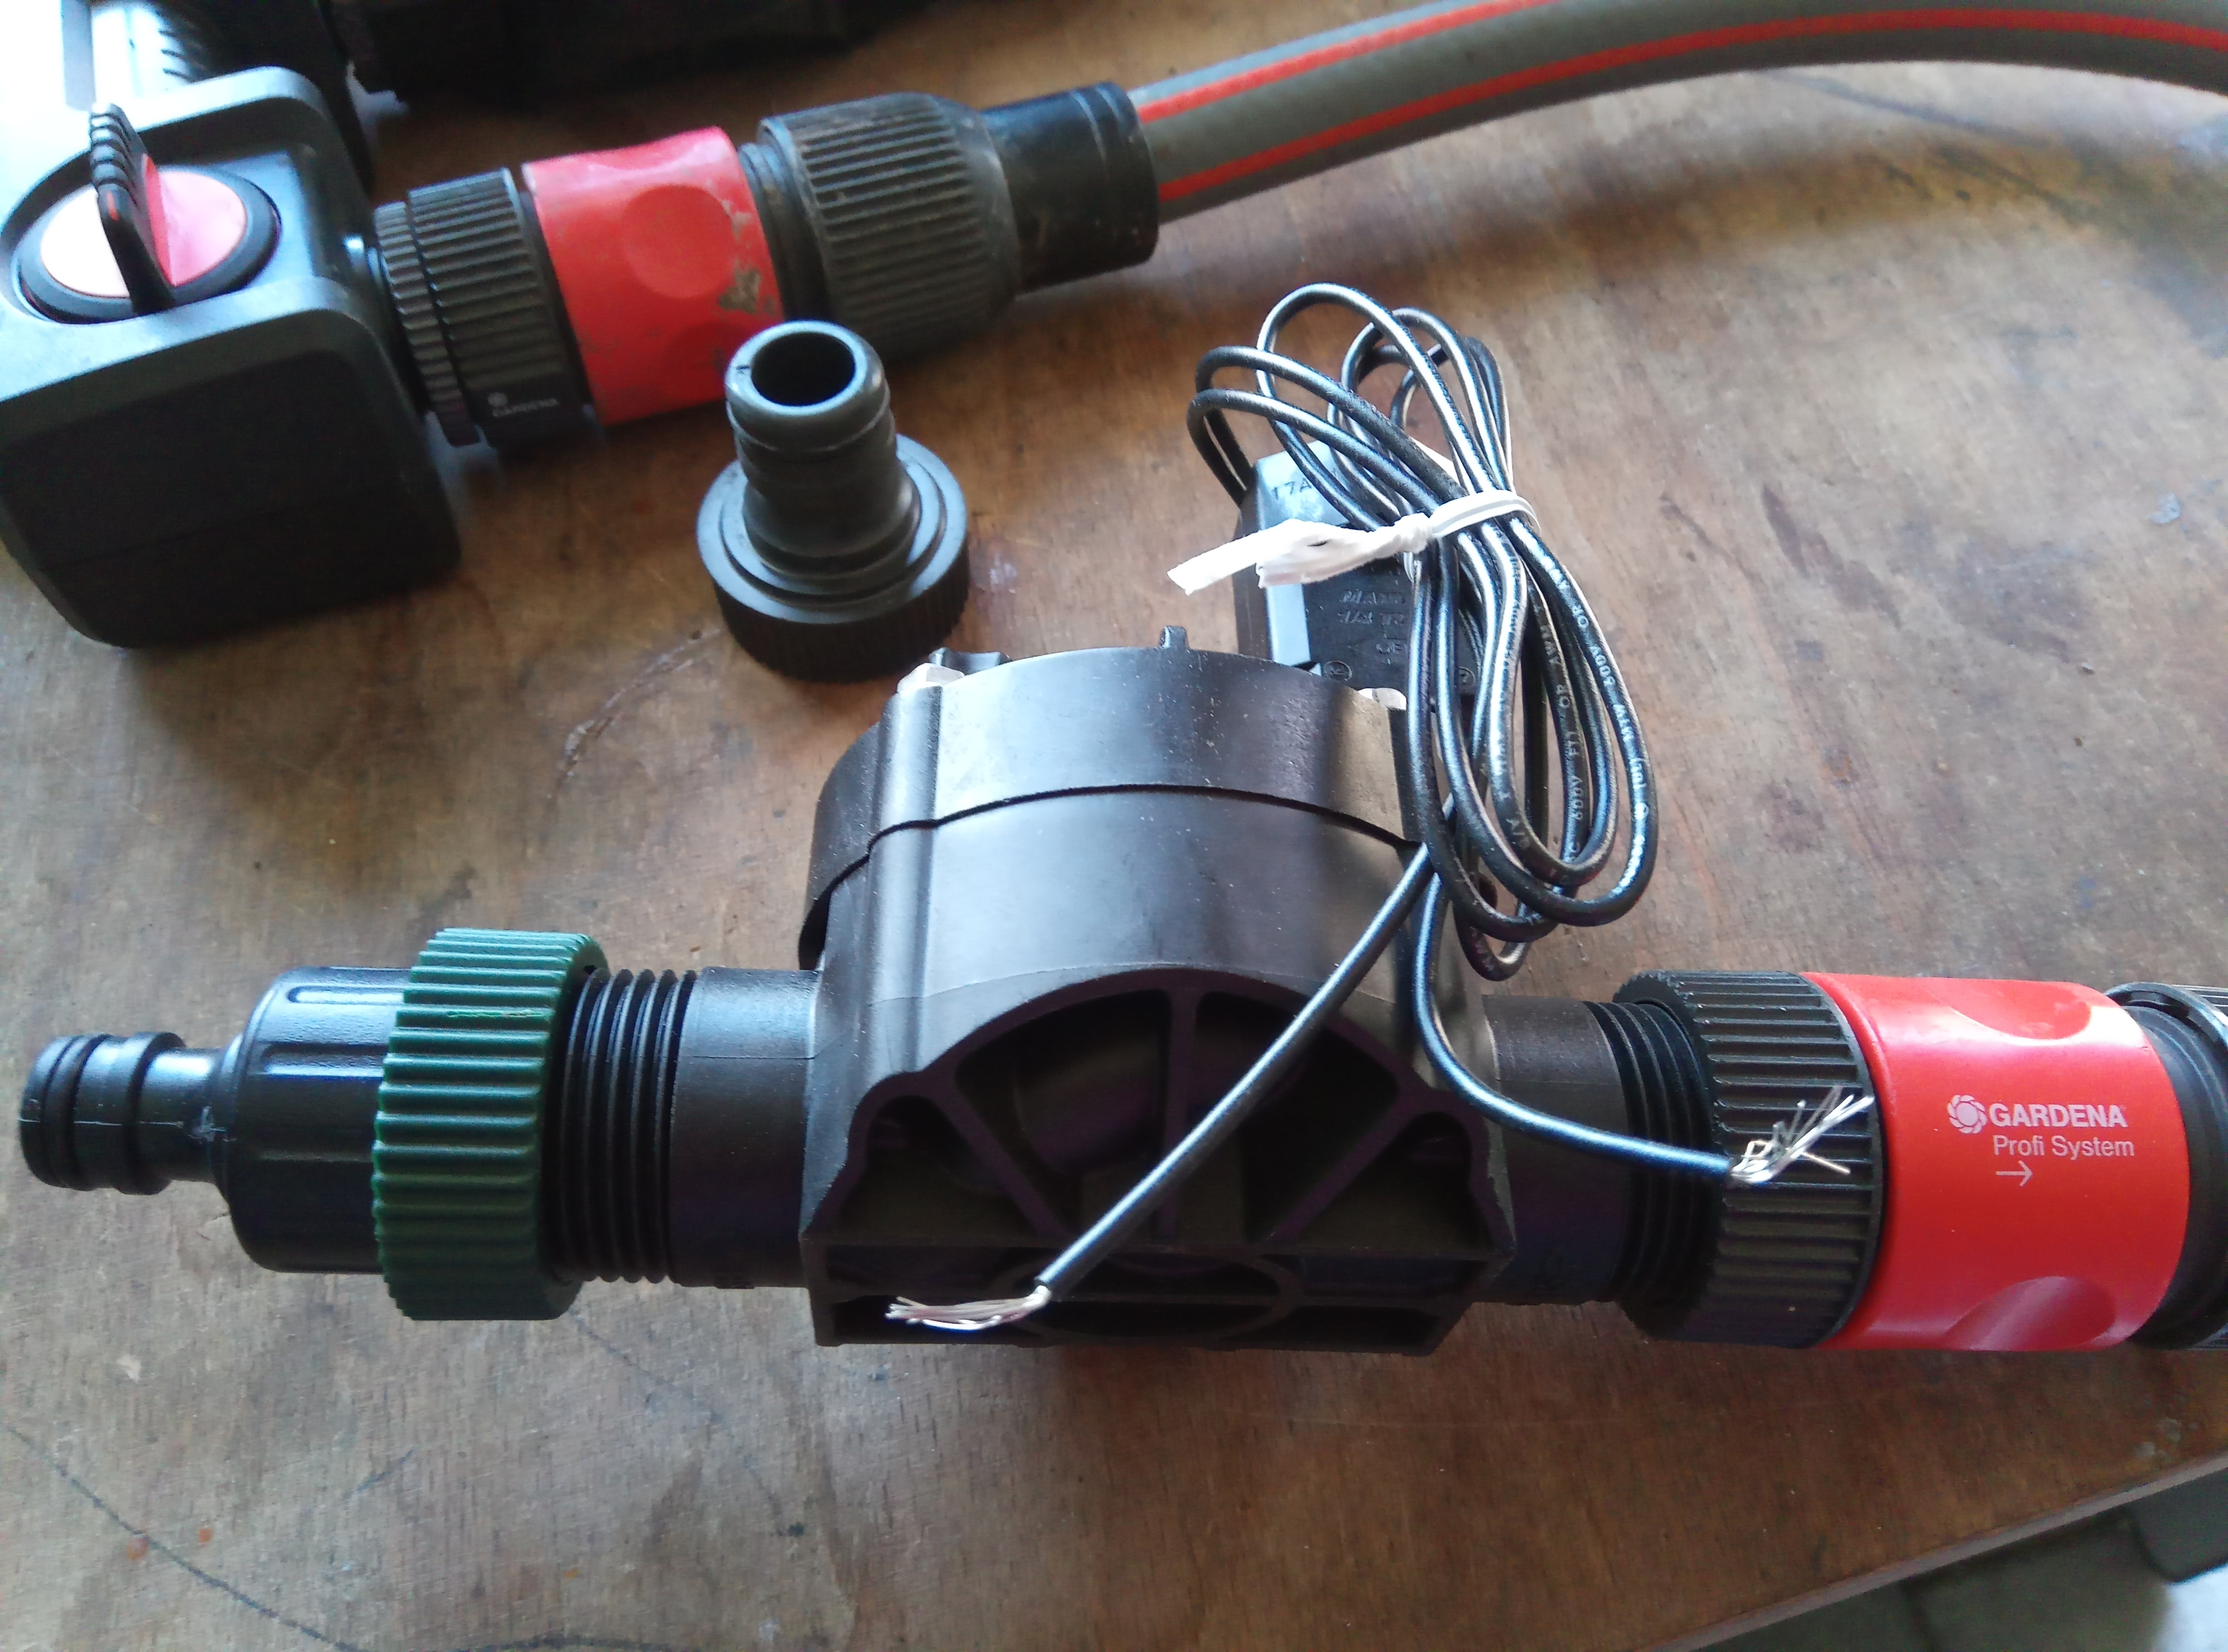
If the connectors are not tight, i.e. water runs out between the solenoid valve and the adapters, then you have to seal the thread with thread sealing tape (e.g. Teflon tape) or check any existing seals.
Part 2: Electrical connection
If the wire length of the solenoid valve does not reach the OpenSprinkler, then you should connect this with a suitable cable (see FAQ) and connect with a waterproof connector (e.g. 3M Scotchlok 314). Then connect the cable to COM and a zone connection on the OpenSprinkler/OSPI.
In the Download- section you will find further wiring instructions


The water flow should go in the direction of the arrows on the valve housings. In the pictures they point towards the 1:2 distributor entrance. Therefore I think the valves are basically installed upside down.
Yes, well recognized! I noticed it too, but the pictures were already taken...So always pay attention to the correct installation direction!
Good day,
I operate a water connection and 2 brass distributors with 4 water connections each. There is 1 solenoid valve connected to the main tap, which can be switched via a power switch in the house.
If I switch off the valve (power off) and the valve is defective and doesn't close, water could leak unintentionally for a long time, right?
Question: To be on the safe side, can you operate the connection with 2 valves on one switch and how does that work?
Thank you in advance for your information!
Hans-Jürgen Post
Yes that works. Officially, you should not connect more than one solenoid valve to a zone, but since one output can switch up to 800mA, up to 3 solenoid valves can be operated in parallel (at 240mA per solenoid valve).