
Generally
Control the pump with a WLAN socket
With the OpenSprinkler “main irrigation circuit” function you can easily control a pump. The main irrigation circuit is opened before the first irrigation circuit and only closed after the last irrigation circuit. But what does this look like electrically? There is 24VAC or 7.5-12VDC (depending on the version) at the OpenSprinkler connection.
Possibilities are:
- Relays: There are many 24VAC relays (AC models and OSPi) or 3-32VDC solid-state relays (DC models) available in stores that can be mounted on the DIN rail.
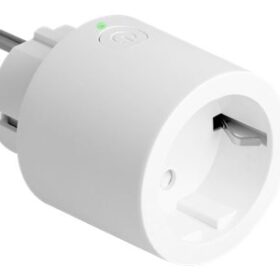
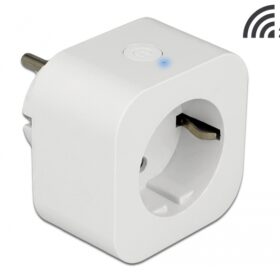
- WLAN socket: OpenSprinkler can switch actuators via the WLAN with the “Station Type” “HTTP” – e.g. the WLAN socket from DeLock or Shelly.
- Via radio: Together with the RFToy from OpenSprinkler.com, radio sockets can also be switched. However, there are hardly any such sockets in Germany.
Inductive load and ohmic load
An inductive load, e.g. motors, relays, coils and electromagnets, has the property that after the current is switched off, a pulse flows in the opposite direction of the current, which can lead to the destruction of the relay or switch. In principle, a maximum of 2/3 of the maximum output power of the relay or switch should be installed in this type of device.
With a 2500W switch this means a maximum of 1666W pump power.
This effect does not exist with ohmic loads, e.g. LED or light bulbs.
Control with OpenSprinkler
The following description is for Tasmota-compatible sockets, such as: DeLOCK 11826/11827which you can buy in our shop:
- For a station, click the gear icon and then click “Advanced.”
- Under “Station Type” select “HTTP”.
- In “Server Name” enter the IP address of the WLAN socket
- In “Server Port” the port, usually 80
- The ON command is “cm?cmnd=Power%20On”
- The OFF command is “cm?cmnd=Power%20Off”
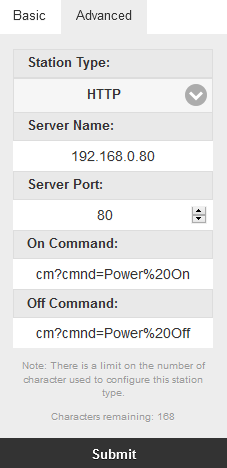
Then confirm with “Submit” to save the data. Now test the function by letting the station run for a few seconds.
There are more commands here: https://tasmota.github.io/docs/Commands/
Configure maximum runtime: In order to prevent damage if the WLAN connection fails, you should definitely define a maximum runtime.
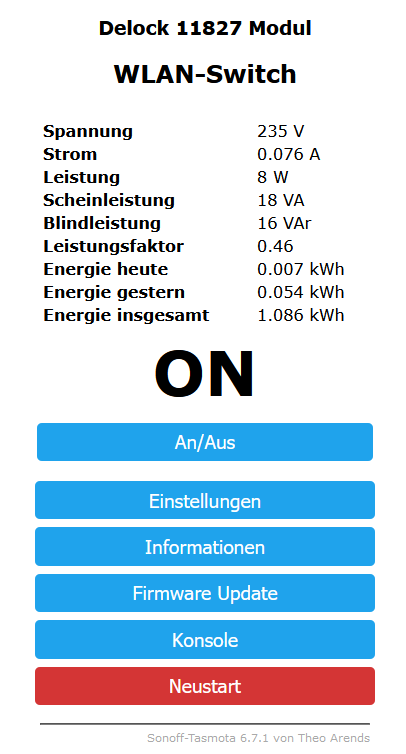
With DeLOCK or with all Tasmota compatible WLAN sockets there is the command “PulseTime”. To configure, go to the web interface of the WLAN socket and select “Console”.
Now enter the command “PulseTime <nSec>” in the console, where “<nSec>” stands for the number of seconds after which the system switches off at the latest. So for 2h that's 2x60x60 = 7200s
So enter for 2 hours: “PulseTime 7200”