
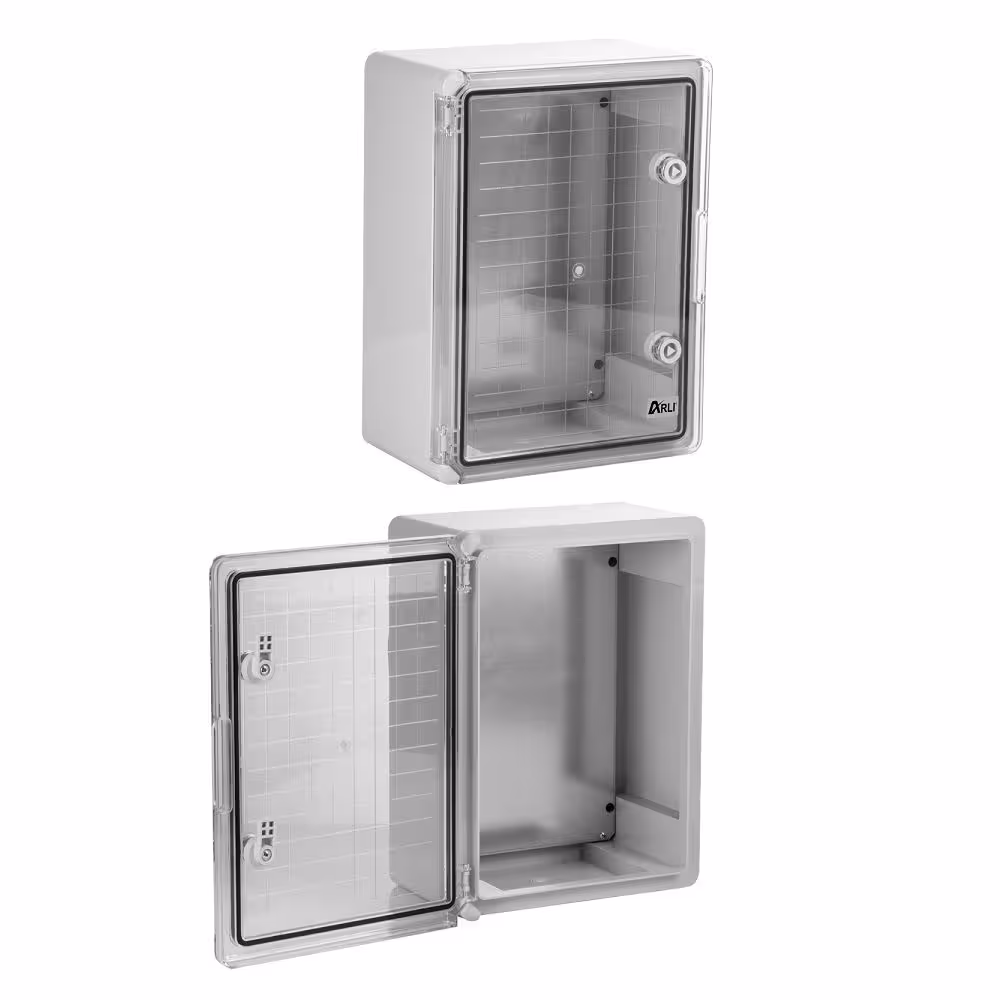


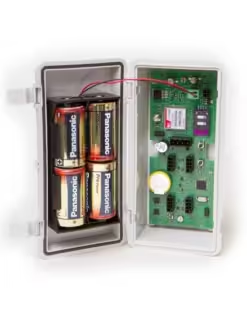
Product information “Plastic control cabinet IP65”
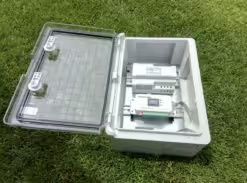
Control cabinet with galvanized mounting plate and locks.
| Type 1 | Type 2 | Type 3 | |
| External dimensions: | 210x280x130mm | 250x350x150mm | 300x400x170mm |
| Internal dimensions: | 160.6 x 236.6 x 118mm | 195x300x139mm | 245x352x159mm |
| Number of locks: | 1 | 2 | 2 |
| DIN rail mounting (recommendation)*: | 6cm from top, 7cm from below |
8cm from top, 10cm from below |
8cm from top, 10cm from below |
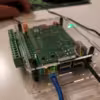
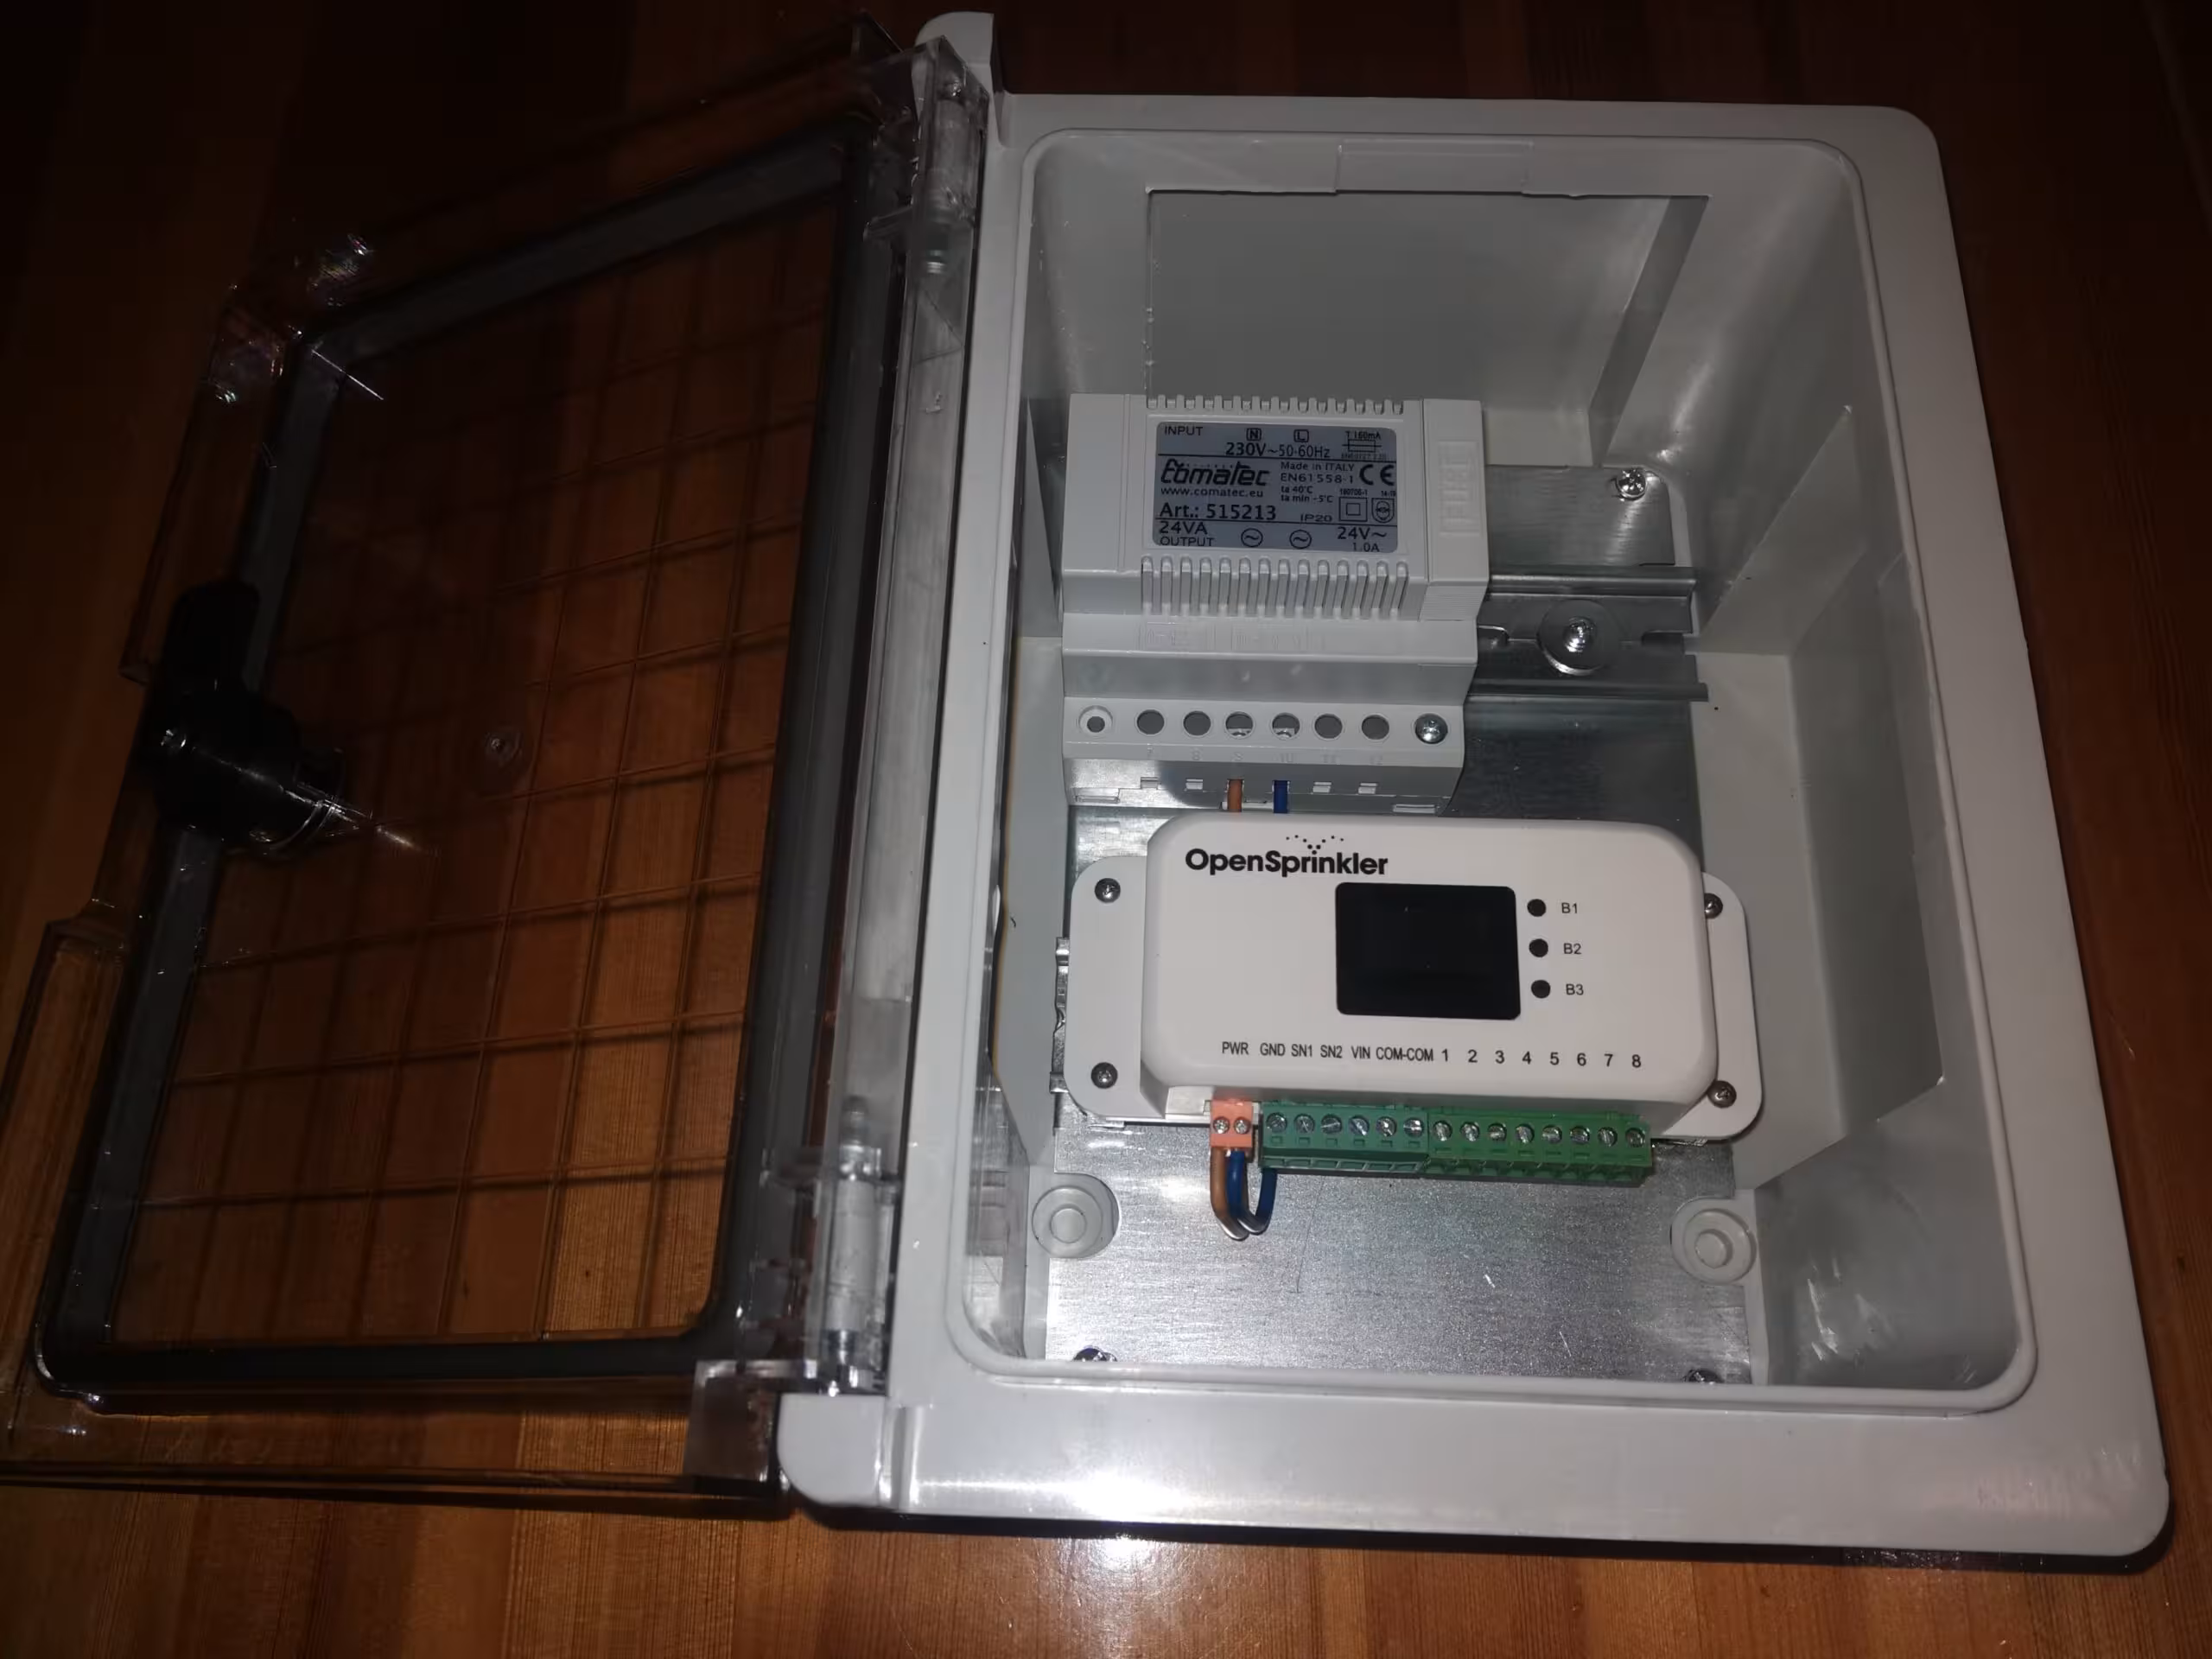
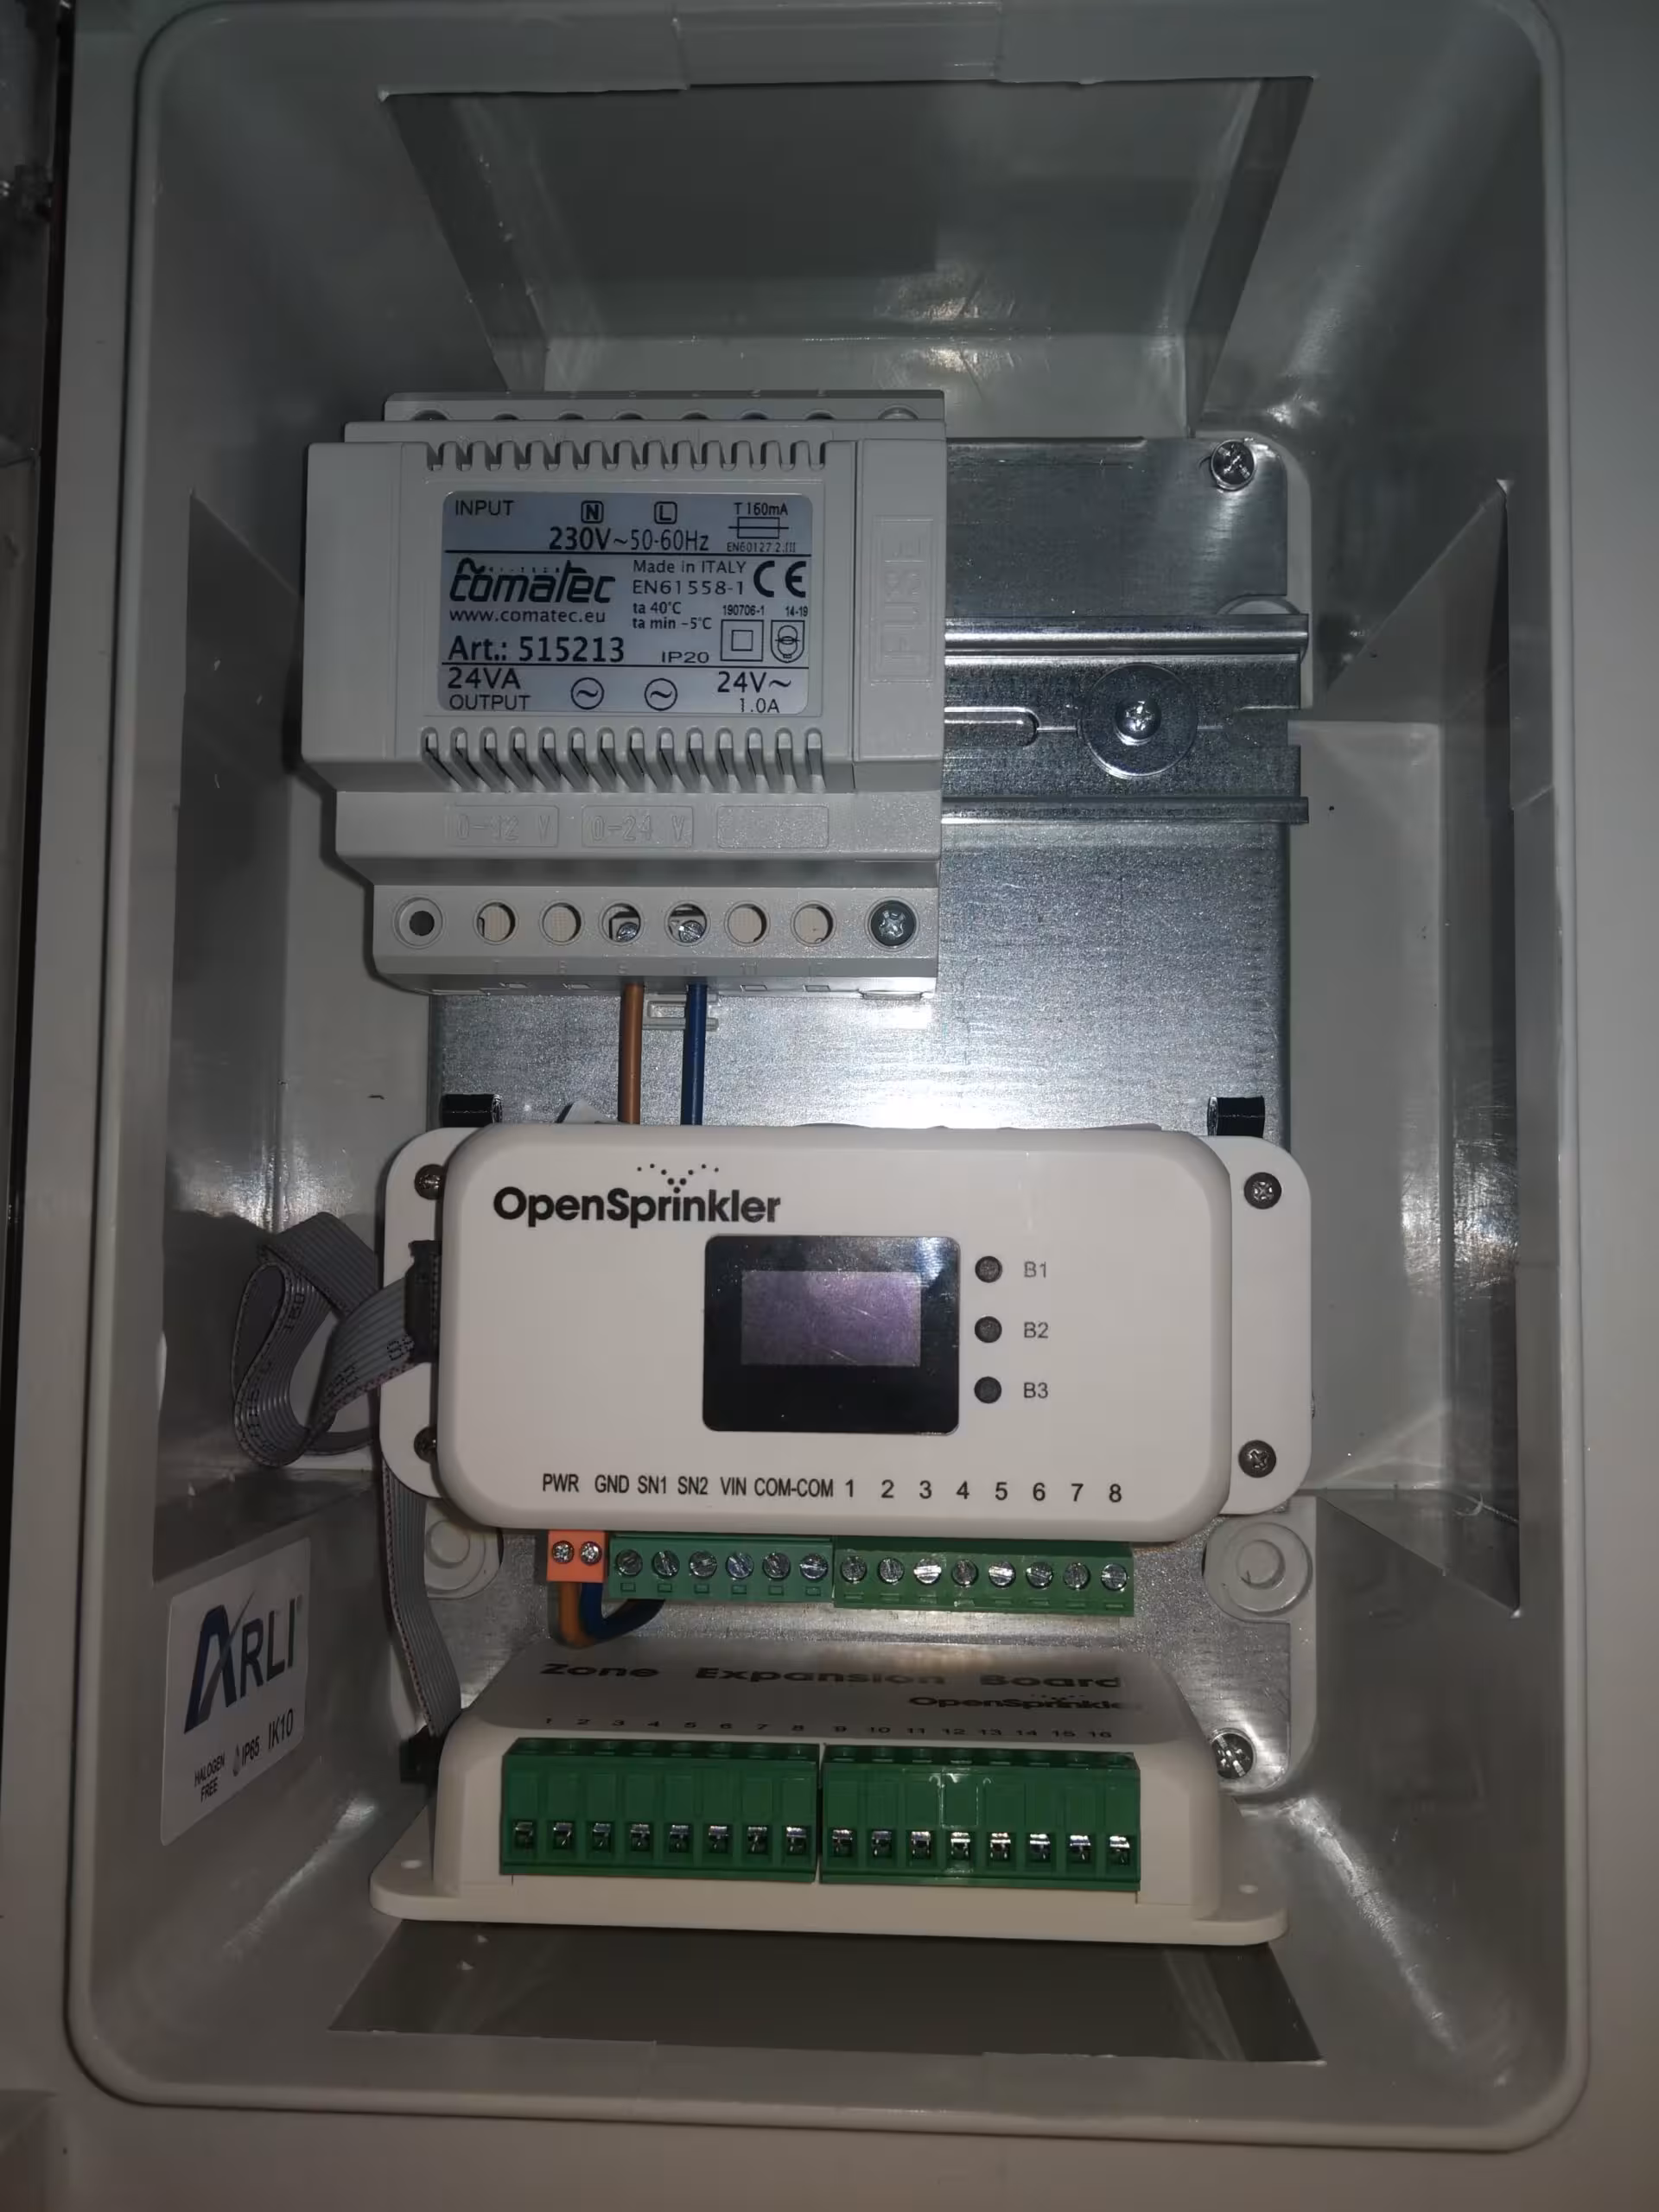
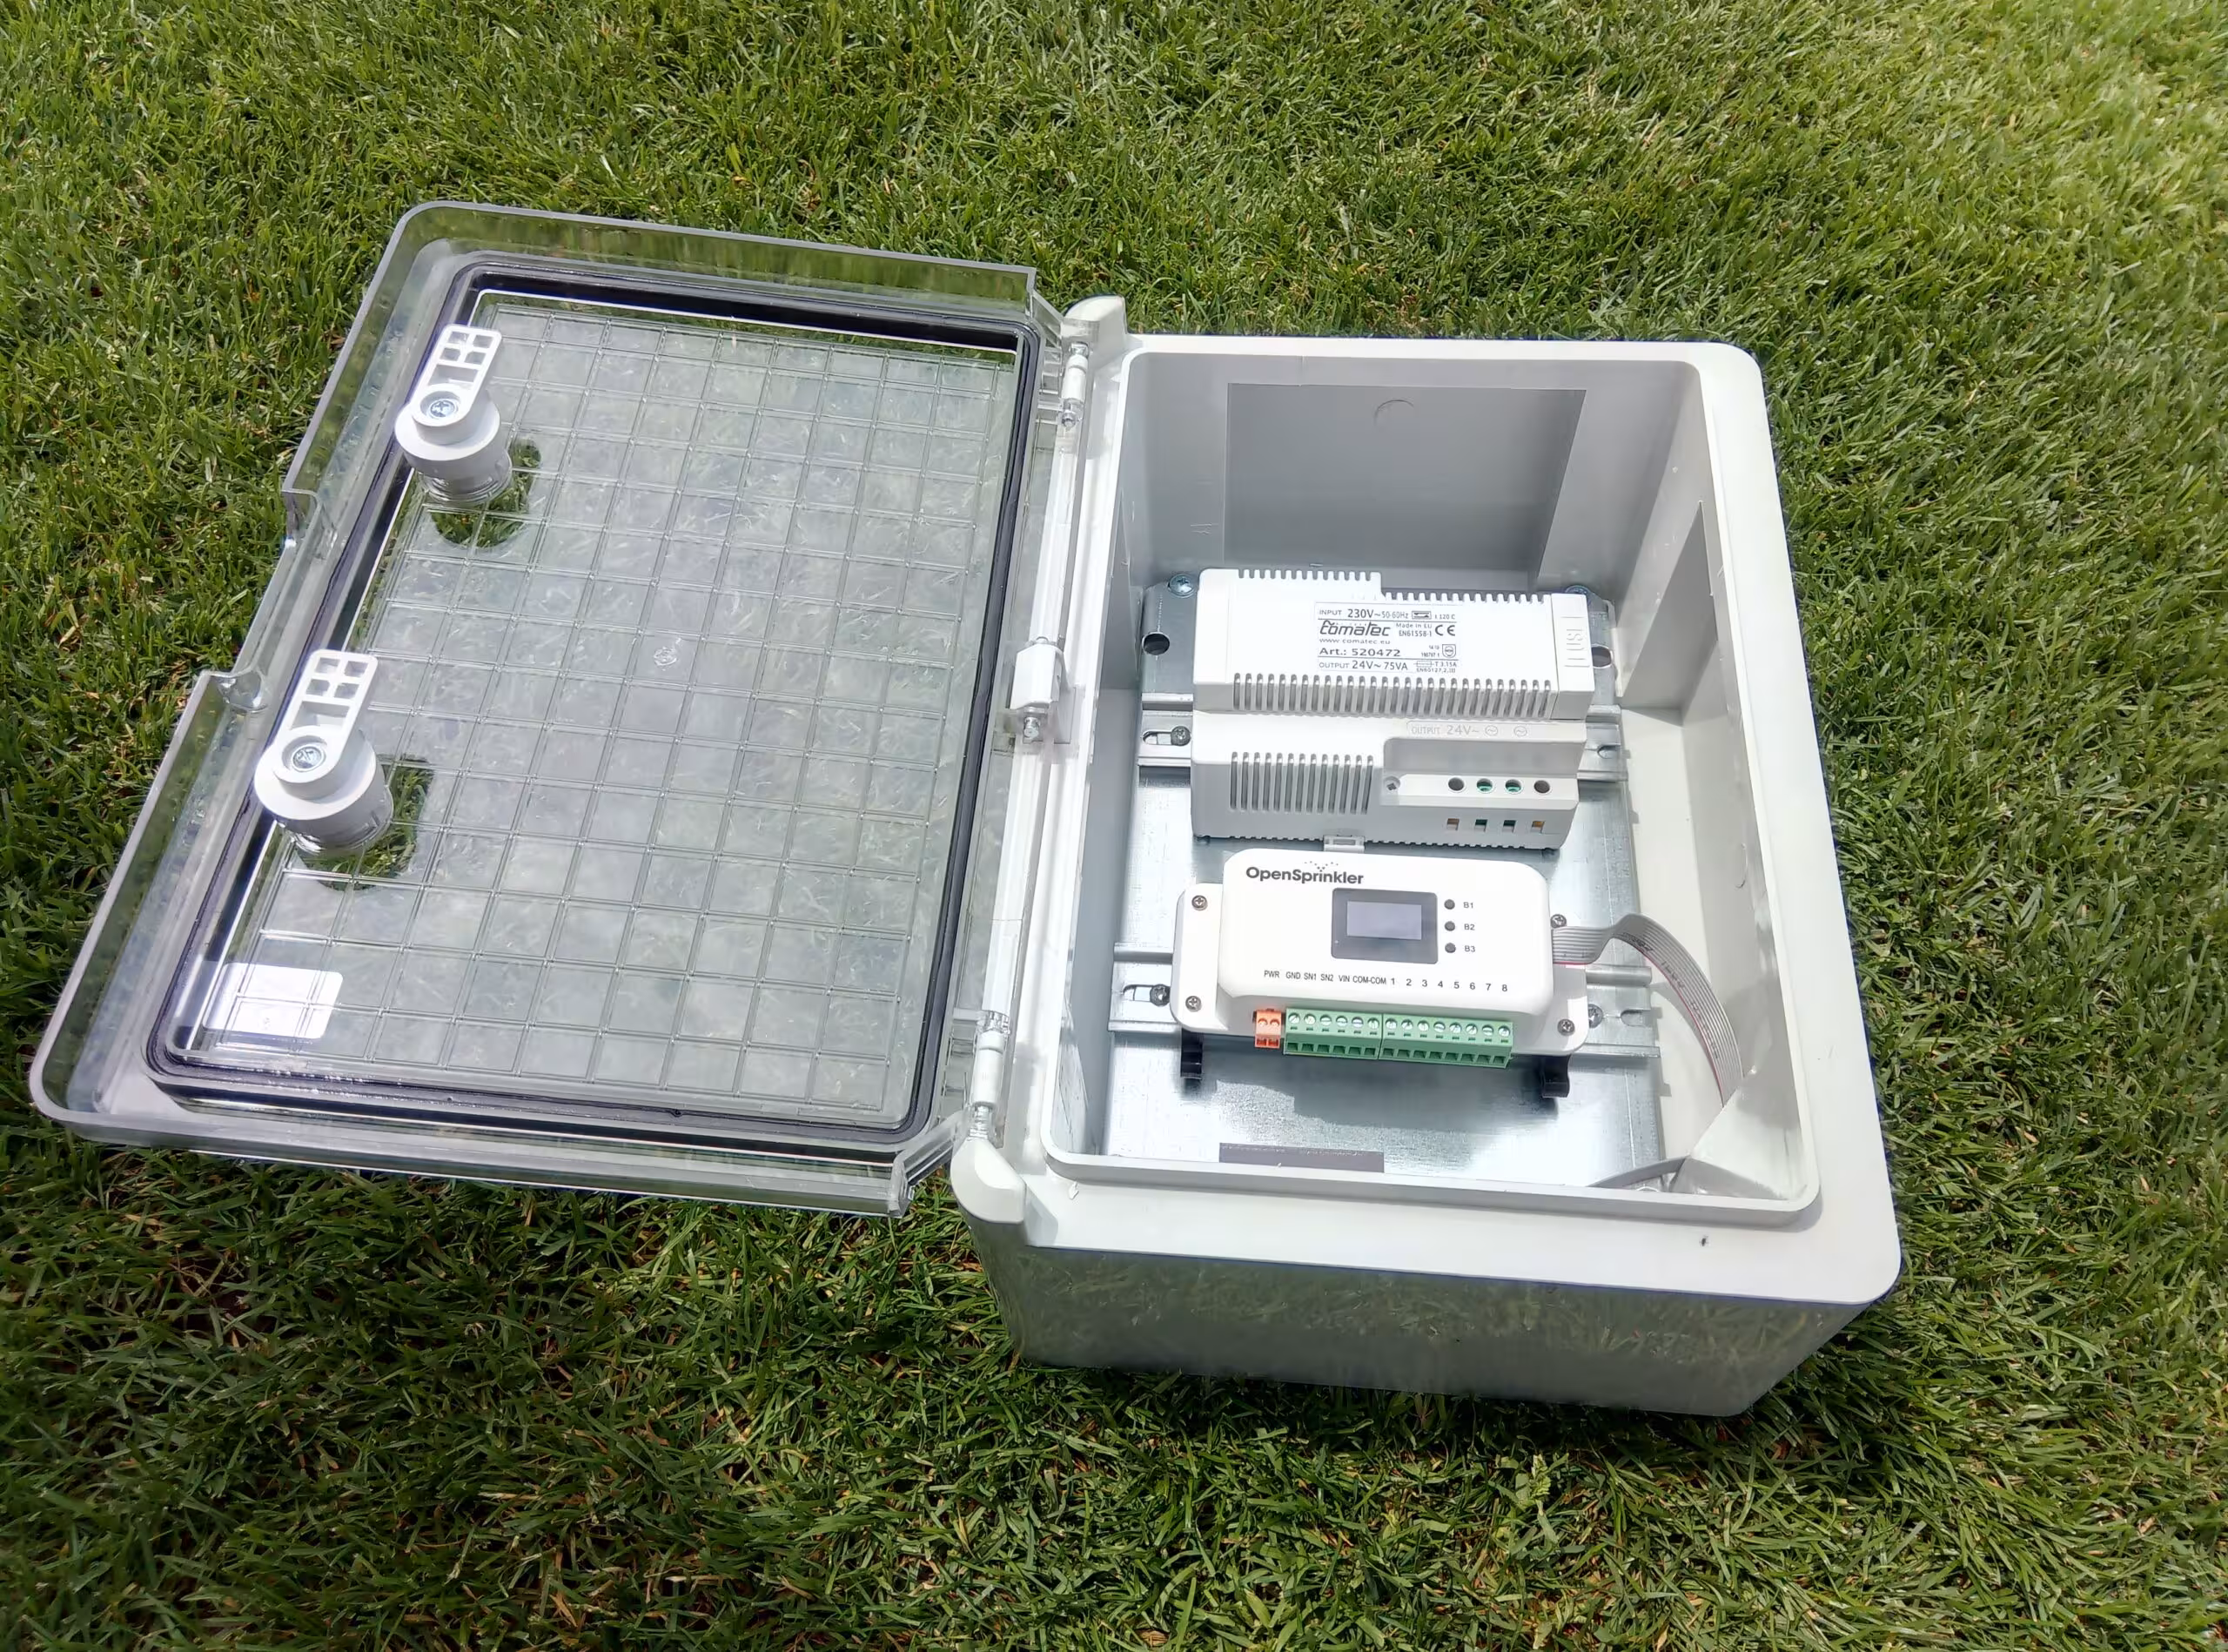
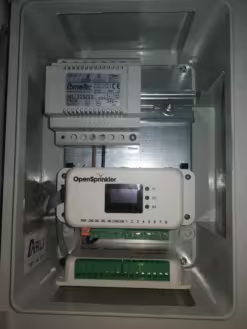
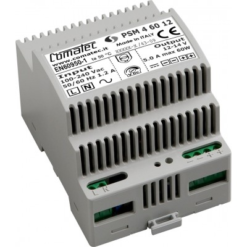
| Suitable for | 1x DIN rail power supply 1x OpenSprinkler or OSPI 1x relay compact (depending on the power supply size) |
like type 1, additionally 1-4x relay or large power supply (Zone Expander as Biplane possible*) |
like type 2, additional relays and Zone expanders |
| Recommended for | Garden/lawn irrigation raised bed Small greenhouse |
larger garden/lawn irrigation (>8 valves) Greenhouse/houses Several (raised) beds Light control Space for expansion |
like 2, but space for further installations, transformers (bell/light), power distributor etc Lots of space for expansion |
| Notes: | Ideal for DC / DCE because of the small power supply |
Two top-hat rails are delivered cut to size
– Resistance: Chemical agents, alkalis, oils, salts, etc.
– Door hinges with all-round seal
– Operating temperature: -35°C +65°C
– Material: HB ABS impact-resistant, halogen-free
– Mounting plate: galvanized steel 1 mm
– IP degree: IP65
– IK grade: IK08
– Color: light gray, RAL7035 gray
– Incl. locking key & fastening material
A notice:
– The housing should not be installed in the sun as this can cause deformation and discoloration.
Scope of delivery:
– 1x control cabinet
– 1x control cabinet key
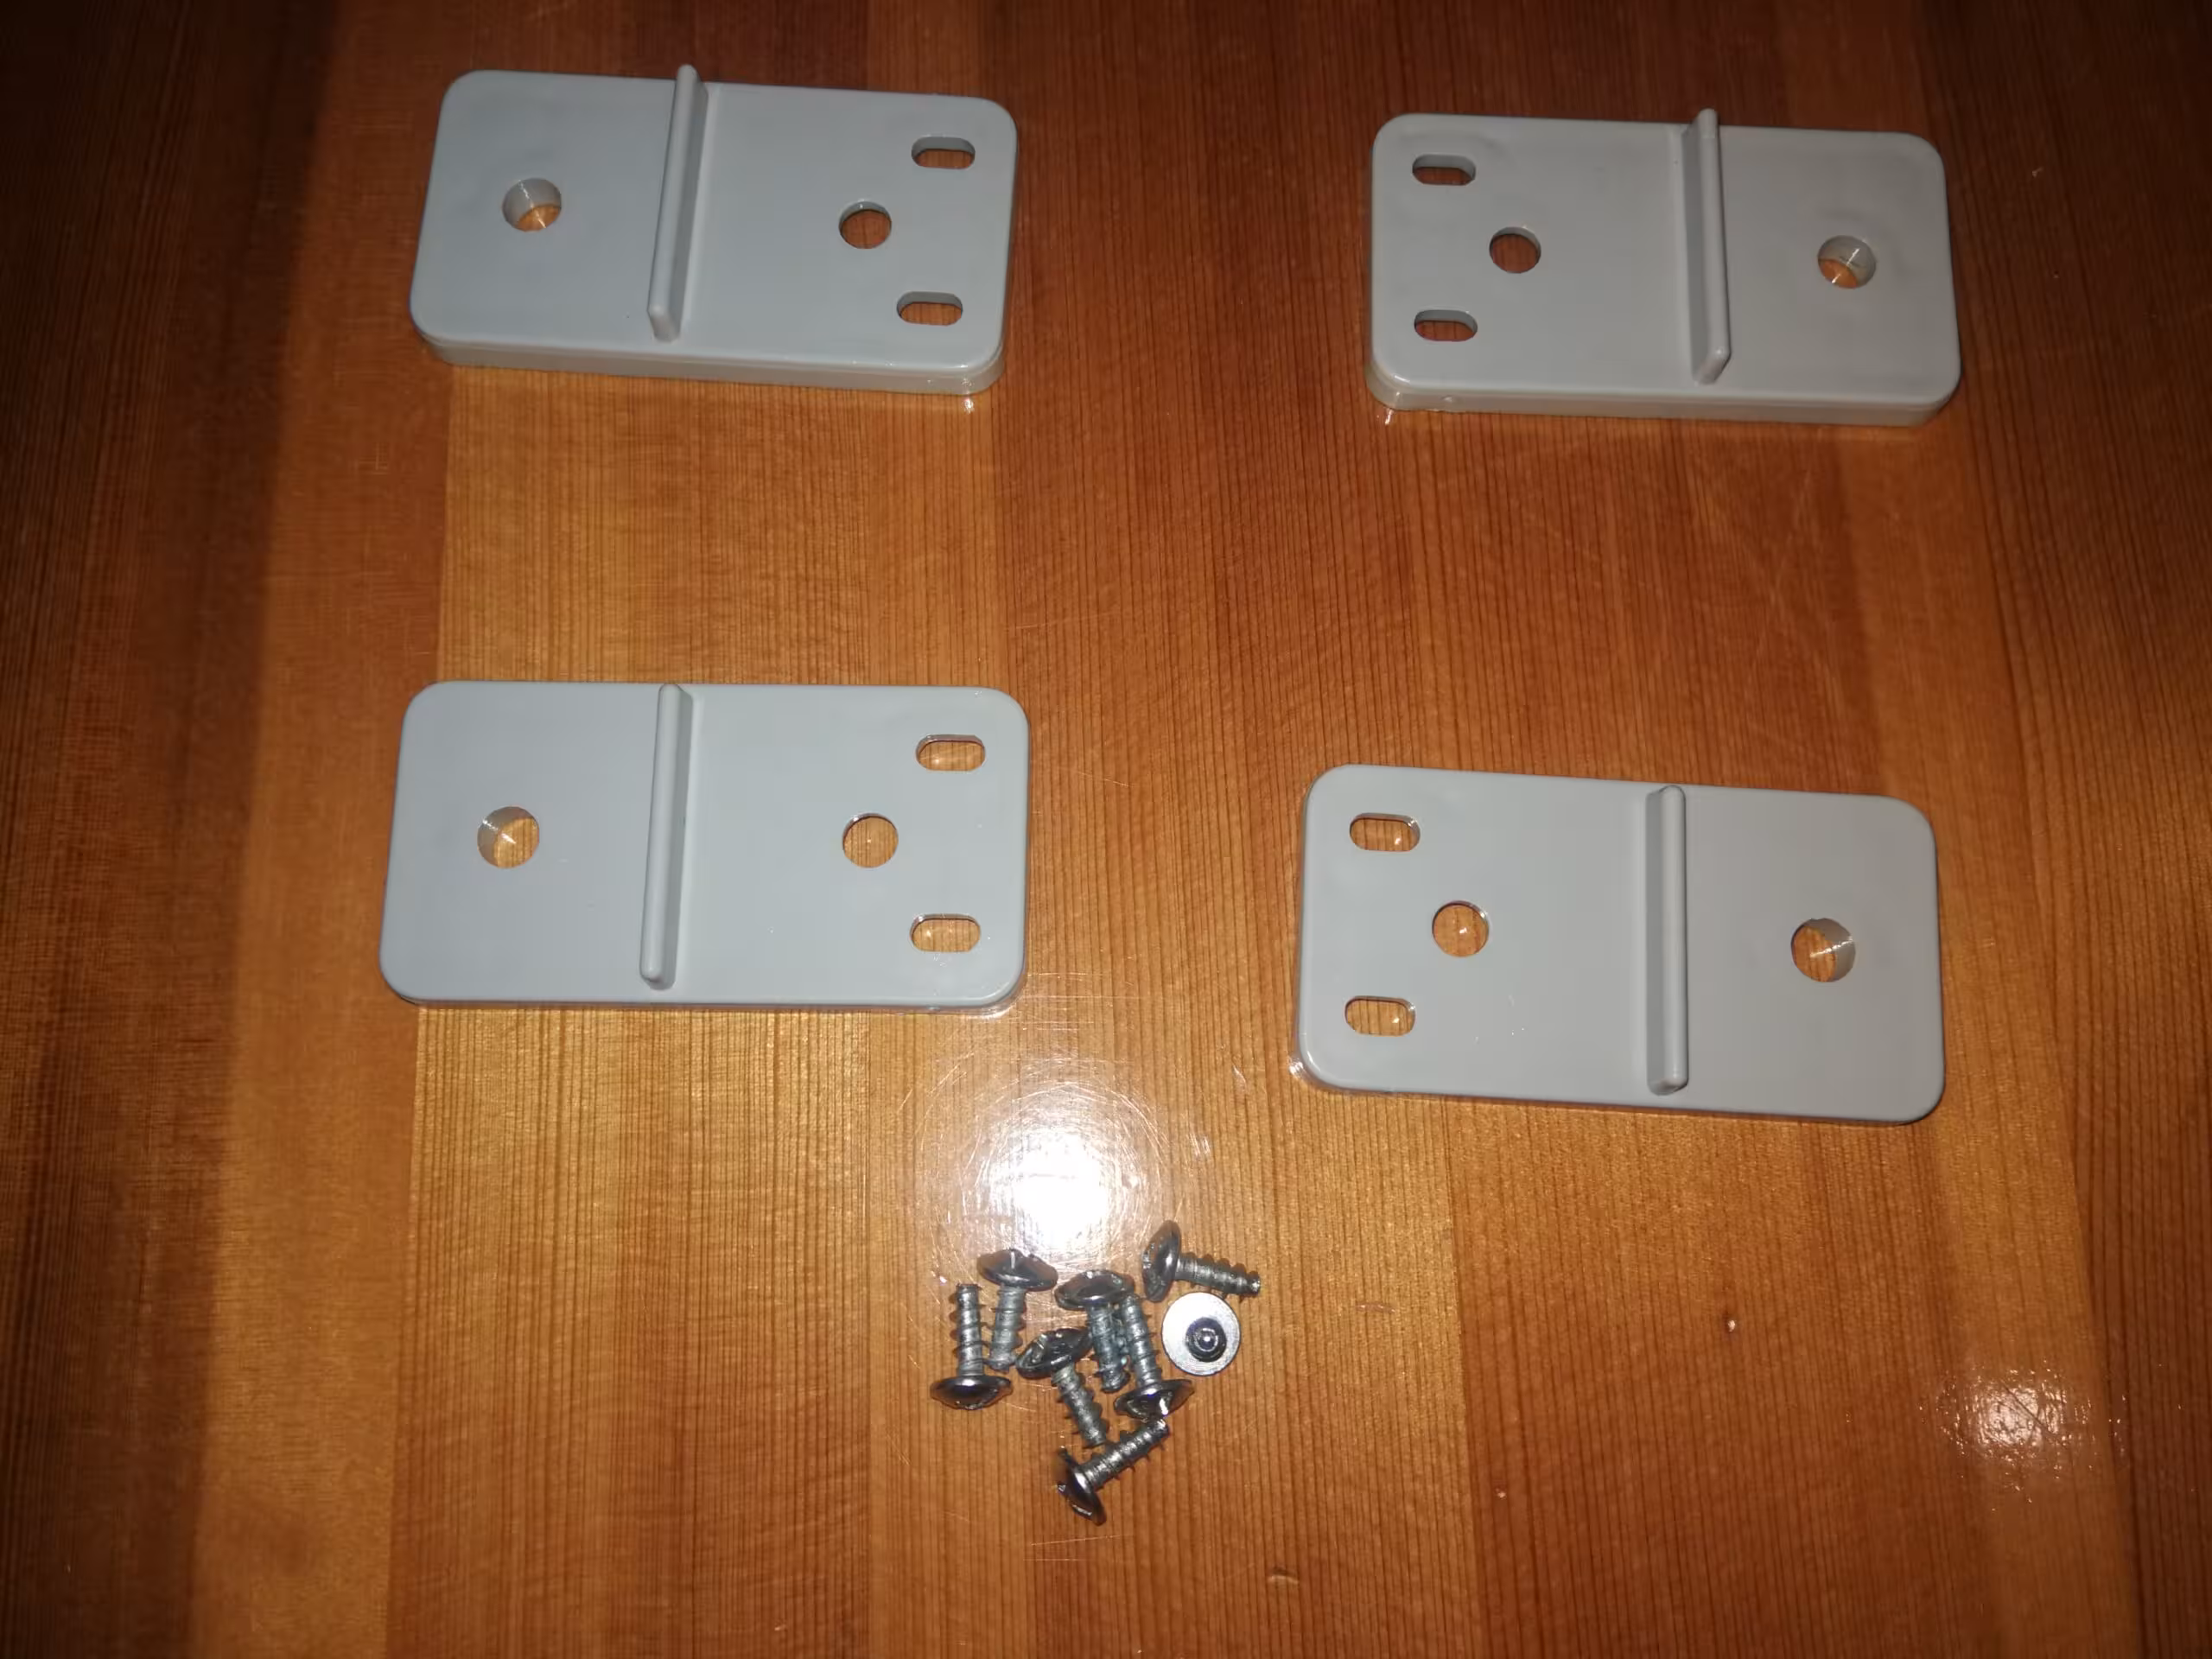
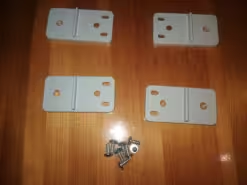
– 4x wall brackets including screws
– 2x top hat rail with fastening material
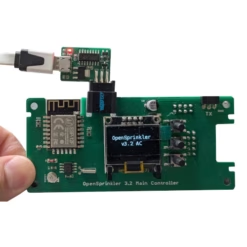
– 2x DIN rail bracket with screws for OpenSprinkler 3.0/3.2 or OSPI
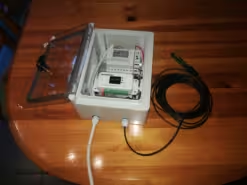
– 4x housing bushings for cables
– Connection cable for OpenSprinkler to AC or DC power supply
Not included is:
– Power supply
– Power cord
– OpenSprinkler
– Cable for solenoid valves
Necessary tools:
– Drill + metal drill, large drill or step drill for the cable openings
– Screwdrivers in different sizes
What you then have to do to make everything work:
– Mounting the top-hat rails: drill 4 holes and screw them together
– Hole(s) for the cable feed(s)
– Installation in a suitable location: Shady area under a canopy (wall mounting brackets are included or drill directly)
– Wiring with power and connecting the irrigation valves
– For OpenSprinkler with Ethernet: connection to the network, otherwise via WiFi
Construction instructions downloads:
Further information (manual, circuit diagram) here: Manual and downloads
You can find suitable power supplies here: DIN rail power supplies
| Weight | N/A |
|---|---|
| Dimensions | N/A |
| Cabinet size | Type 1: 210 x 280 x 130, Type 2: 250 x 350 x 150, Type 3: 300 x 400 x 170, Type 4: 400 x 600 x 200 |
Product safety
Manufacturer information
ARLI GmbH
Schulstr. 14
78582 Balgheim
Telephone: 07424/96 06 348
e-mail: info@arli-gmbh.de
1 review for IP65 housing for OpenSprinkler
Add a review
Related products
Chris –
The delivery was quick and reliable. Attention was also paid to the comments when ordering.
Verified purchase. More information